Sometime in 1988, not long after joining Kodak Ltd, I was given a tour of the Harrow factory. It was probably during the summer because the tour included Track 5 where colour negative paper was manufactured. In those days the coating tracks operated 24/7 and the summer maintenance period was one of the few occasions when visitors like me could have to have antabuse online a look around. I cannot remember all of the details of that tour but I left the factory that day enormously impressed and very proud to be working for Kodak.
Today, despite an explosion in the number of images being taken, now with telephones rather than cameras, the demand for photographic paper has declined dramatically. The Harrow factory is now owned by Kodak Alaris, who are reducing capacity to match this shrinking demand. Manufacturing will stop in October 2016. It is the end of an era for a factory that has been in operation since 1891, and was once the largest manufacturing facility in the British Empire!
I was keen to take a last look at the factory and take some photographs and Dick Hamer agreed to take me on a tour of the factory where he has worked for the last forty odd years. I spent a few hours with Dick and Richard Scotto, looking around Track 5 and some of the other buildings on the site.

Modern photo paper is made using a polythene coated base. In years gone by, Kodak used to coat the paper base and add the iconic back-print at the Harrow site. Nowadays the paper base is brought in from Germany with the back-print and prednisone online polythene coating already in place. All the factory has to do is to add the appropriate light sensitive emulsions!
Back in 1988 when I first toured the factory I could xanax not imagine how this was done. I half expected to see my colleagues pouring jugs of liquid emulsion onto sheets of paper and spreading it out with squeegees. The reality of course was very different. Paper base passes through the coating track at a speed rather faster than my morning commute, and is turned into photographic paper by the addition of seven or eight different liquid layers. All of this happens in a coating track that is 900 meters long, and that winds its way through an eight storey building in the dark!
Just to give you an idea of scale, a typical parent roll is a bit more that 4 kilometers long and 1.5m wide. One roll could nearly cover the area of a standard soccer pitch. The Track 5 building is actually home to two independent, almost identical tracks: 5/1 and 5/2, which together can coat about nine of these rolls every hour. So, in a twenty four hour period the two tracks coat enough length of parent roll to reach from Harrow to Stuttgart. That is enough paper for 81 million holiday snaps which, in the unlikely event that they were laid end to end, would stretch 12199 kilometers or, all the way from Harrow to Rochester NY and back! In an age when people just want to share their pictures on facebook, Instagram and co, this is just too much capacity!
I am conscious that I am getting carried away and am using far too many exclamation marks in my story!!! Without further ado, let’s take a few deep breaths and take a look at some of the pictures I took.
Because of the route we took through the factory, my photos were not taken in the order in which they would actually occur in the manufacturing process. I am grateful to Andy Church, a colleague of many years and the most knowledgeable person I know on the subject of photo paper manufacturing, for patiently reviewing the pictures with me and helping me to put them in some sort of logical order. Nevertheless, if, you are looking to set up your own paper coating operation, do not use these pictures as guide. Some of them will almost certainly be in the wrong order.
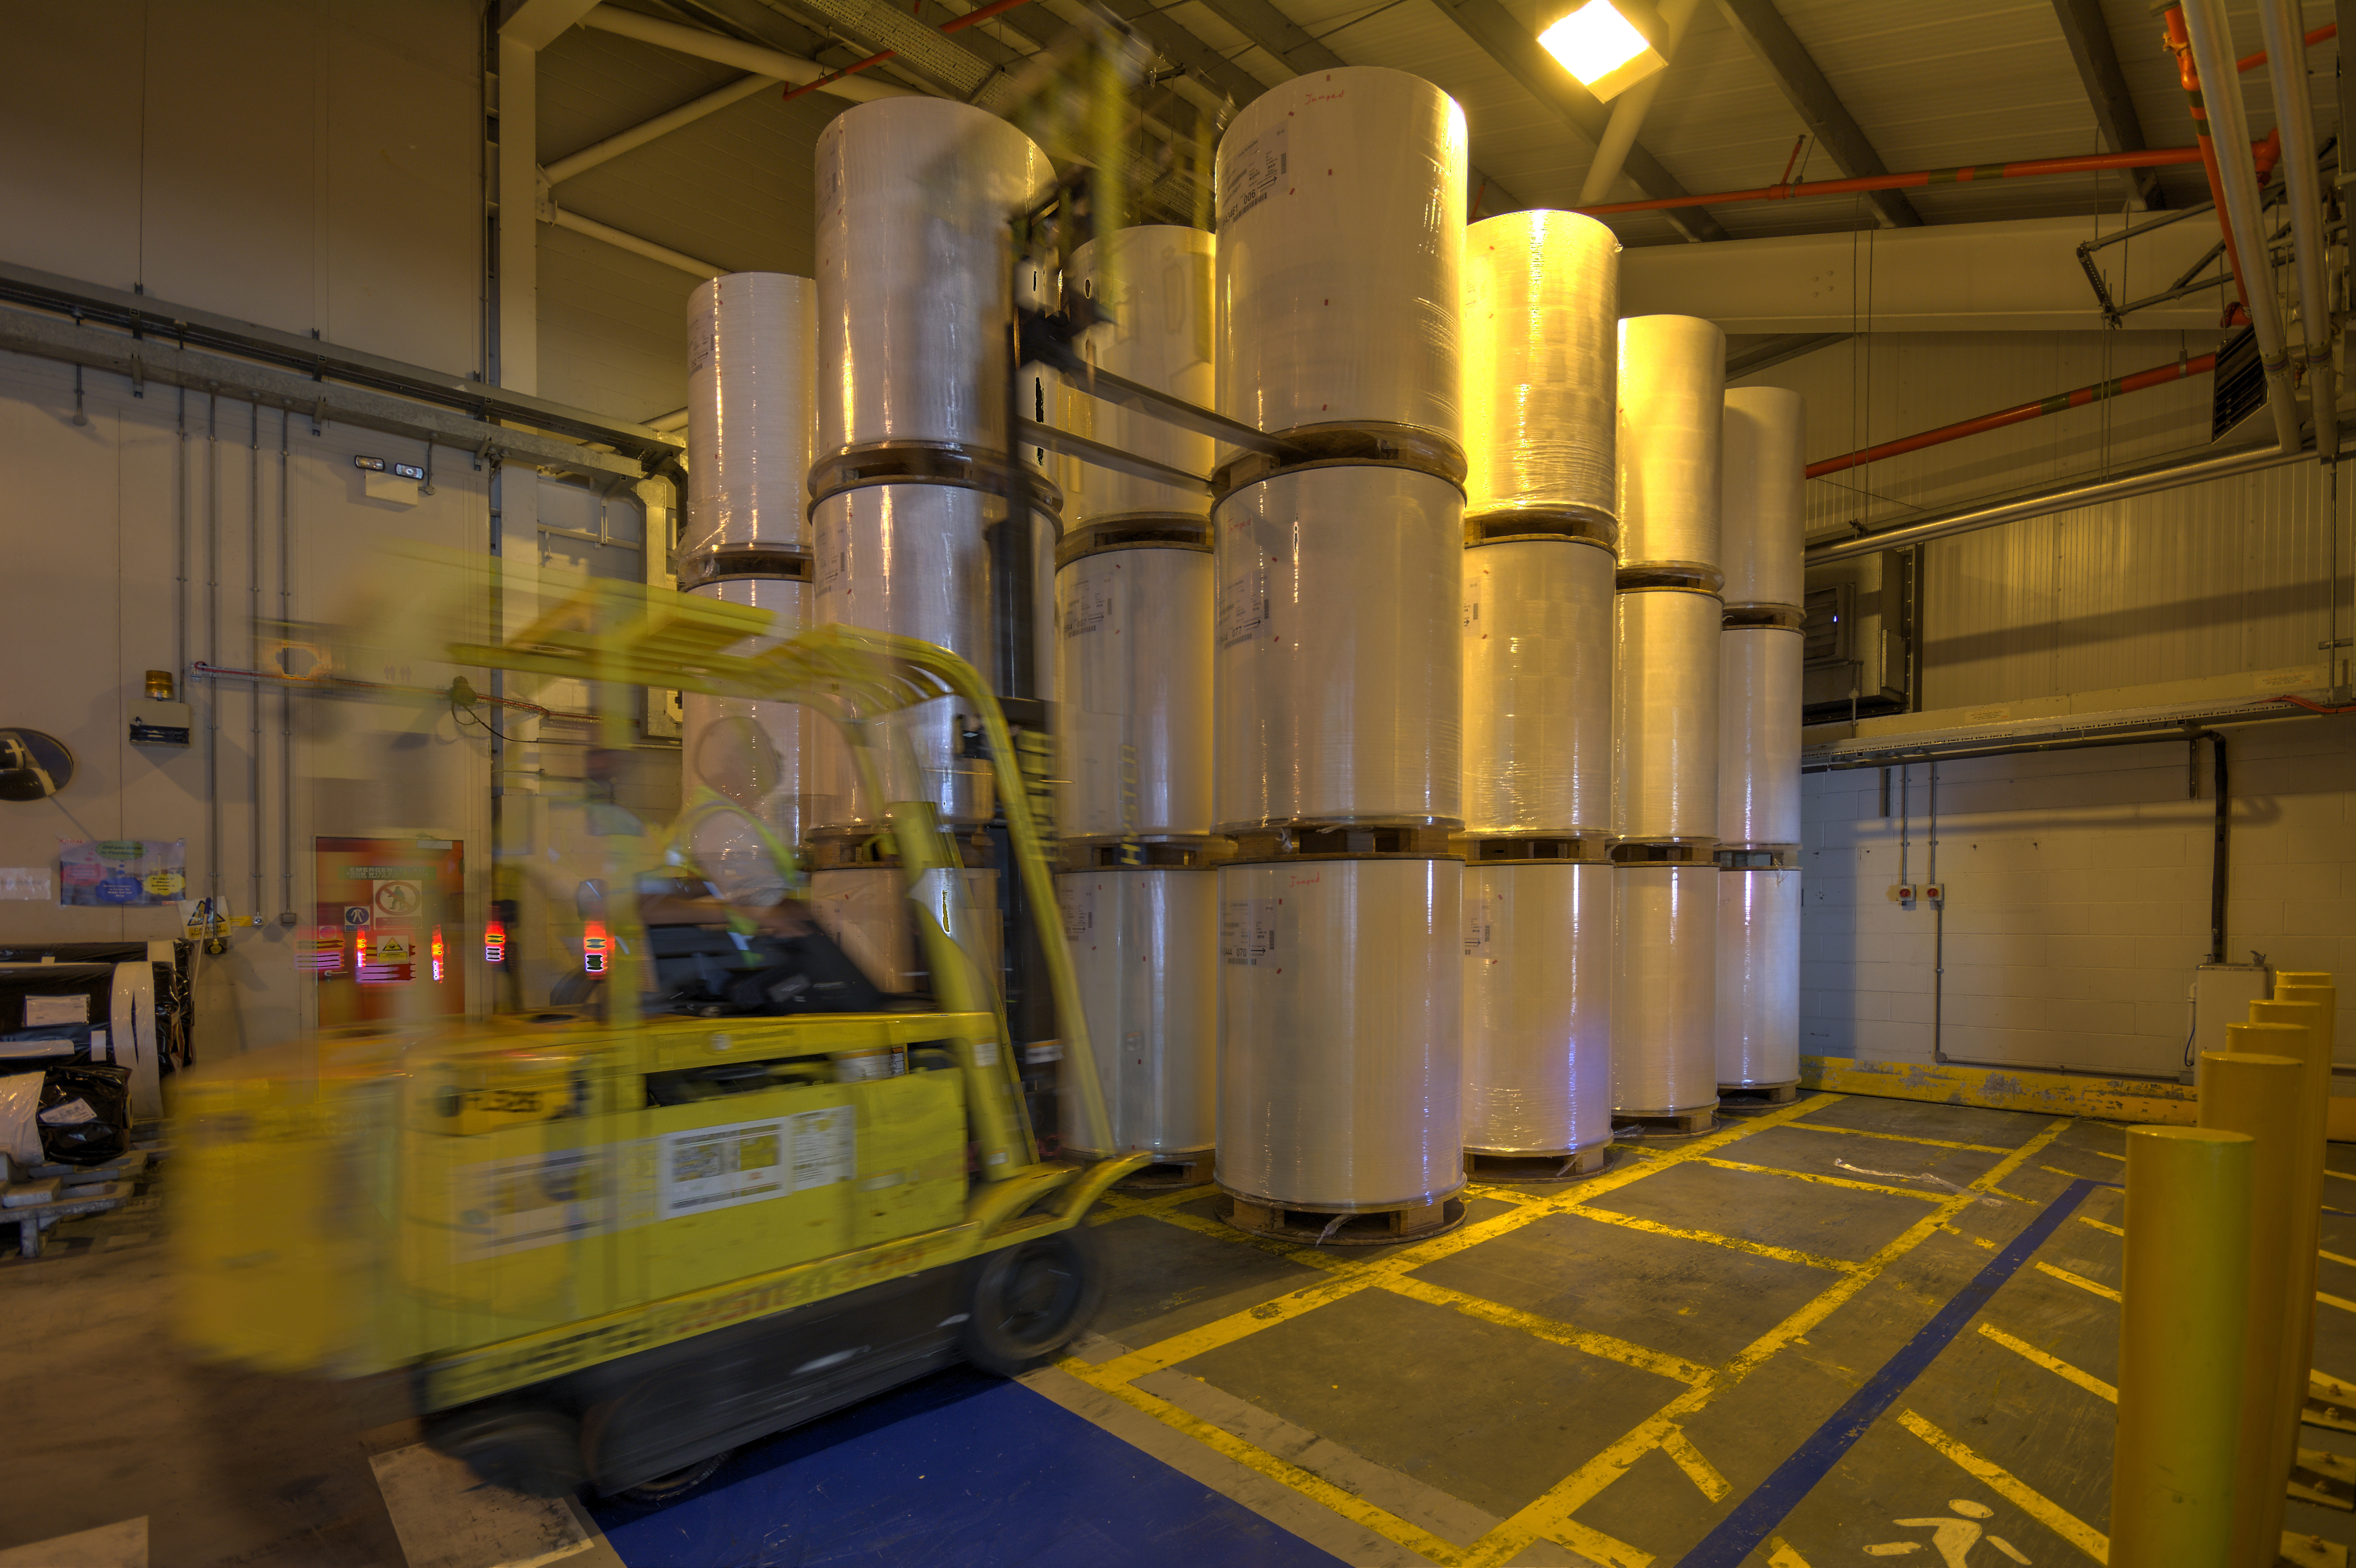
The paper base arrives at the factory from Germany and is stockpiled in a holding area in the parent roll store (Building W173) close to the start of the coating tracks. The rolls each weigh about 1200kg and at this stage are standing upright. They will need to be carefully rotated onto their sides before the coating process starts. Each roll is labelled with the name and surface finish of the product that it will eventually be made into. I had imagined that the surface finish (gloss, lustre, matte or silk) was determined by some treatment during the coating process but it turns out that this happens as part of the resin coating operations in Germany.
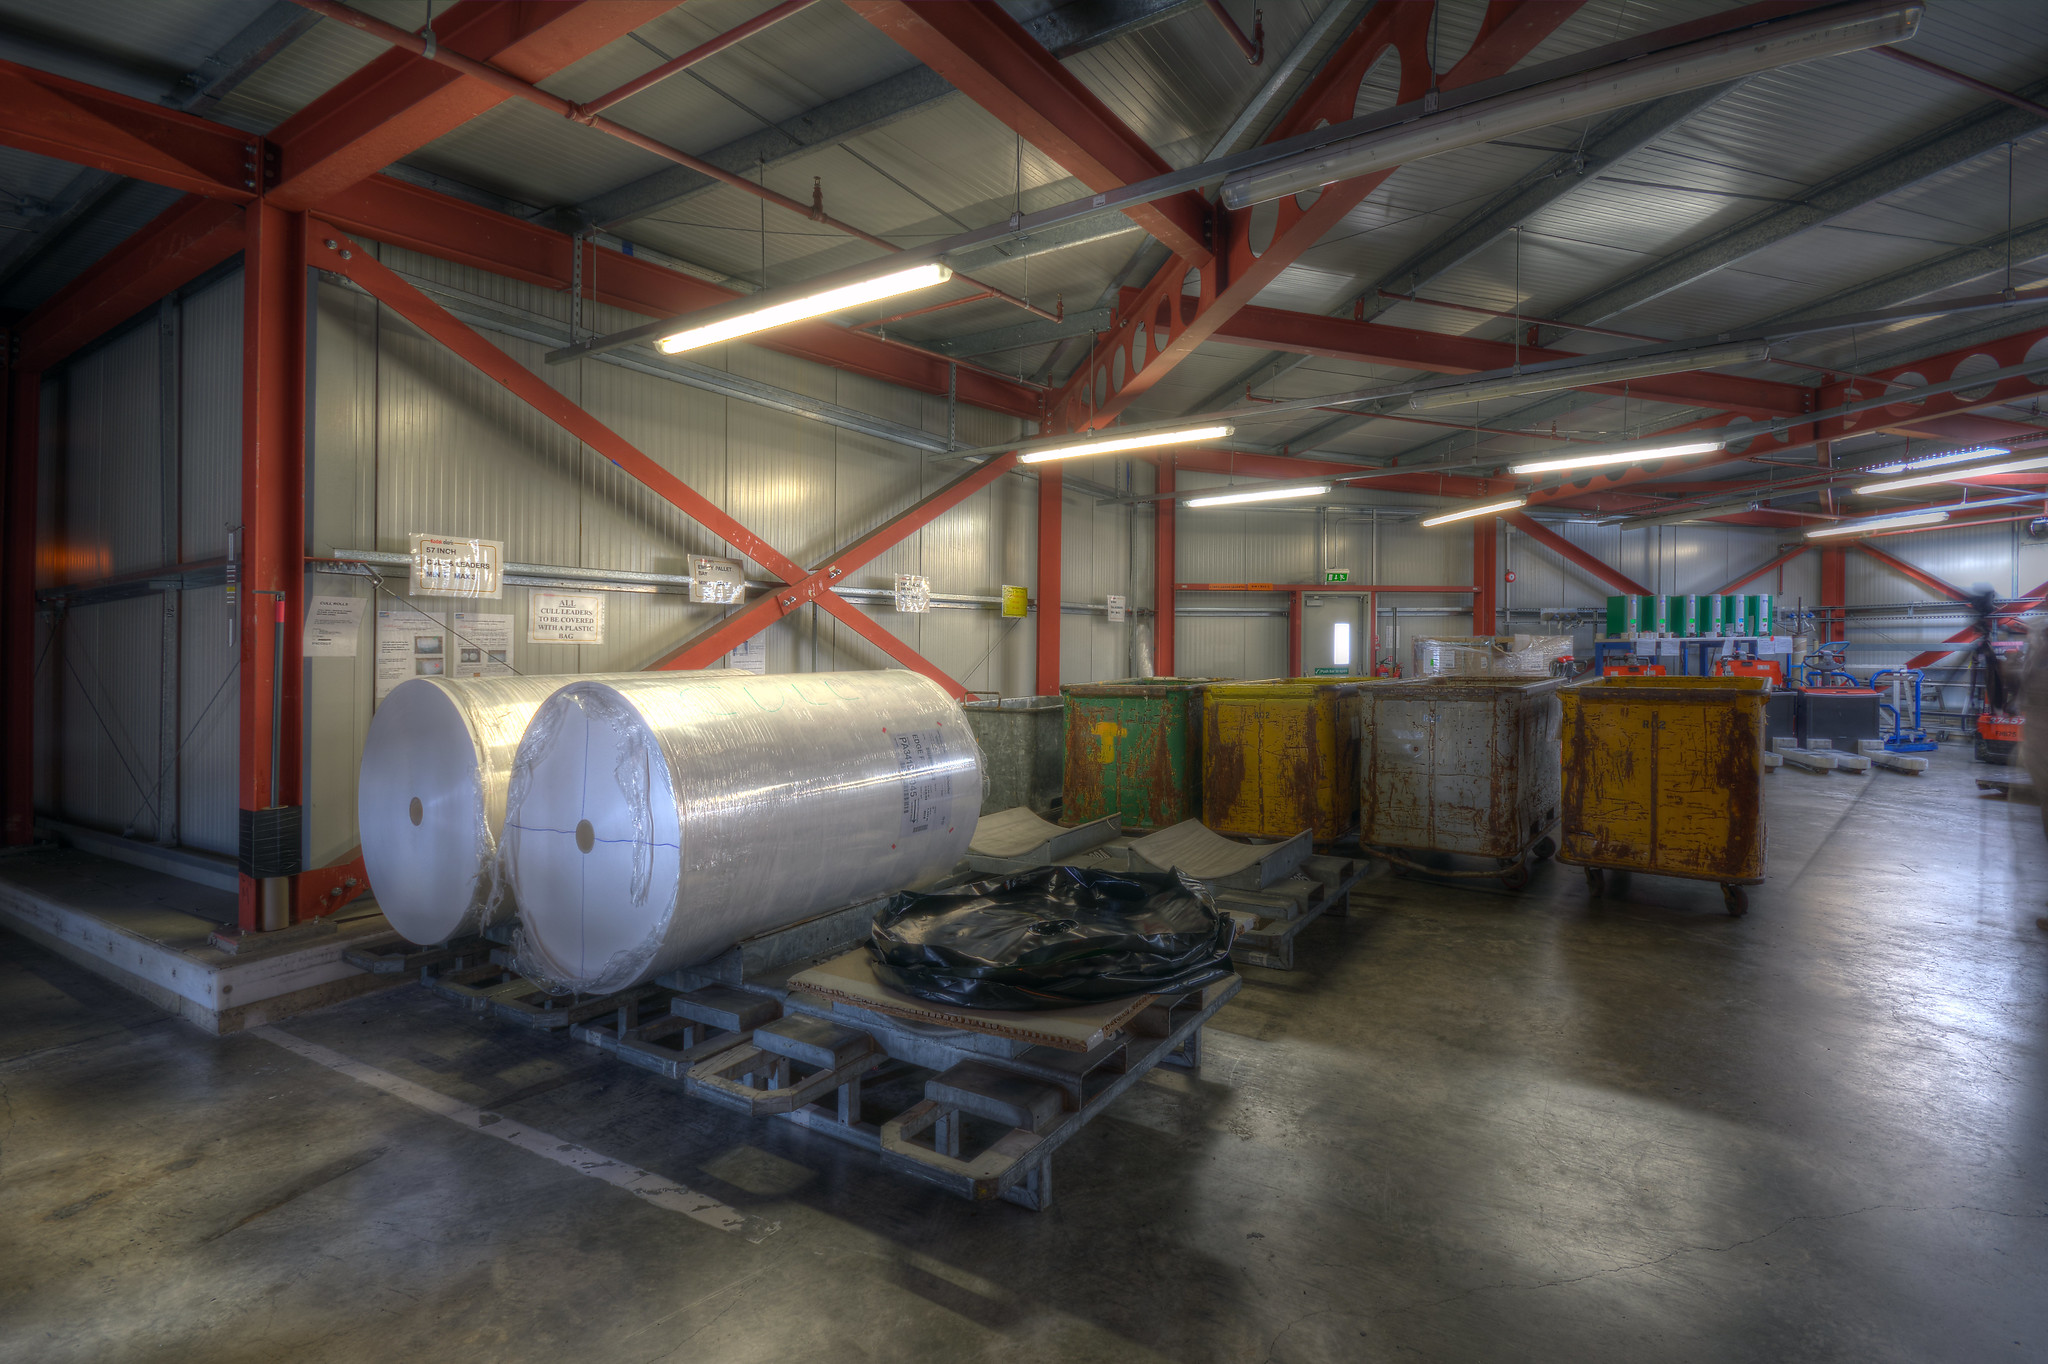
Connecting the parent roll store to the start (and finish) of the coating tracks is the so-called trucking tunnel, down which the rolls are transported on their way to and from the manufacturing line. As you approach the start of the line, the lighting level gets gradually dimmer to allow the operators eyes to become accustomed to the darkness that they will be working in during their shift.
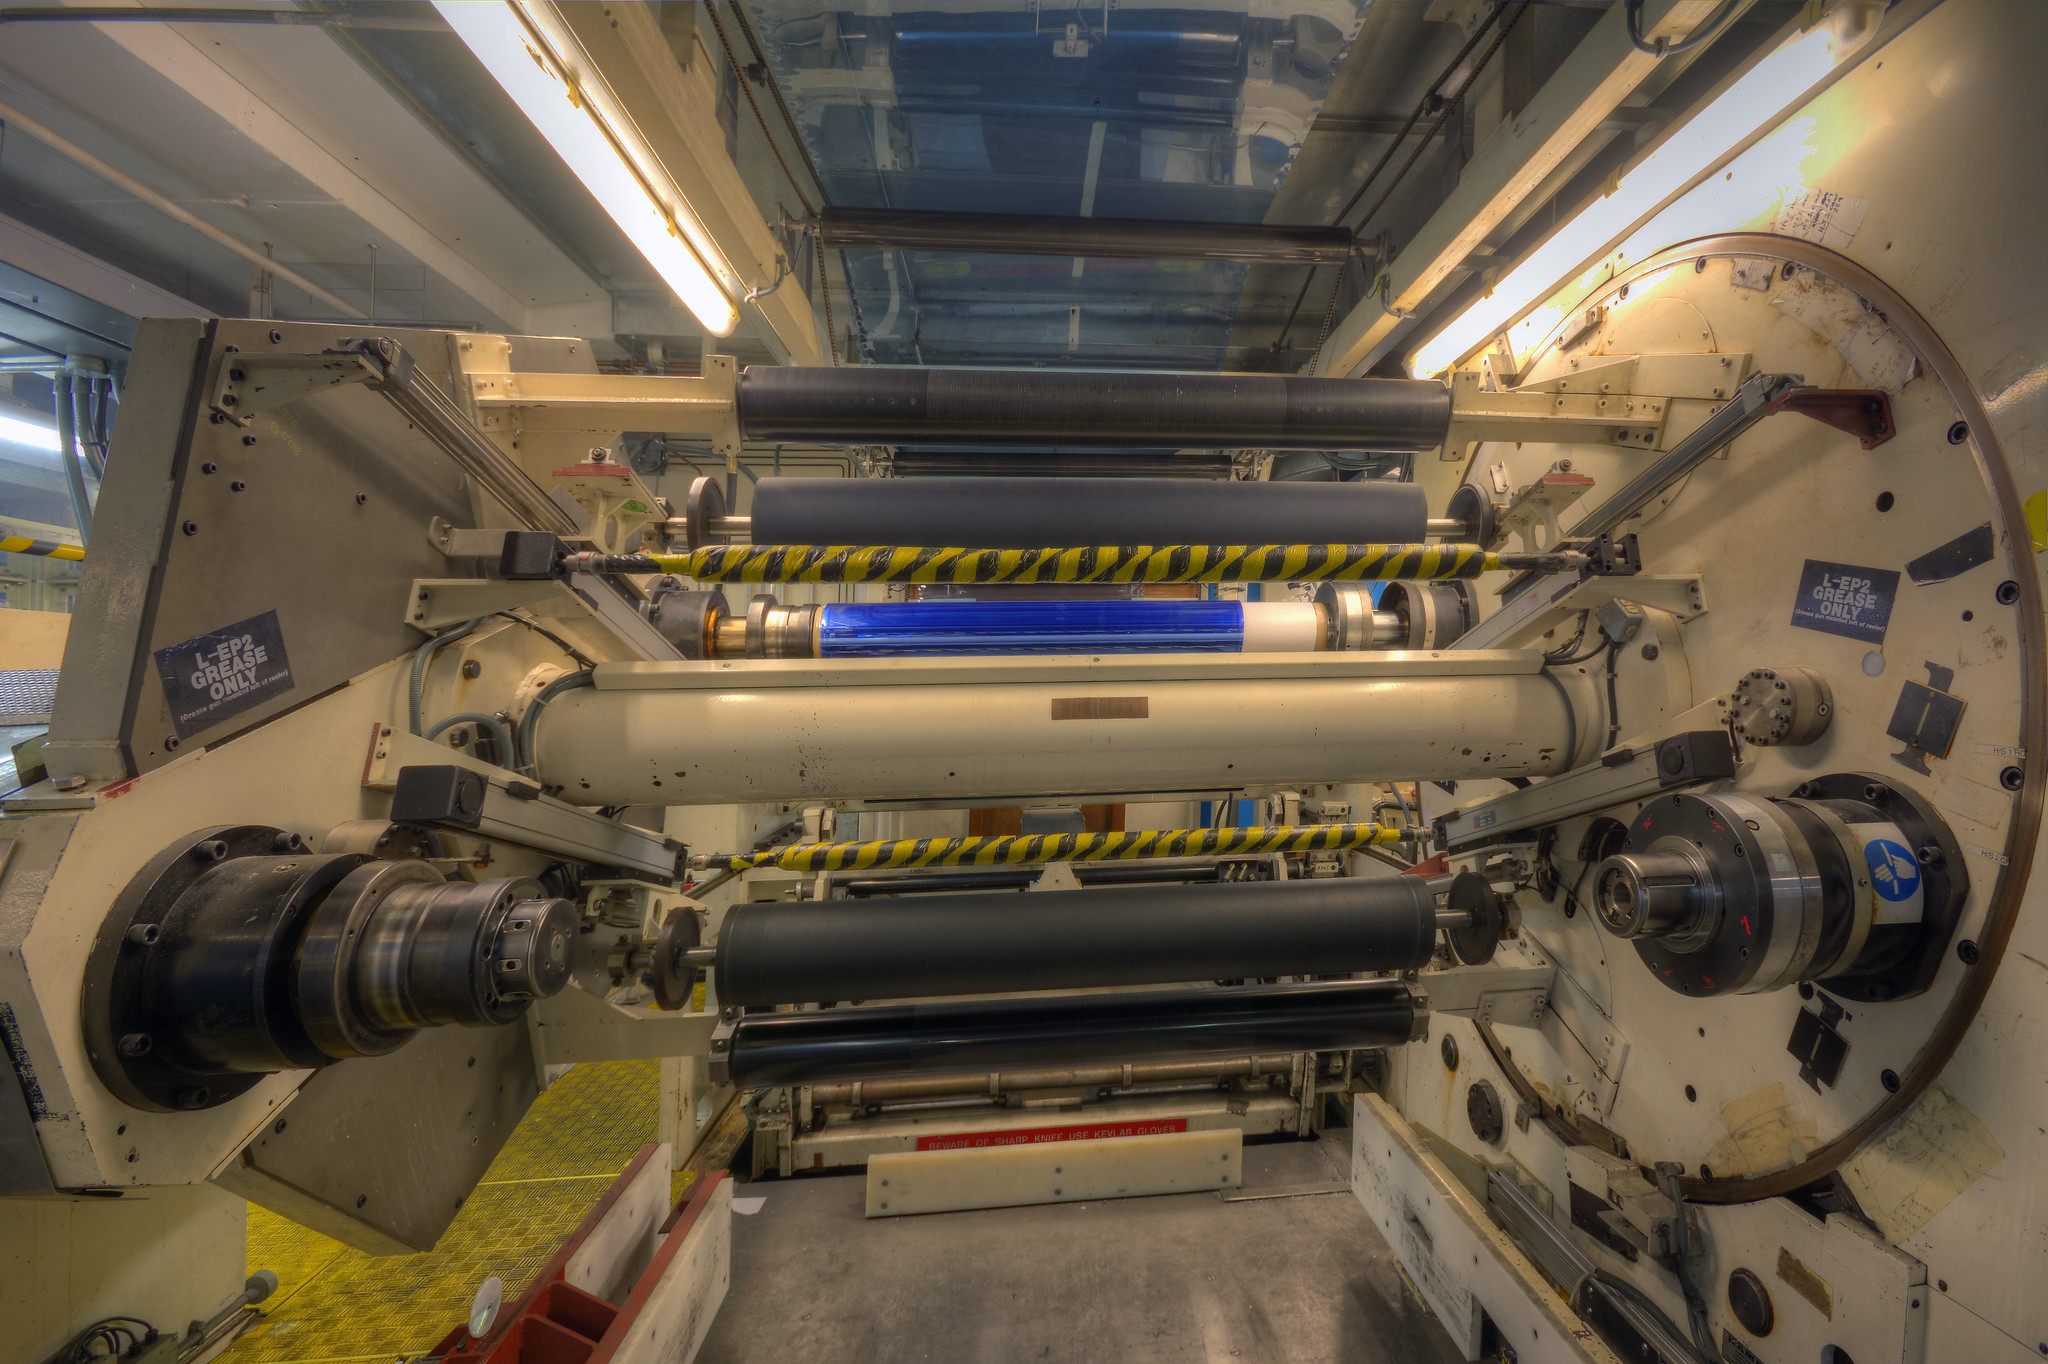
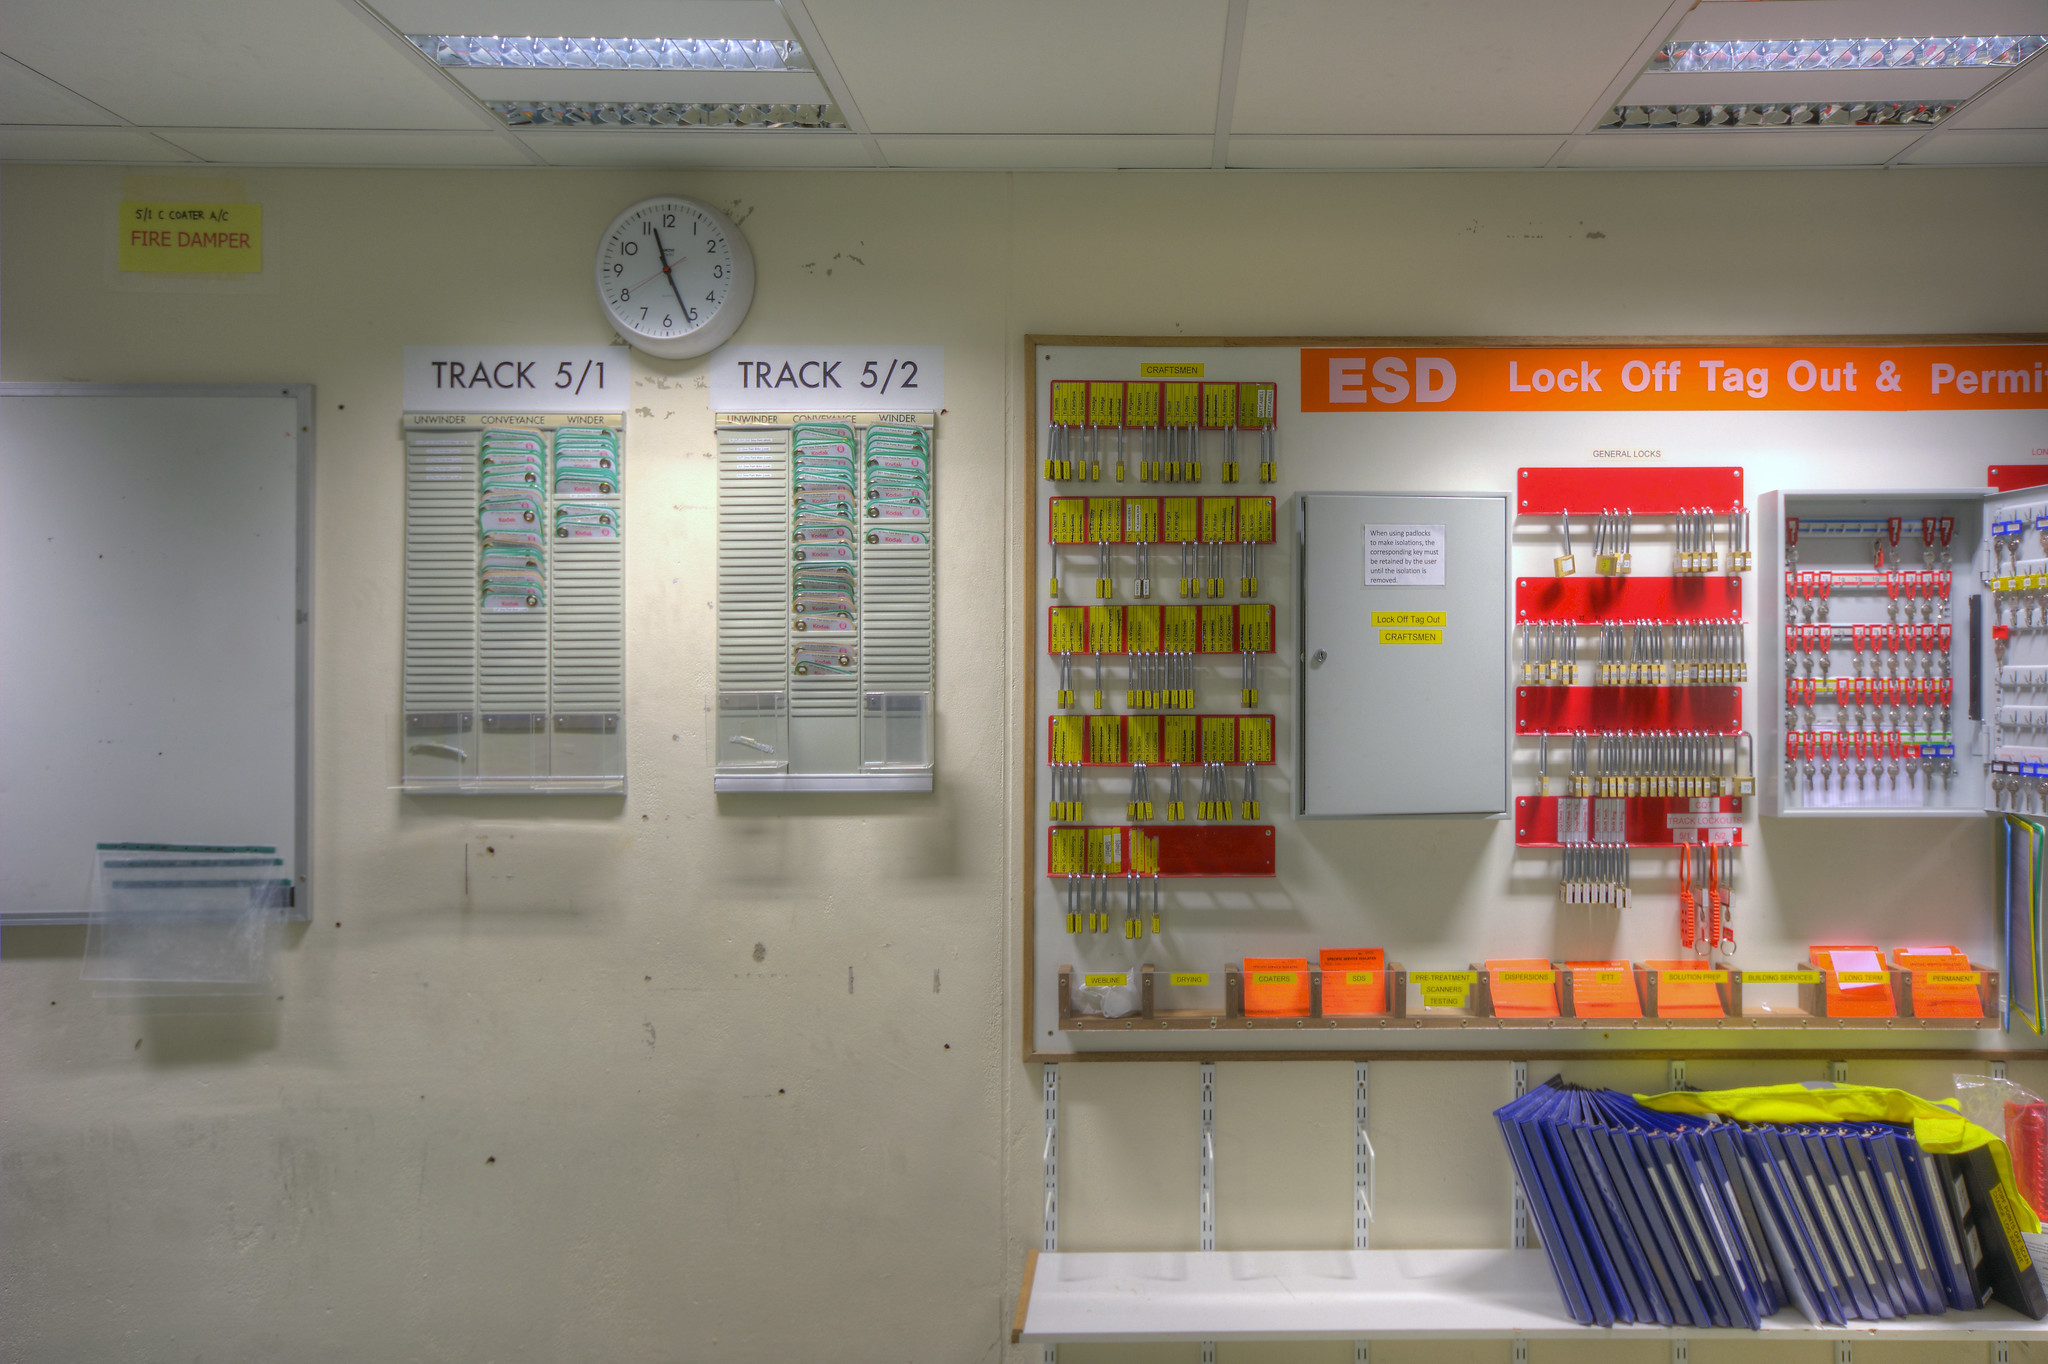
Paper rolls are loaded onto an unwinder that holds two rolls. Whilst one roll is unwinding down the track, a second one is made ready and, as the first roll runs out, the second one, all 1200kgs of it, is swung into position and joined to the end of the previous roll. The trailing end of the roll being coated needs to be stopped briefly without slowing down the paper passing the coating point. To achieve this, paper is accumulated between two sets of rollers which swing together like a giant pair of scissors. When the new roll has been spliced successfully, the scissors swing open again to buffer paper for the next change.
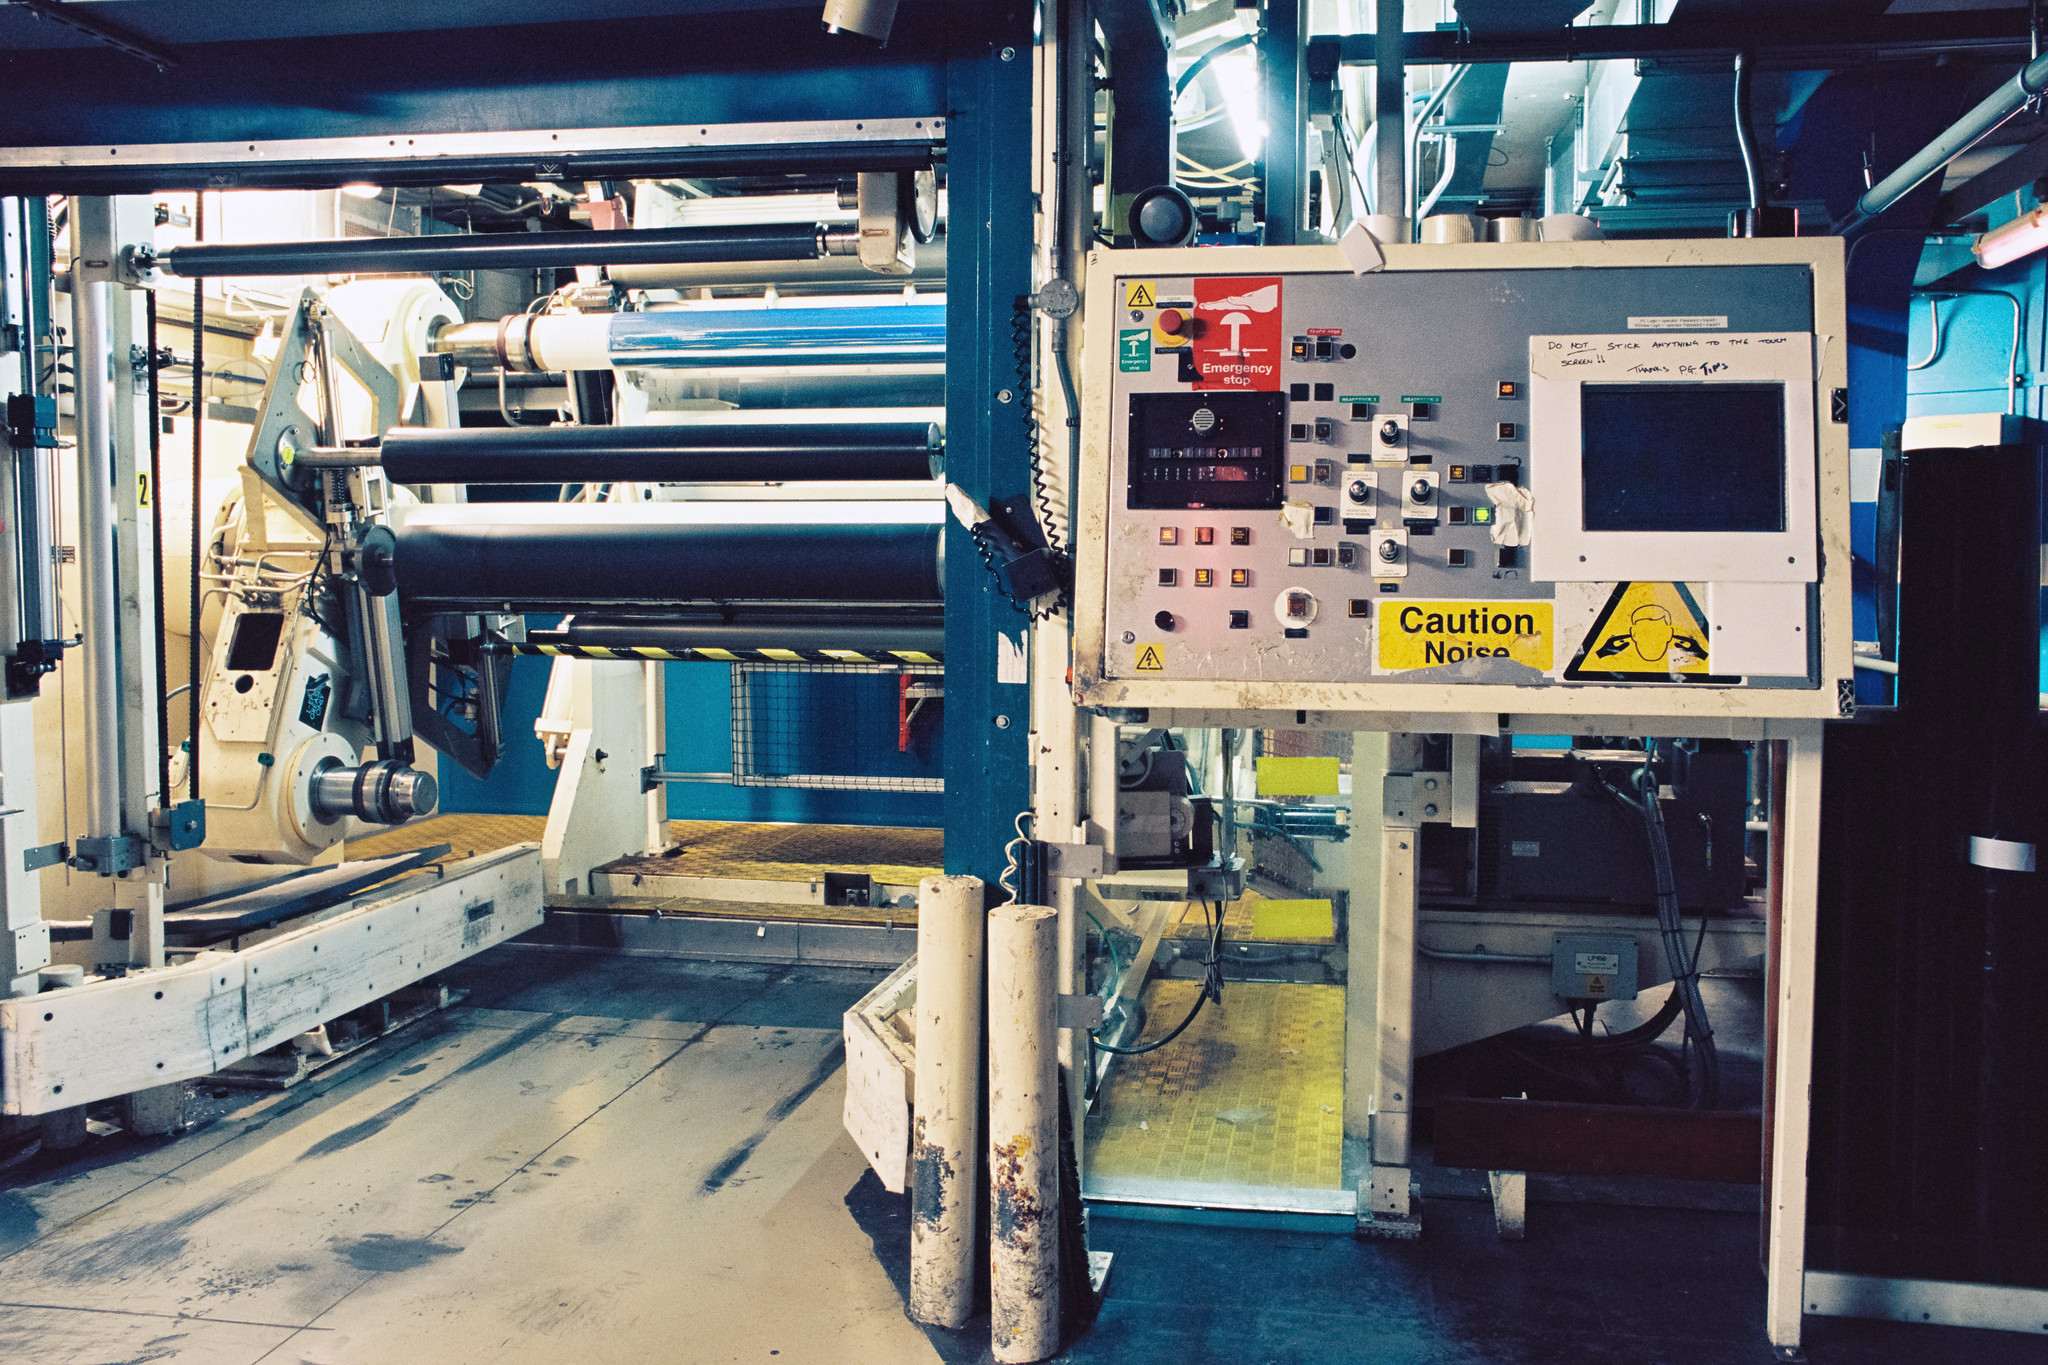
As I photographed the winding equipment I remembered that I had my elderly Nikon film camera, loaded with Ektar 100 with me, and I got it out to take a couple of snaps. In this cathedral of all things analog I thought it was somehow fitting to take some “proper photographs”. It was the first time I had used the camera in about 15 years. After each click of the shutter I found myself glancing down at the back of the camera, looking for a screen to check how the picture had turned out! Actually, I had to wait rather more that a week (and spend 30€) to find out how the film images turned out. Here is one of them. I have to admit that I much prefer the digital images!
As the paper approaches the coating station, it runs through a corona discharge unit which bombards the paper surface with streams of electrons. These cause breaks in the polymer chains that make up the polythene coating and provide a much better surface for the emulsion to adhere to.
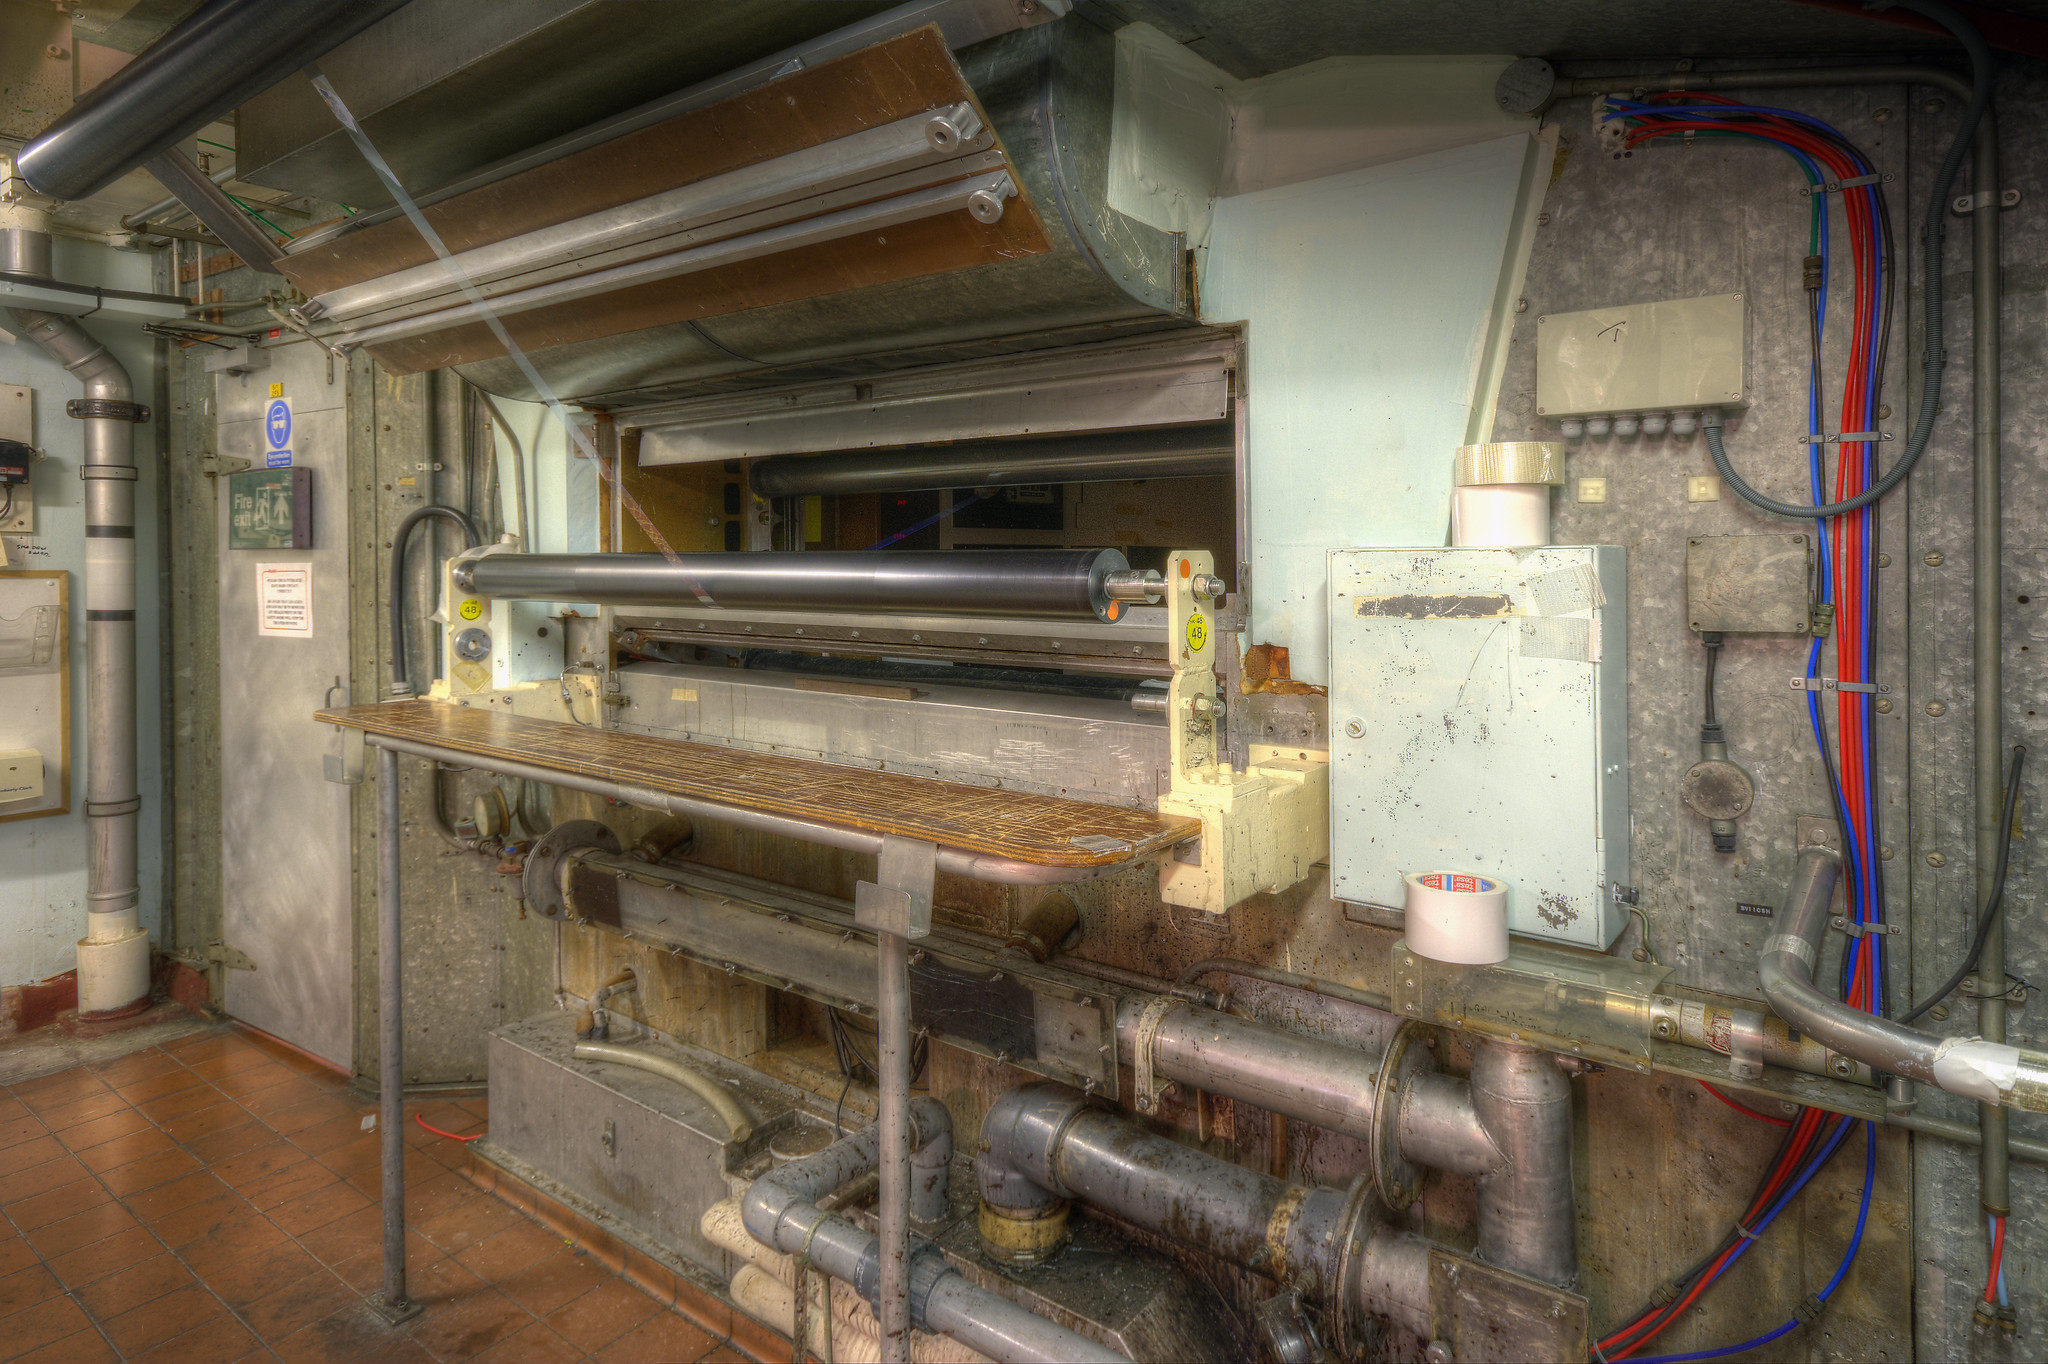
When Track 5 was built in the 1980s, the emulsion was applied to the paper using a technology known as bead coating. This obsolete method is no longer used but the “Bead Coater” itself, being part of the fabric of the building is still present. The paper web simply bypasses this picturesque piece of history on its way to the much more modern “Curtain Coater”.
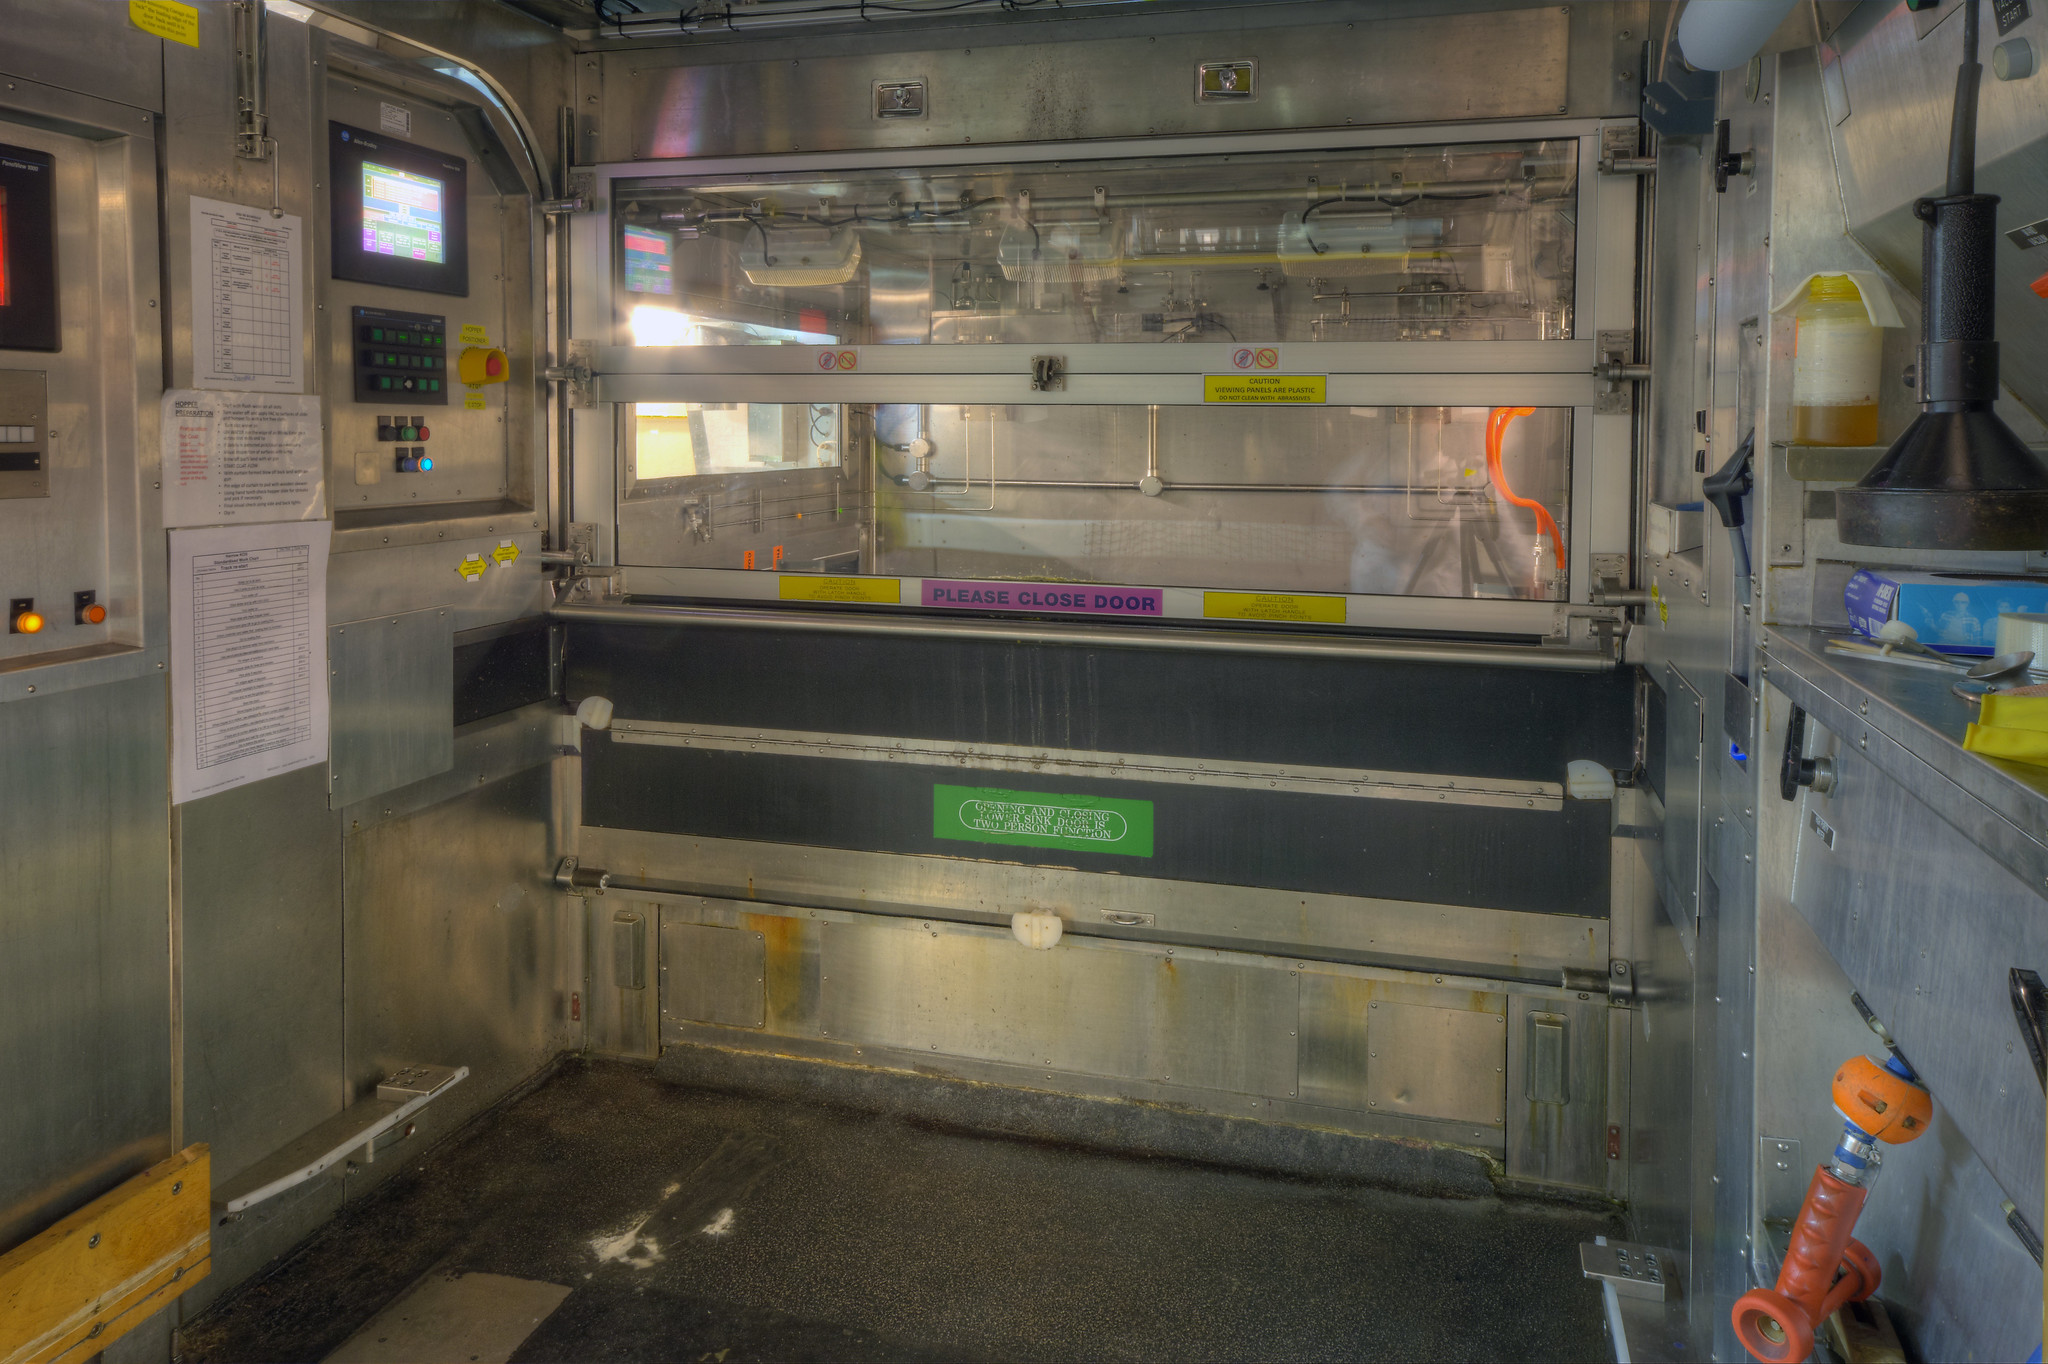
The business end of the curtain coater is the “Hopper”. Machined to incredibly tight tolerances out of a massive block of titanium, it’s function is to create a constant cascade of up to eight warm liquid layers, to drop down onto the paper base that is passing underneath. The emulsion layer when dry is only about 6 microns thick (one twentieth of the diameter of a human hair) so you can imagine how thin the individual layers need to be. They are designed with viscosities that prevent them mixing. All of this needs to happen in the absence of air bubbles, impurities, or anything that would jeopardize the homogeneity of the emulsion. It is difficult to imagine that the process actually works – but it does. I have heard that the cost of a hopper is something close to a million dollars. Three Hoppers are shared between tracks 5/1 and 5/2.
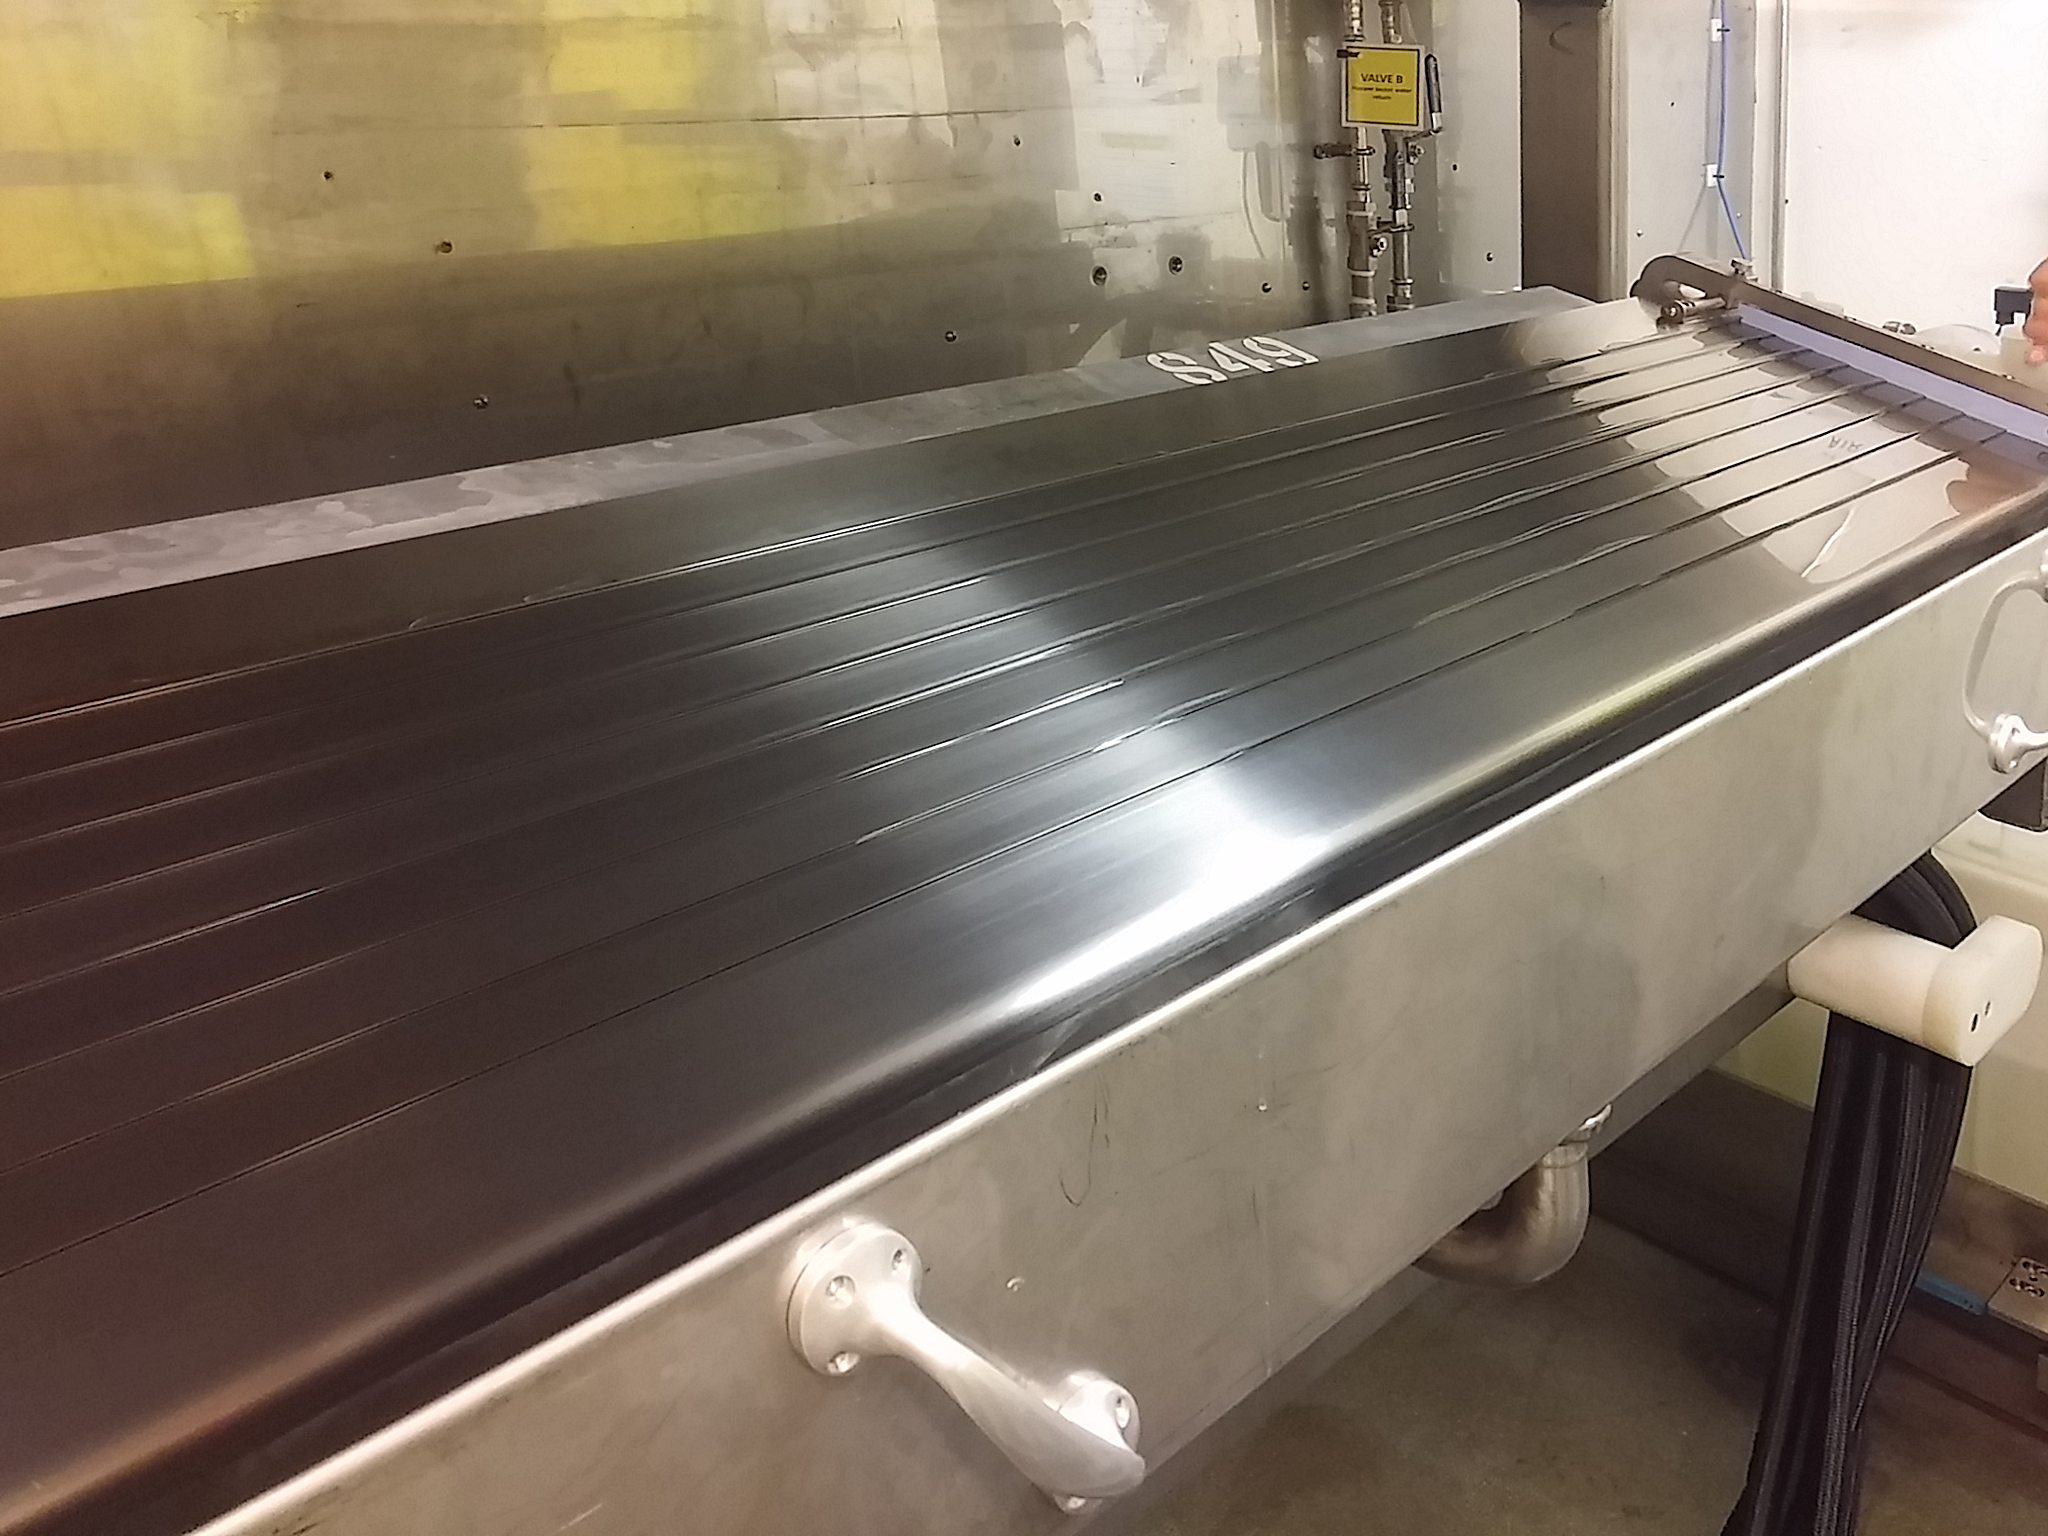
During my tour I did not get a good picture of the hopper so I am grateful to Robert Gunsing for letting me use a picture he took during a visit on the same day.
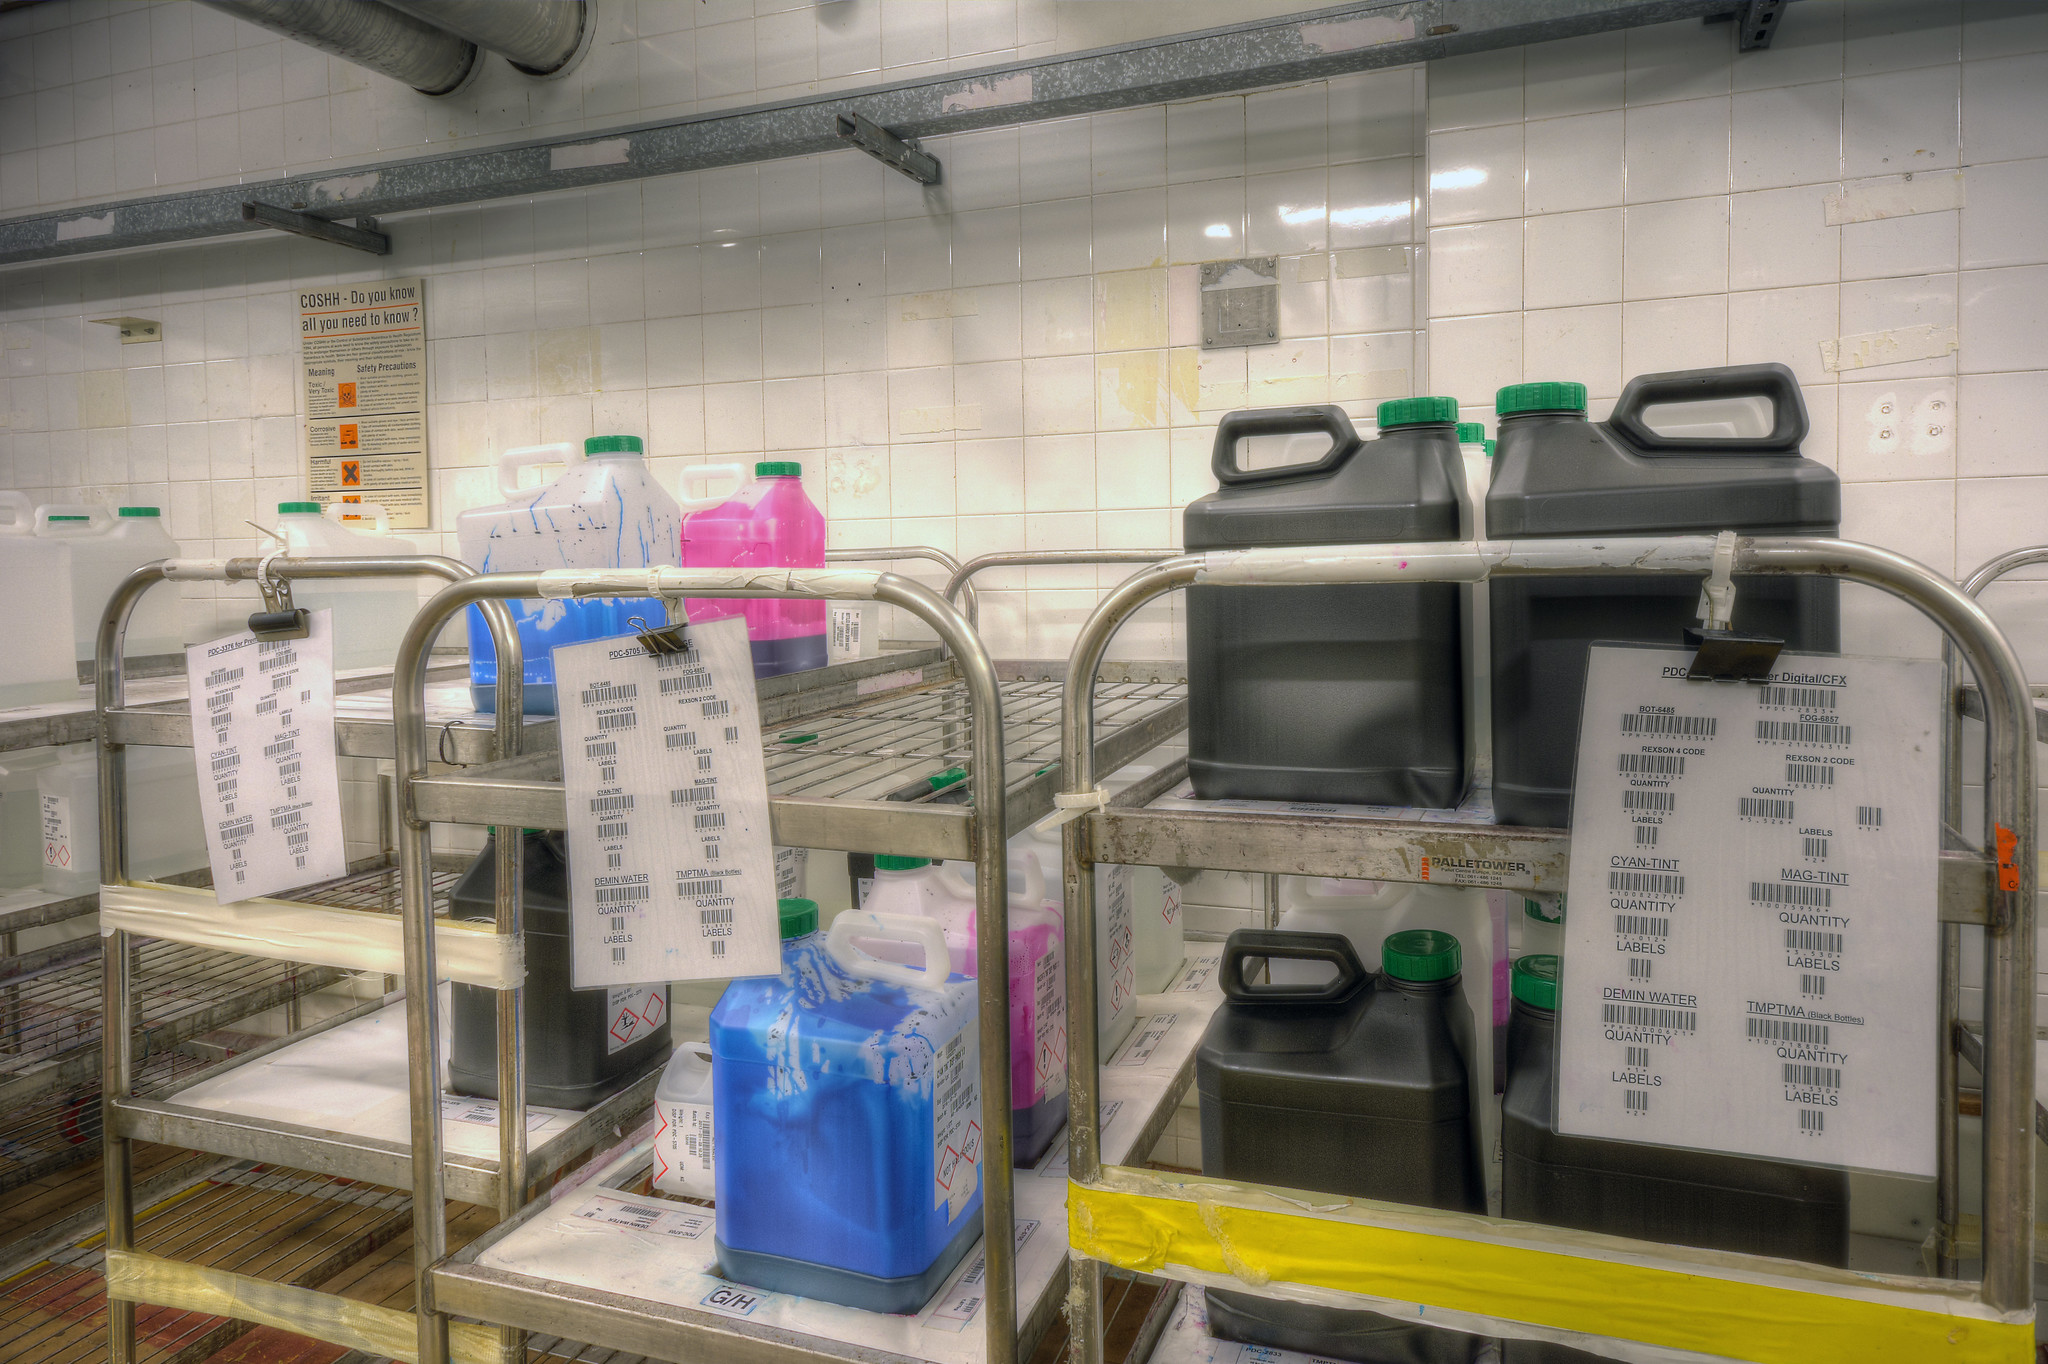
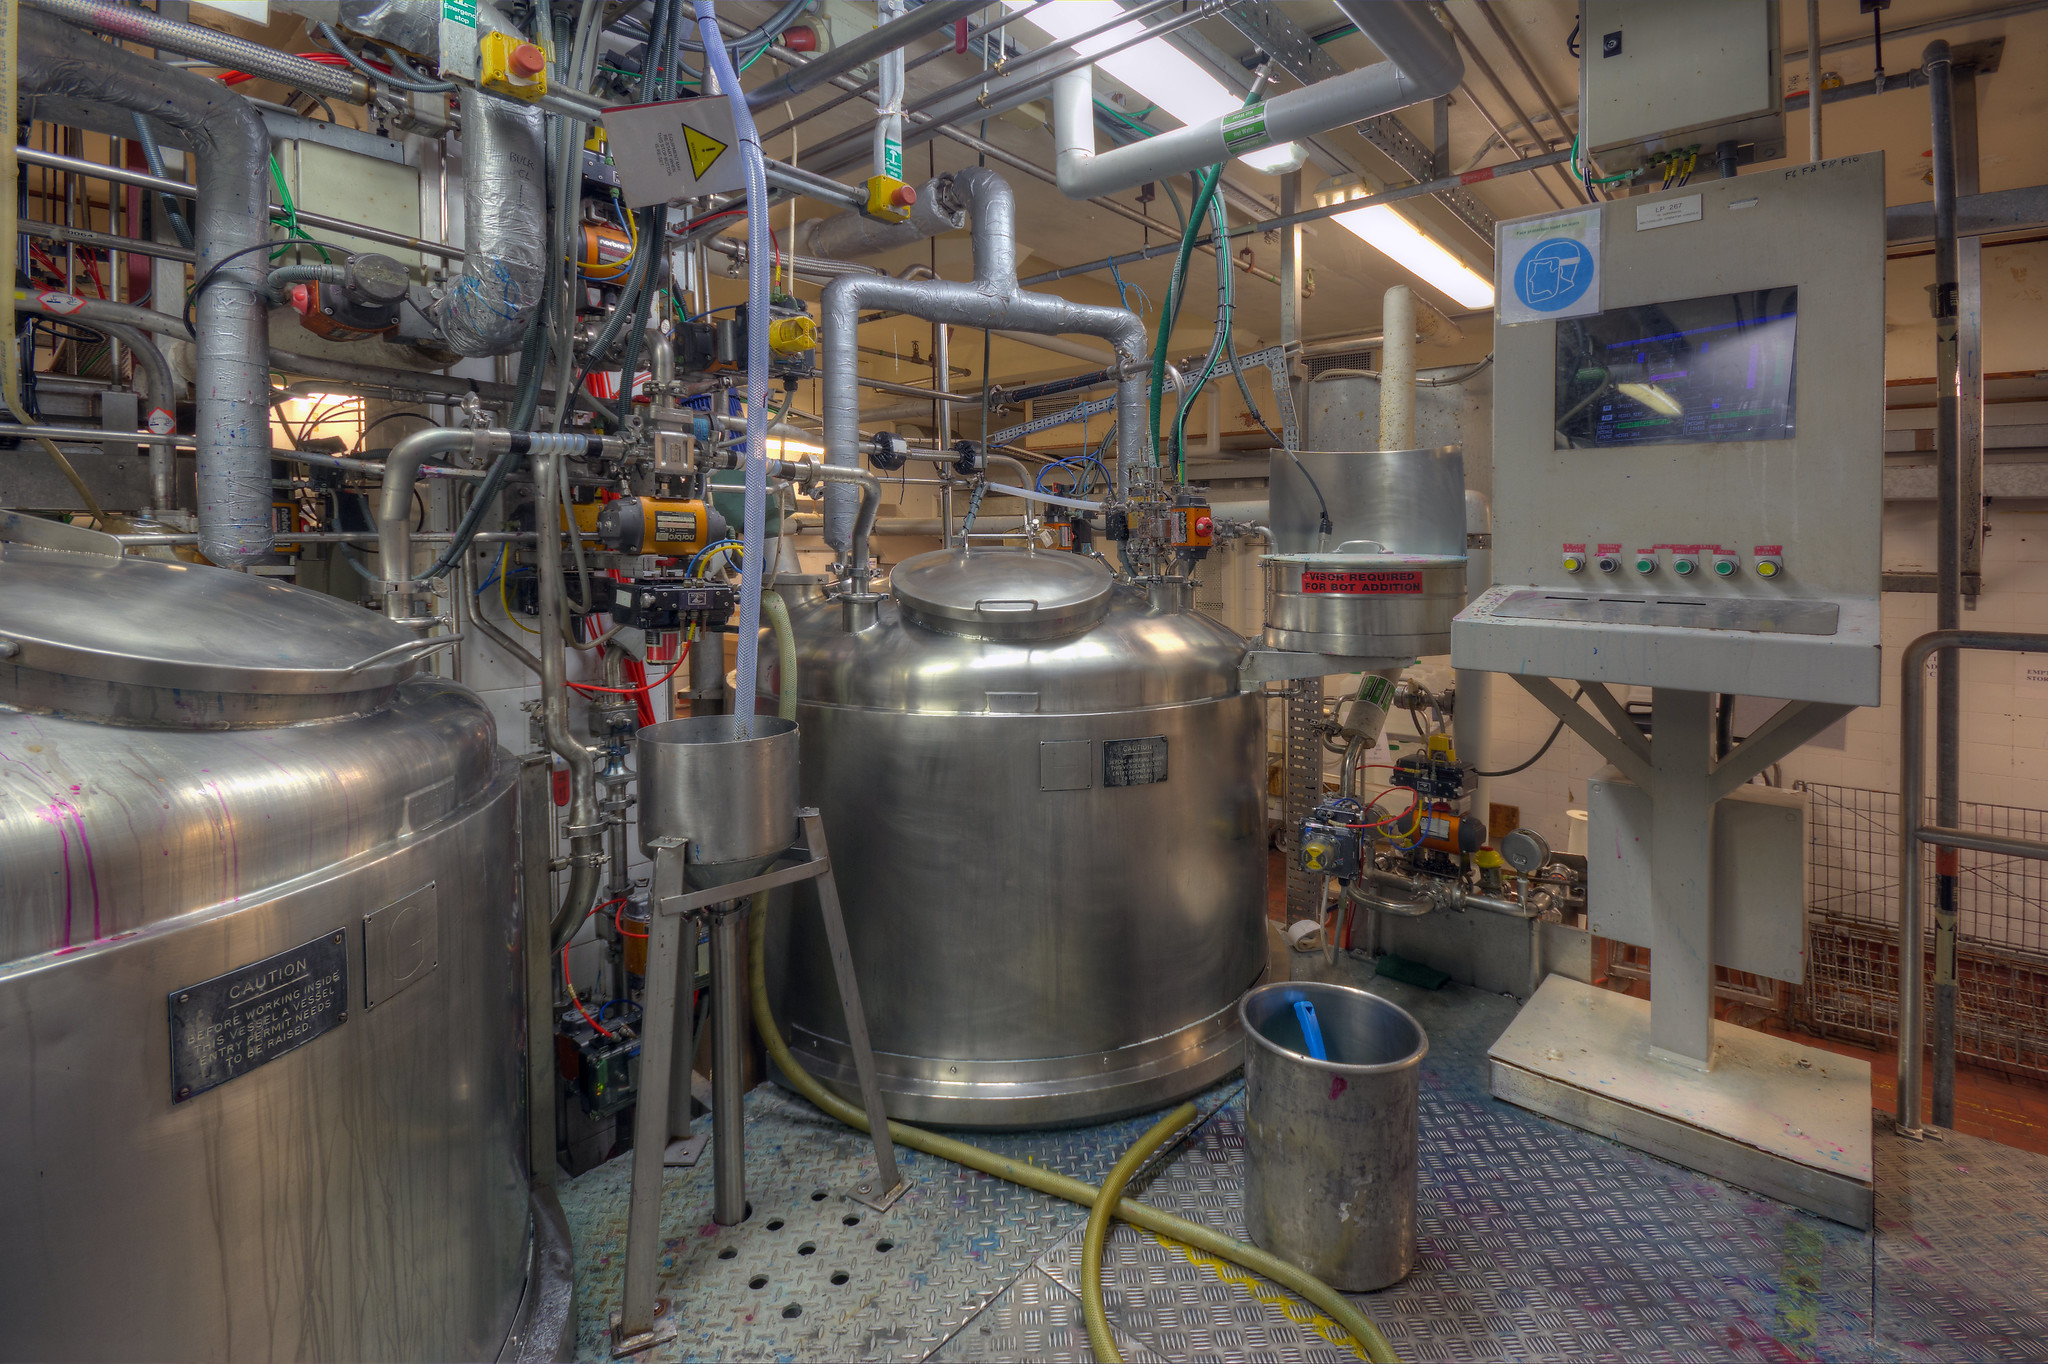
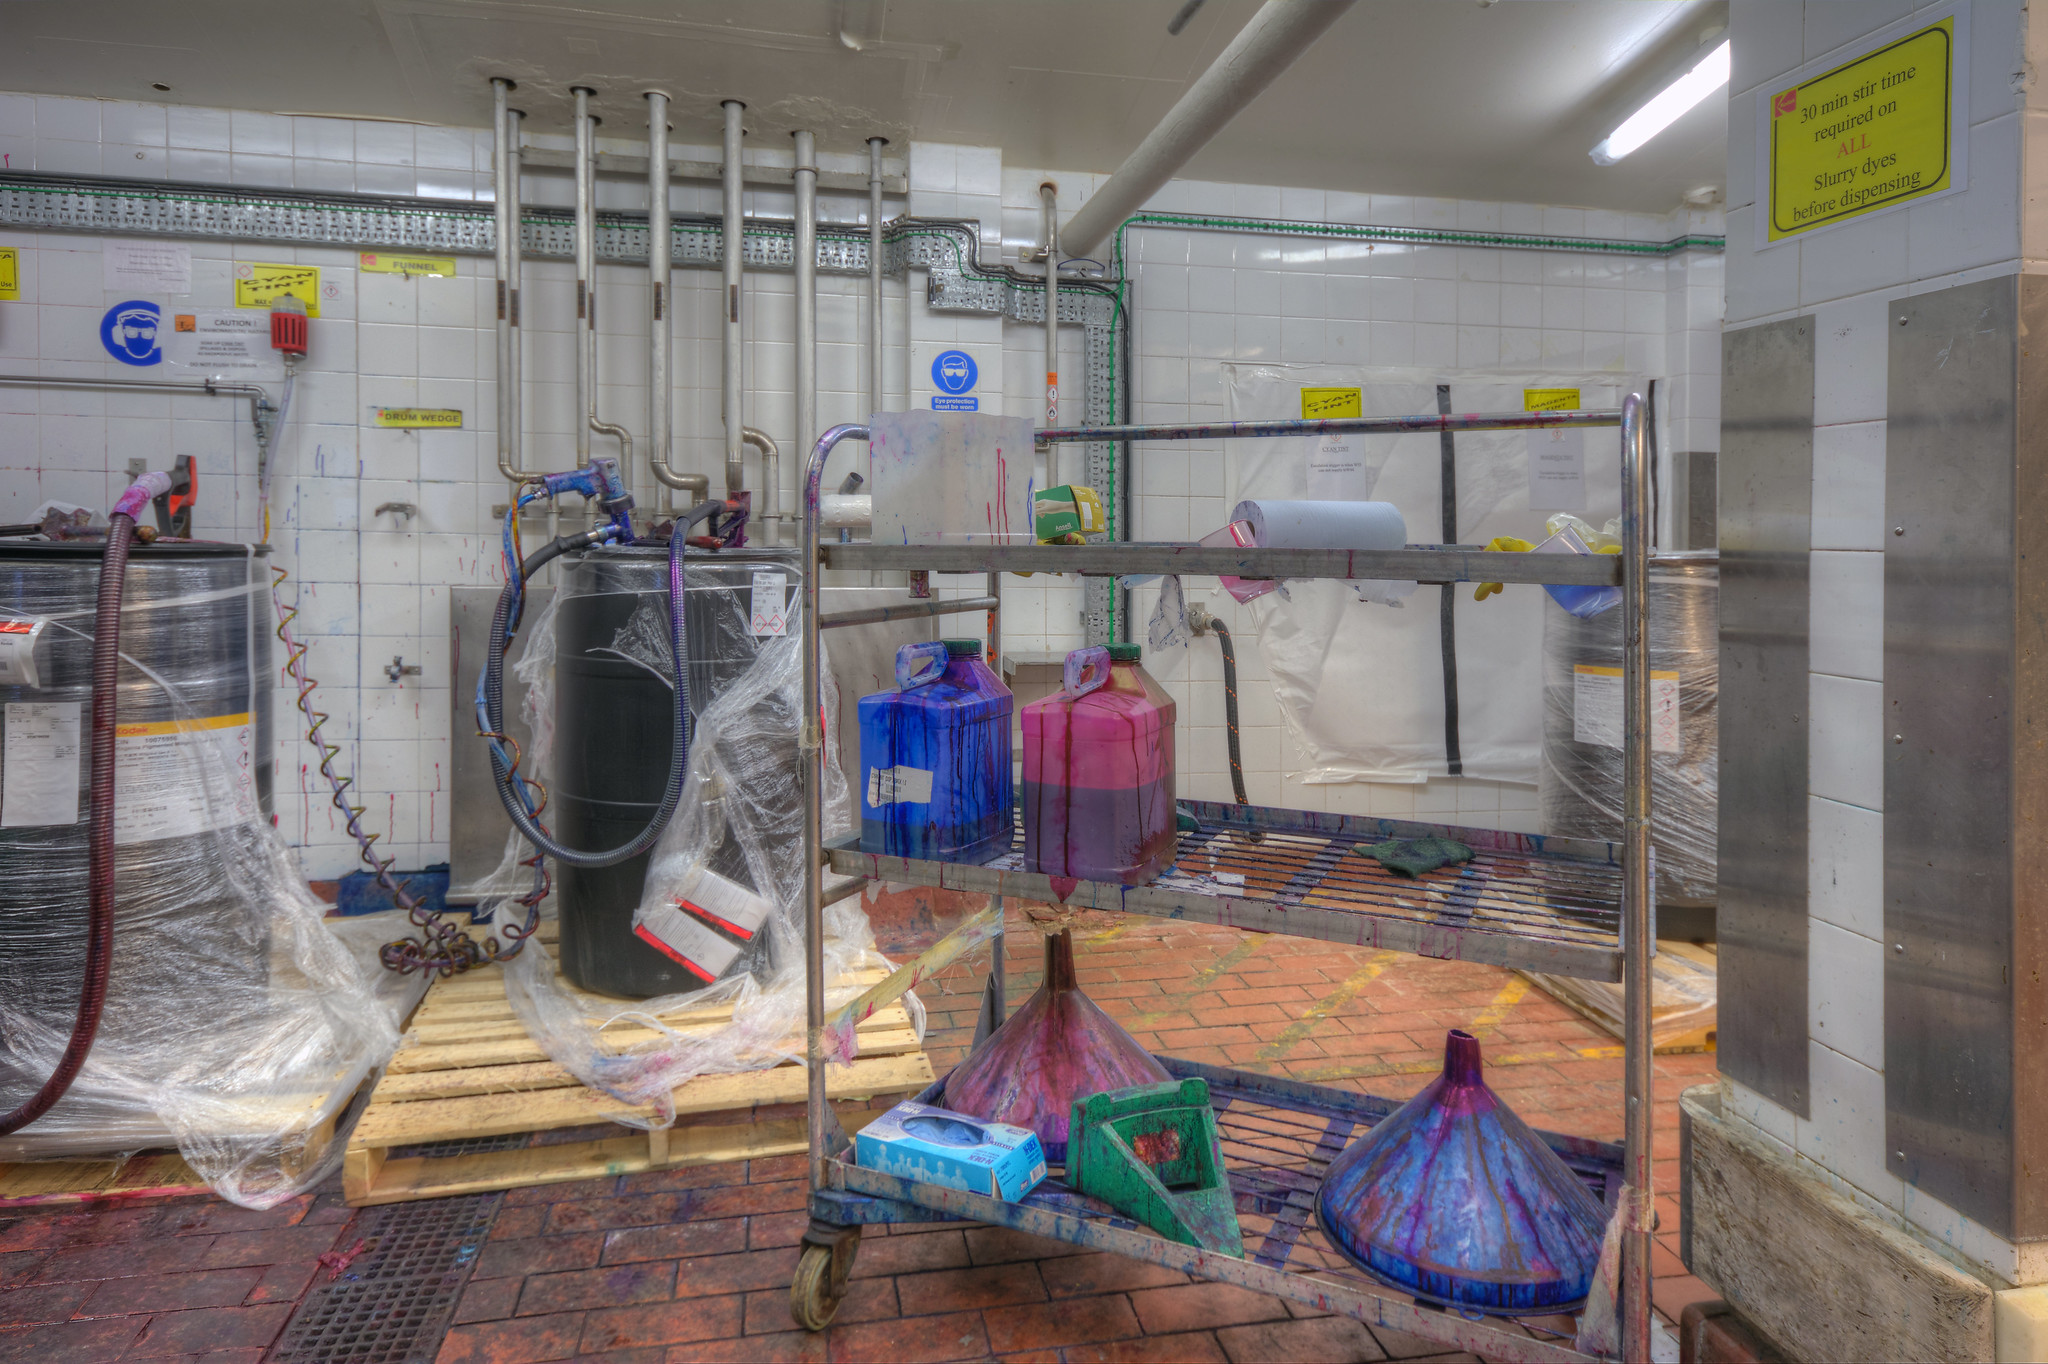
Close to the coating station at the south end of Track 5 are the large emulsion manufacturing areas. This is where the light sensitive emulsions and the liquid dispersions are manufactured according to proprietary recipes that Kodak has developed and refined over the decades.
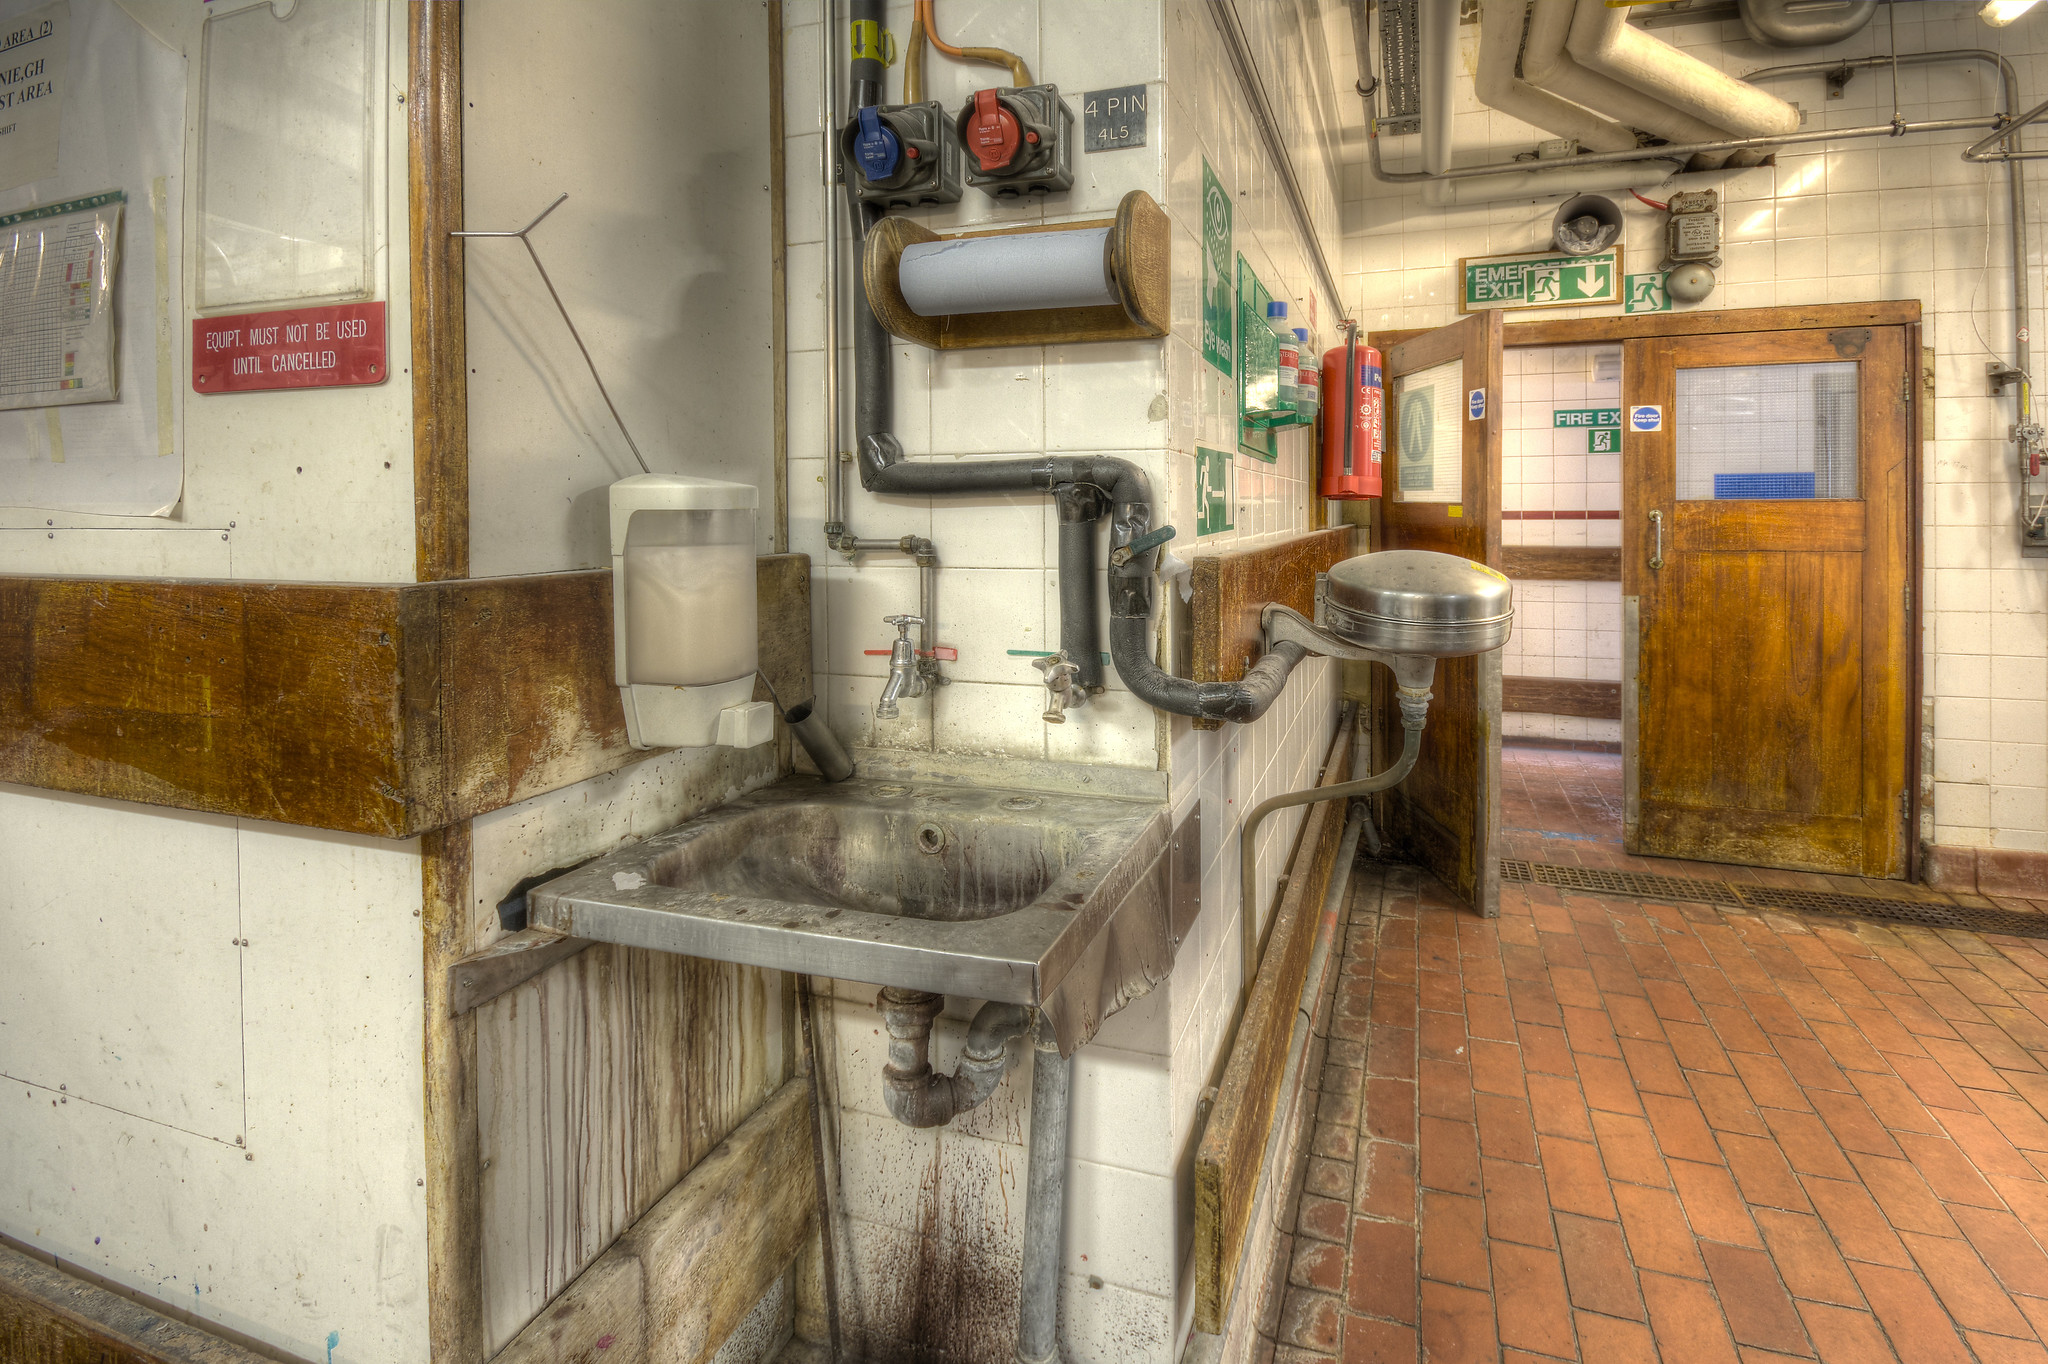
I will not pretend to understand what I was looking at but (vastly oversimplifying) the process works something like this: Four 3500kg batches of gelatin based, light sensitive emulsion are prepared every 24-hour period. This material is allowed to solidify and is stored until it is needed. At which time it is melted and mixed with a whole variety of secret sauce dispersions – including the dye forming components and interlayers. These coatings are piped to the hopper for immediate use.

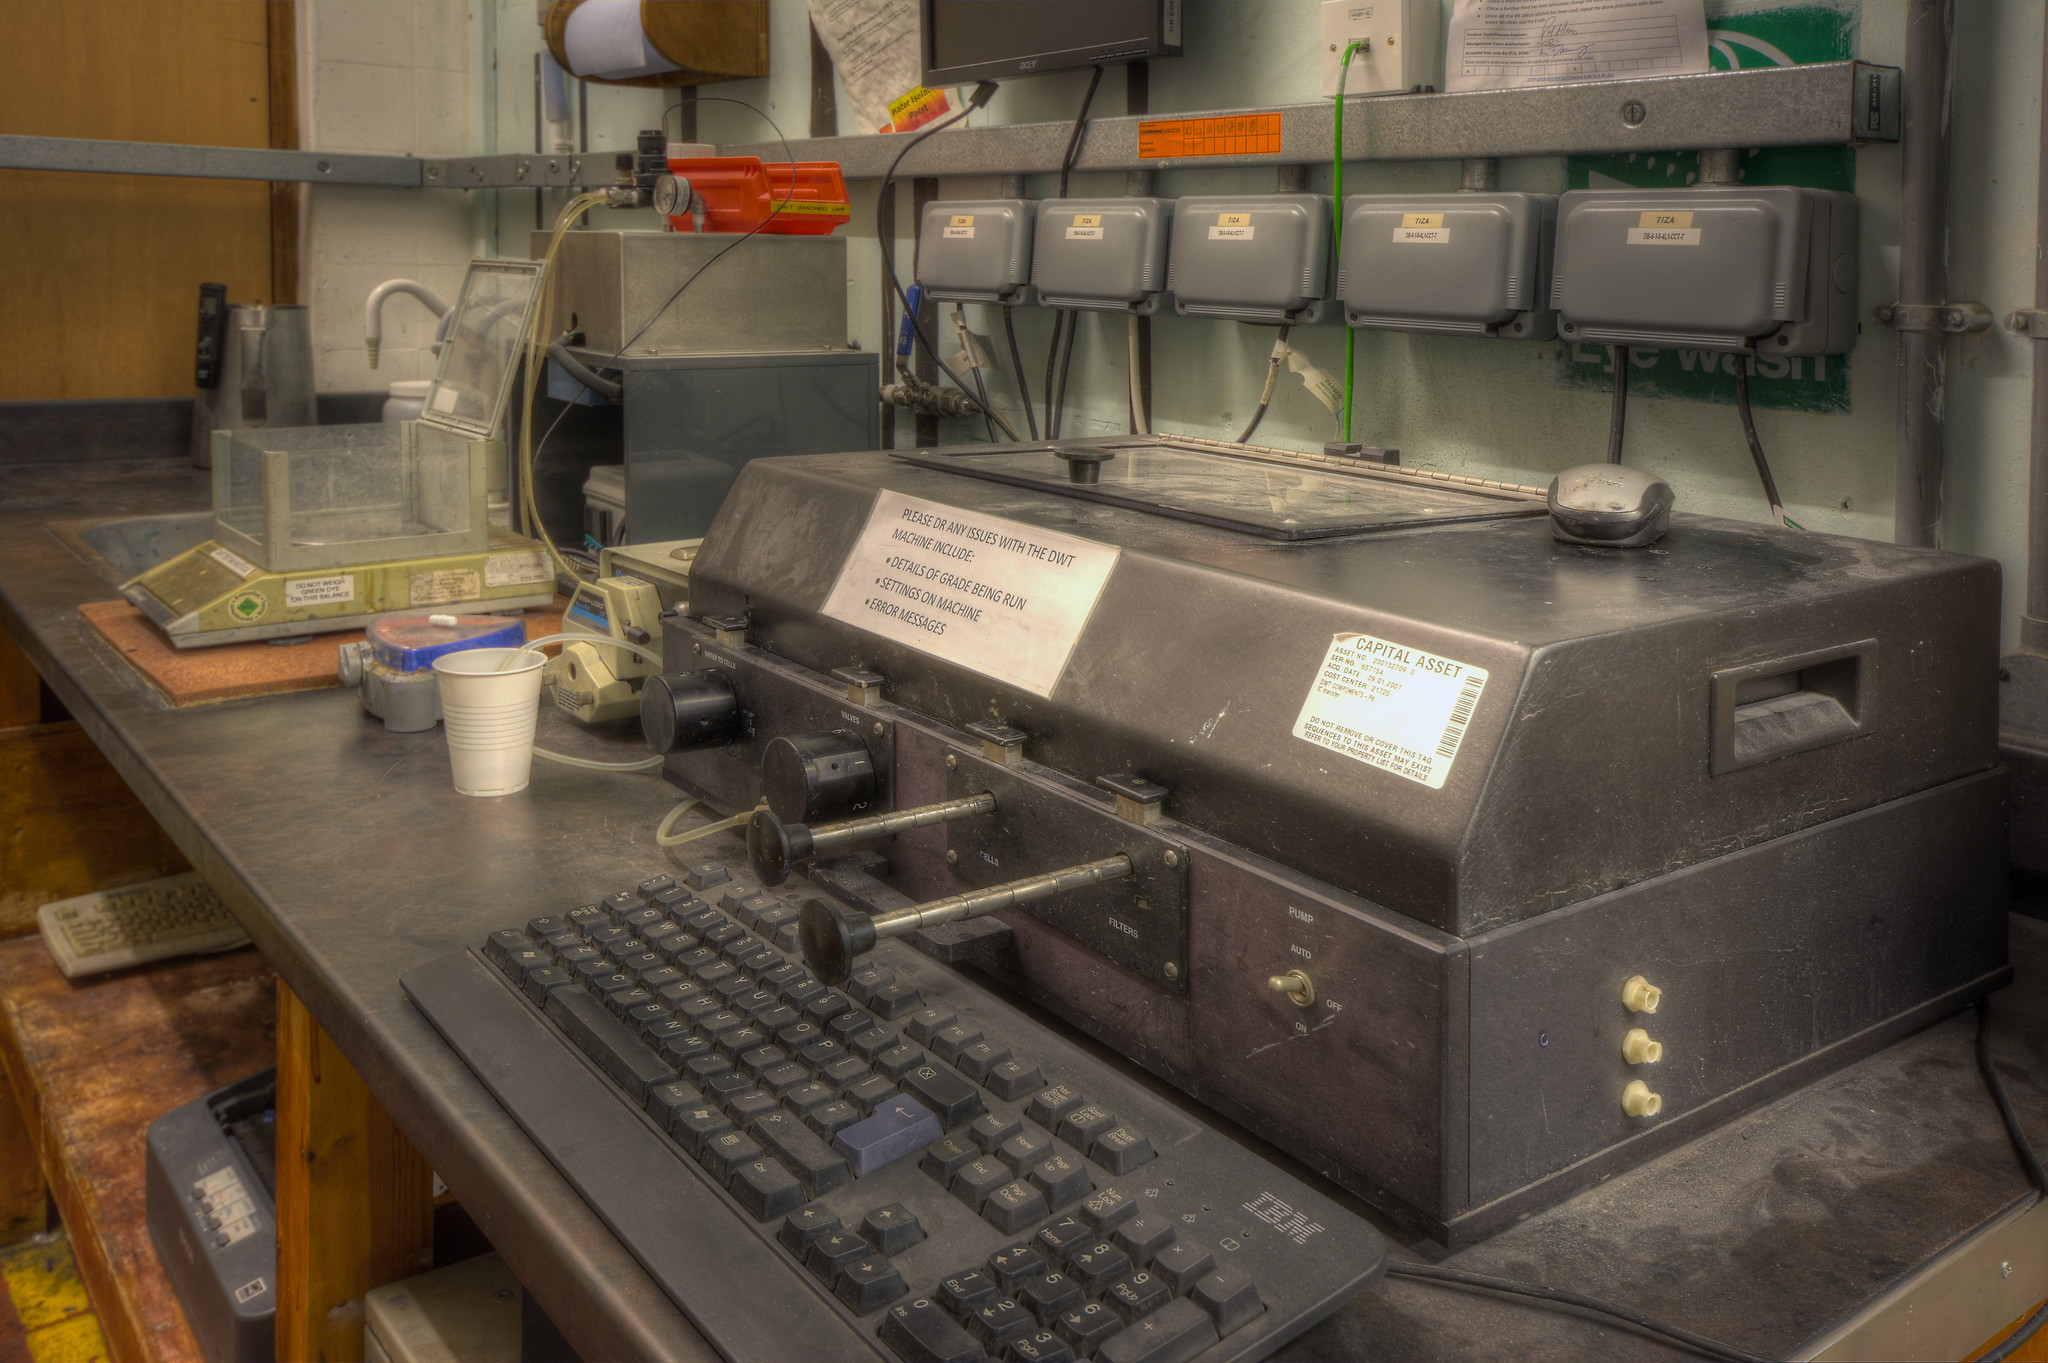
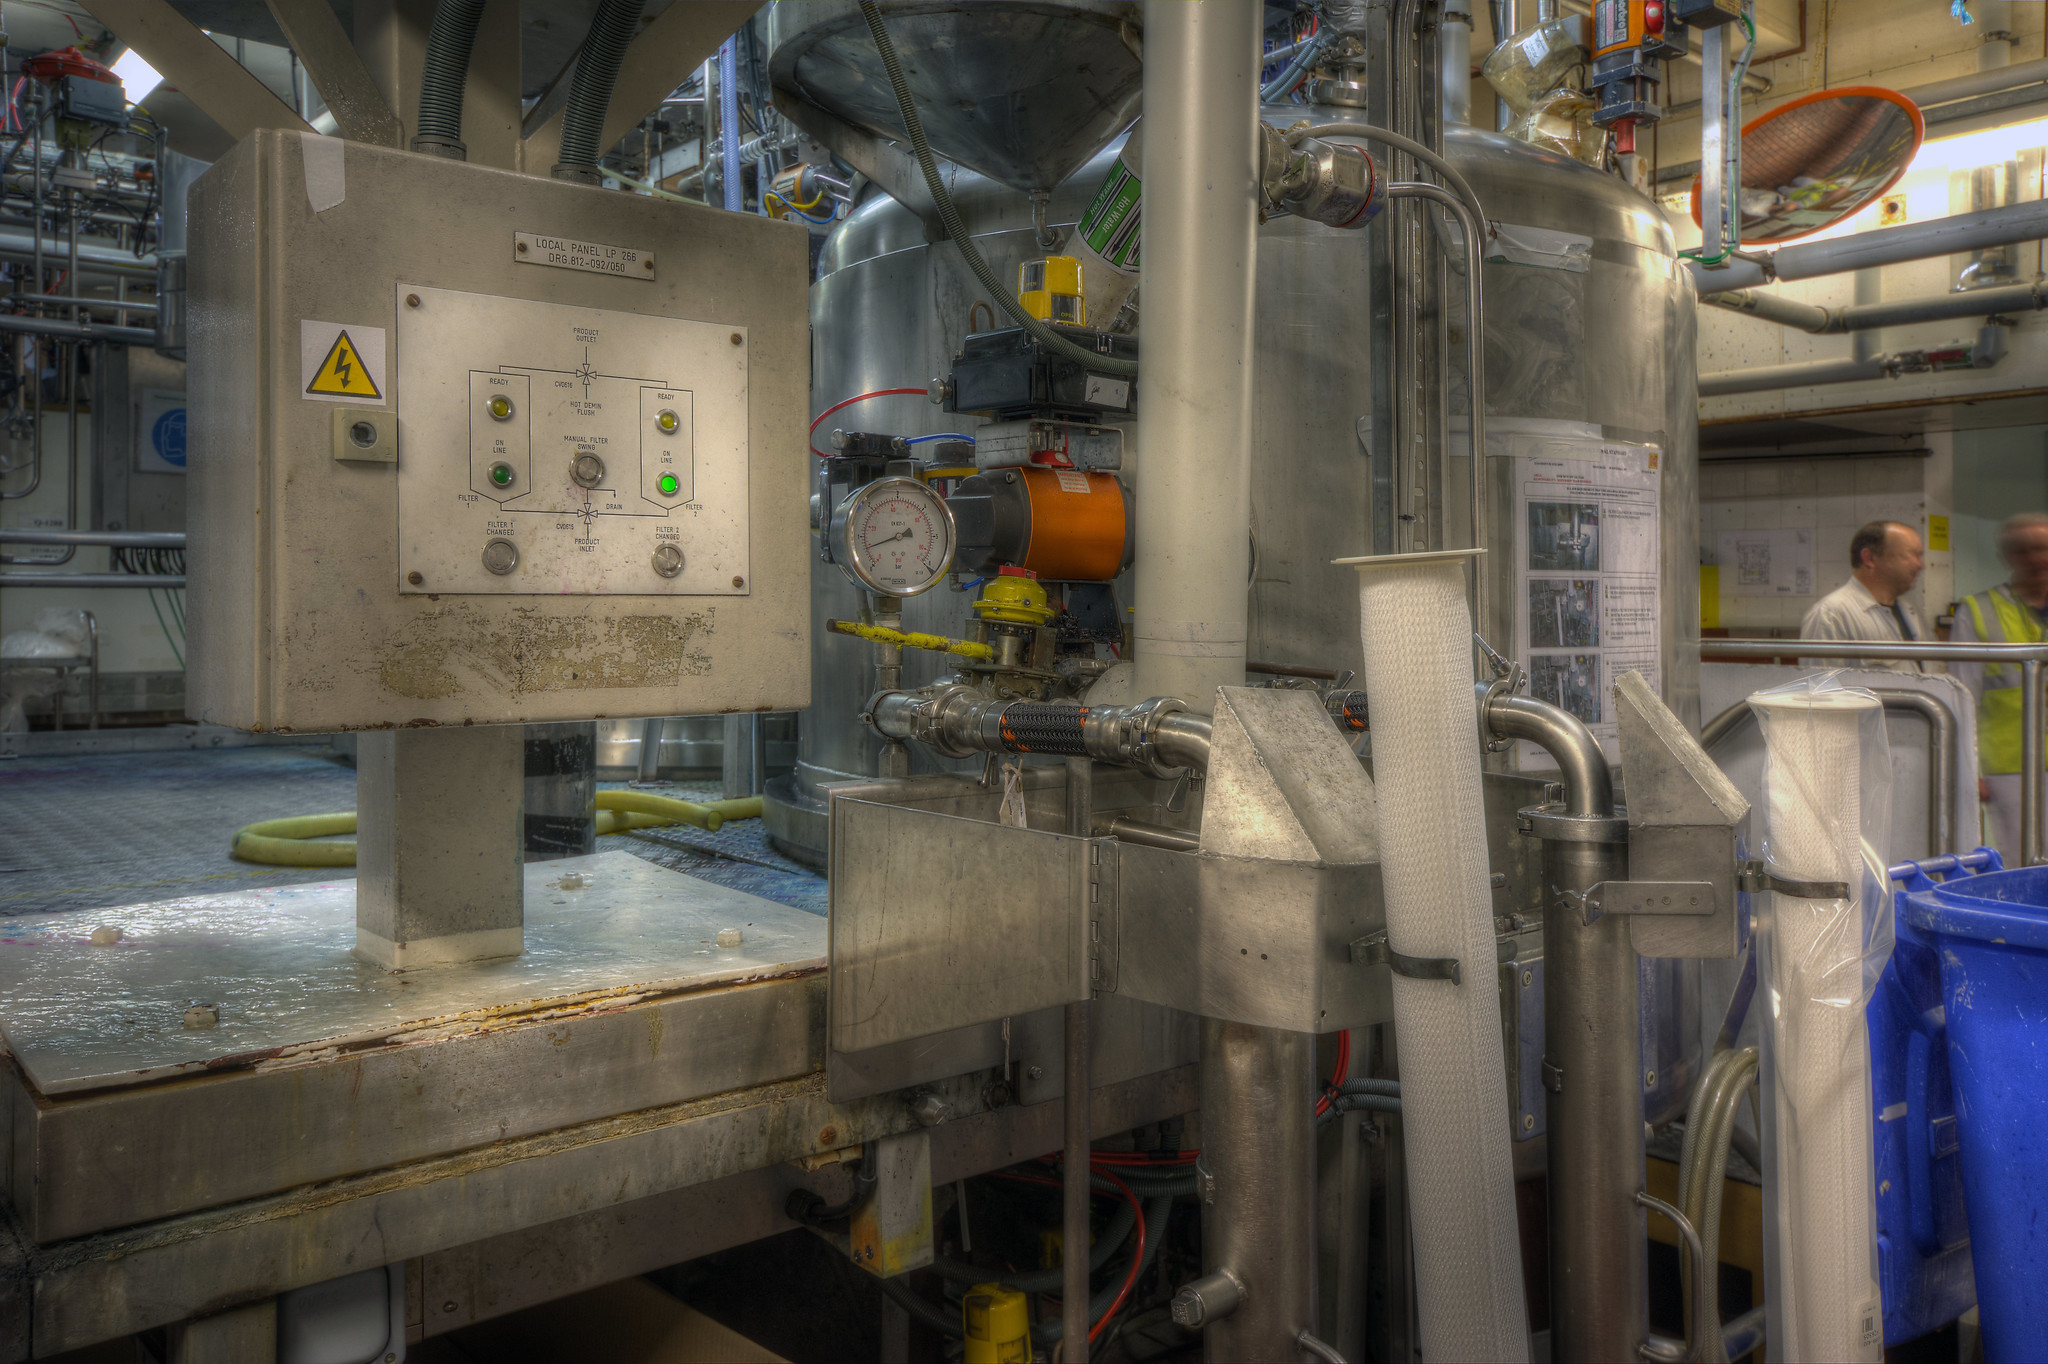
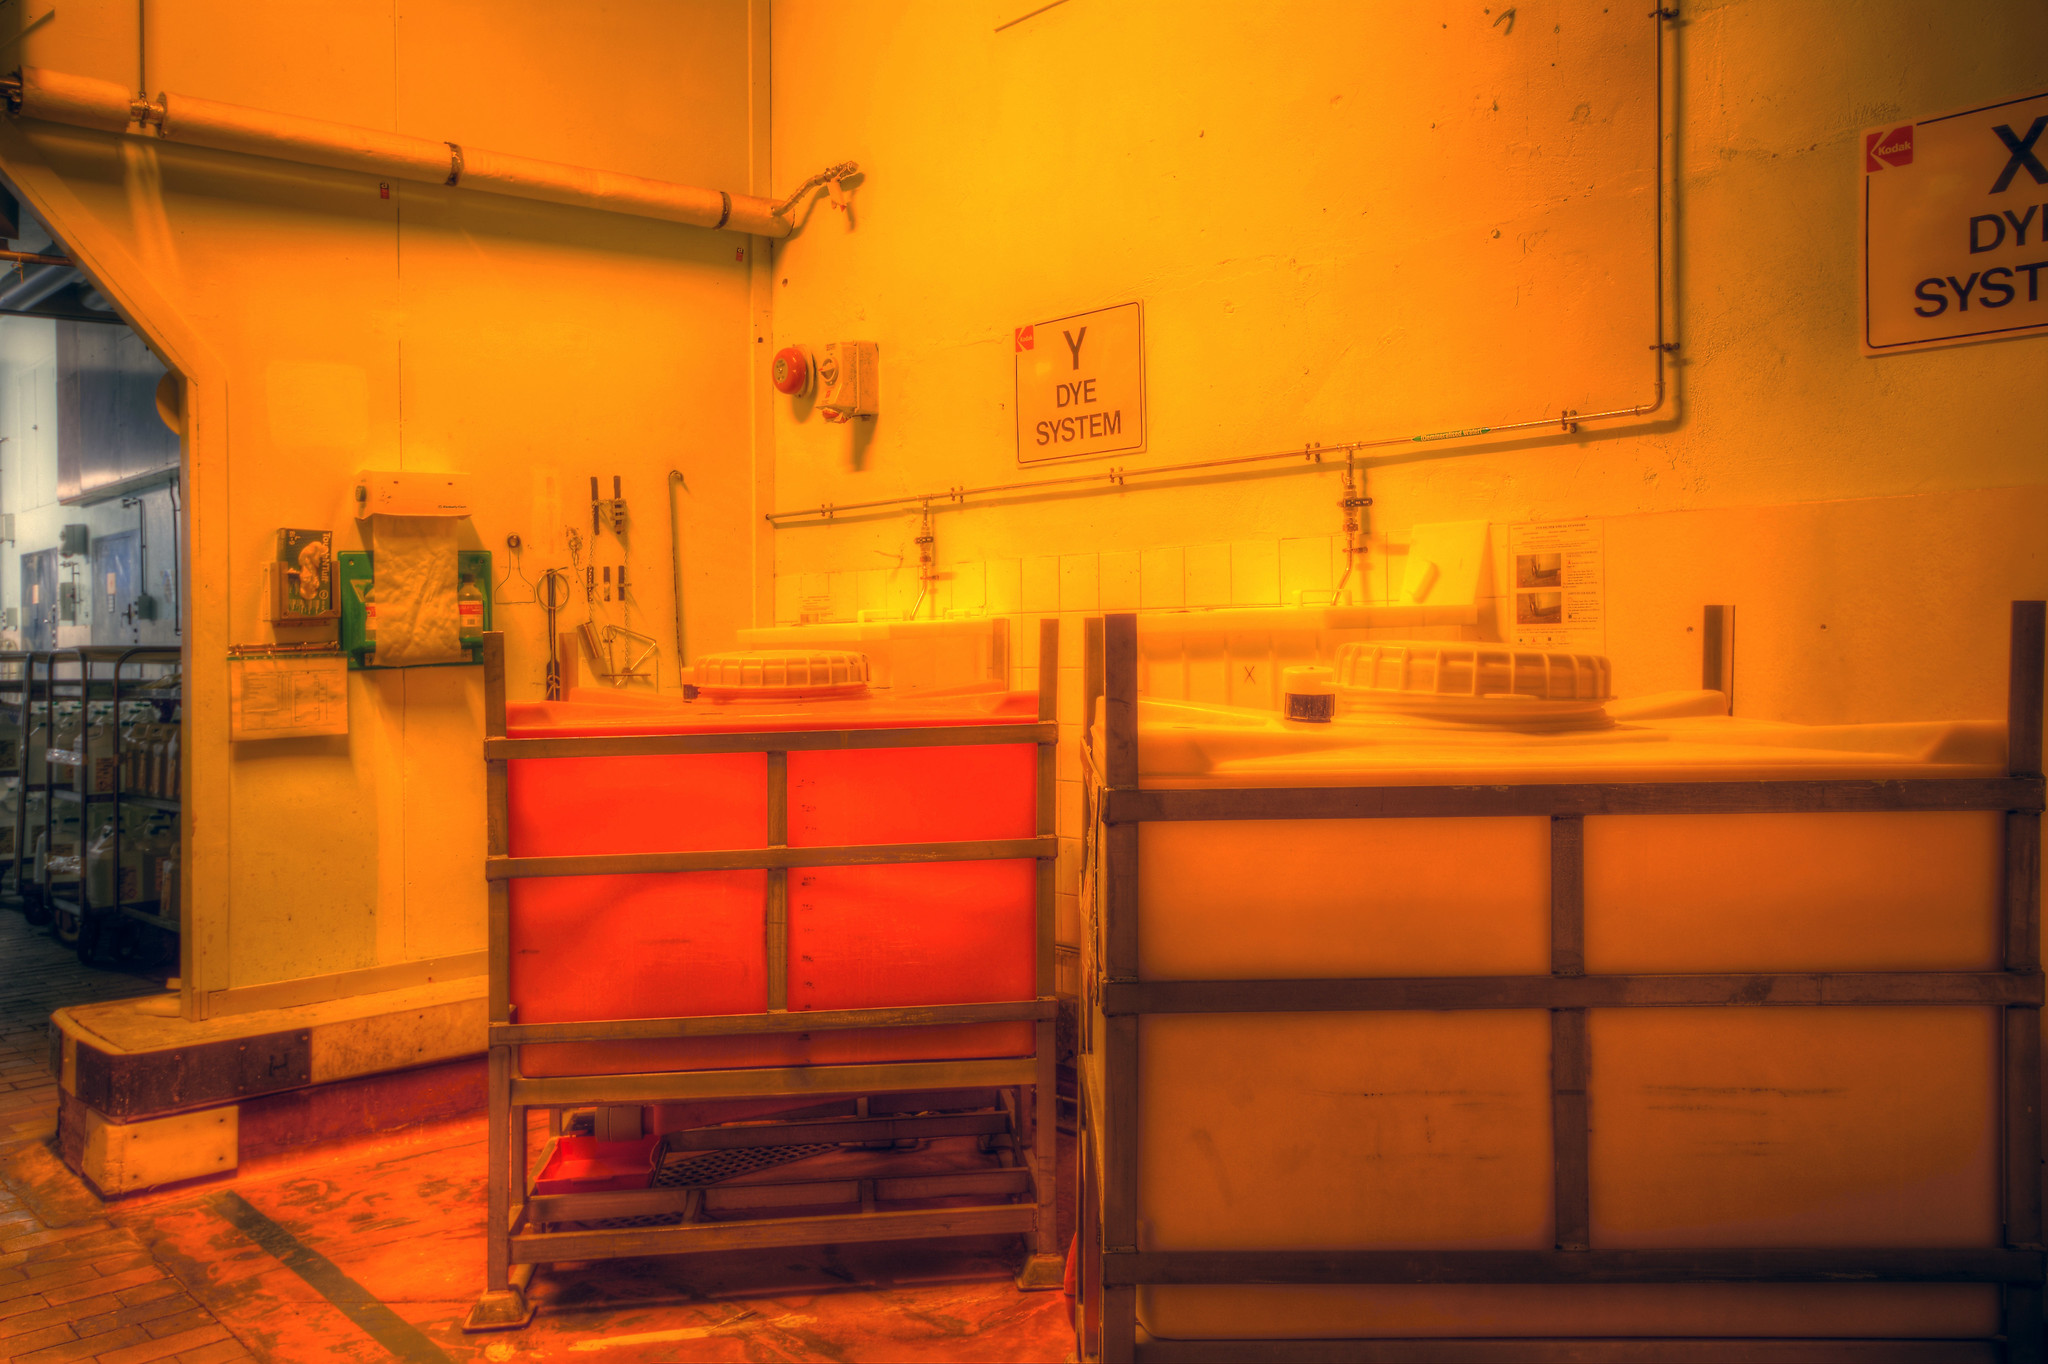
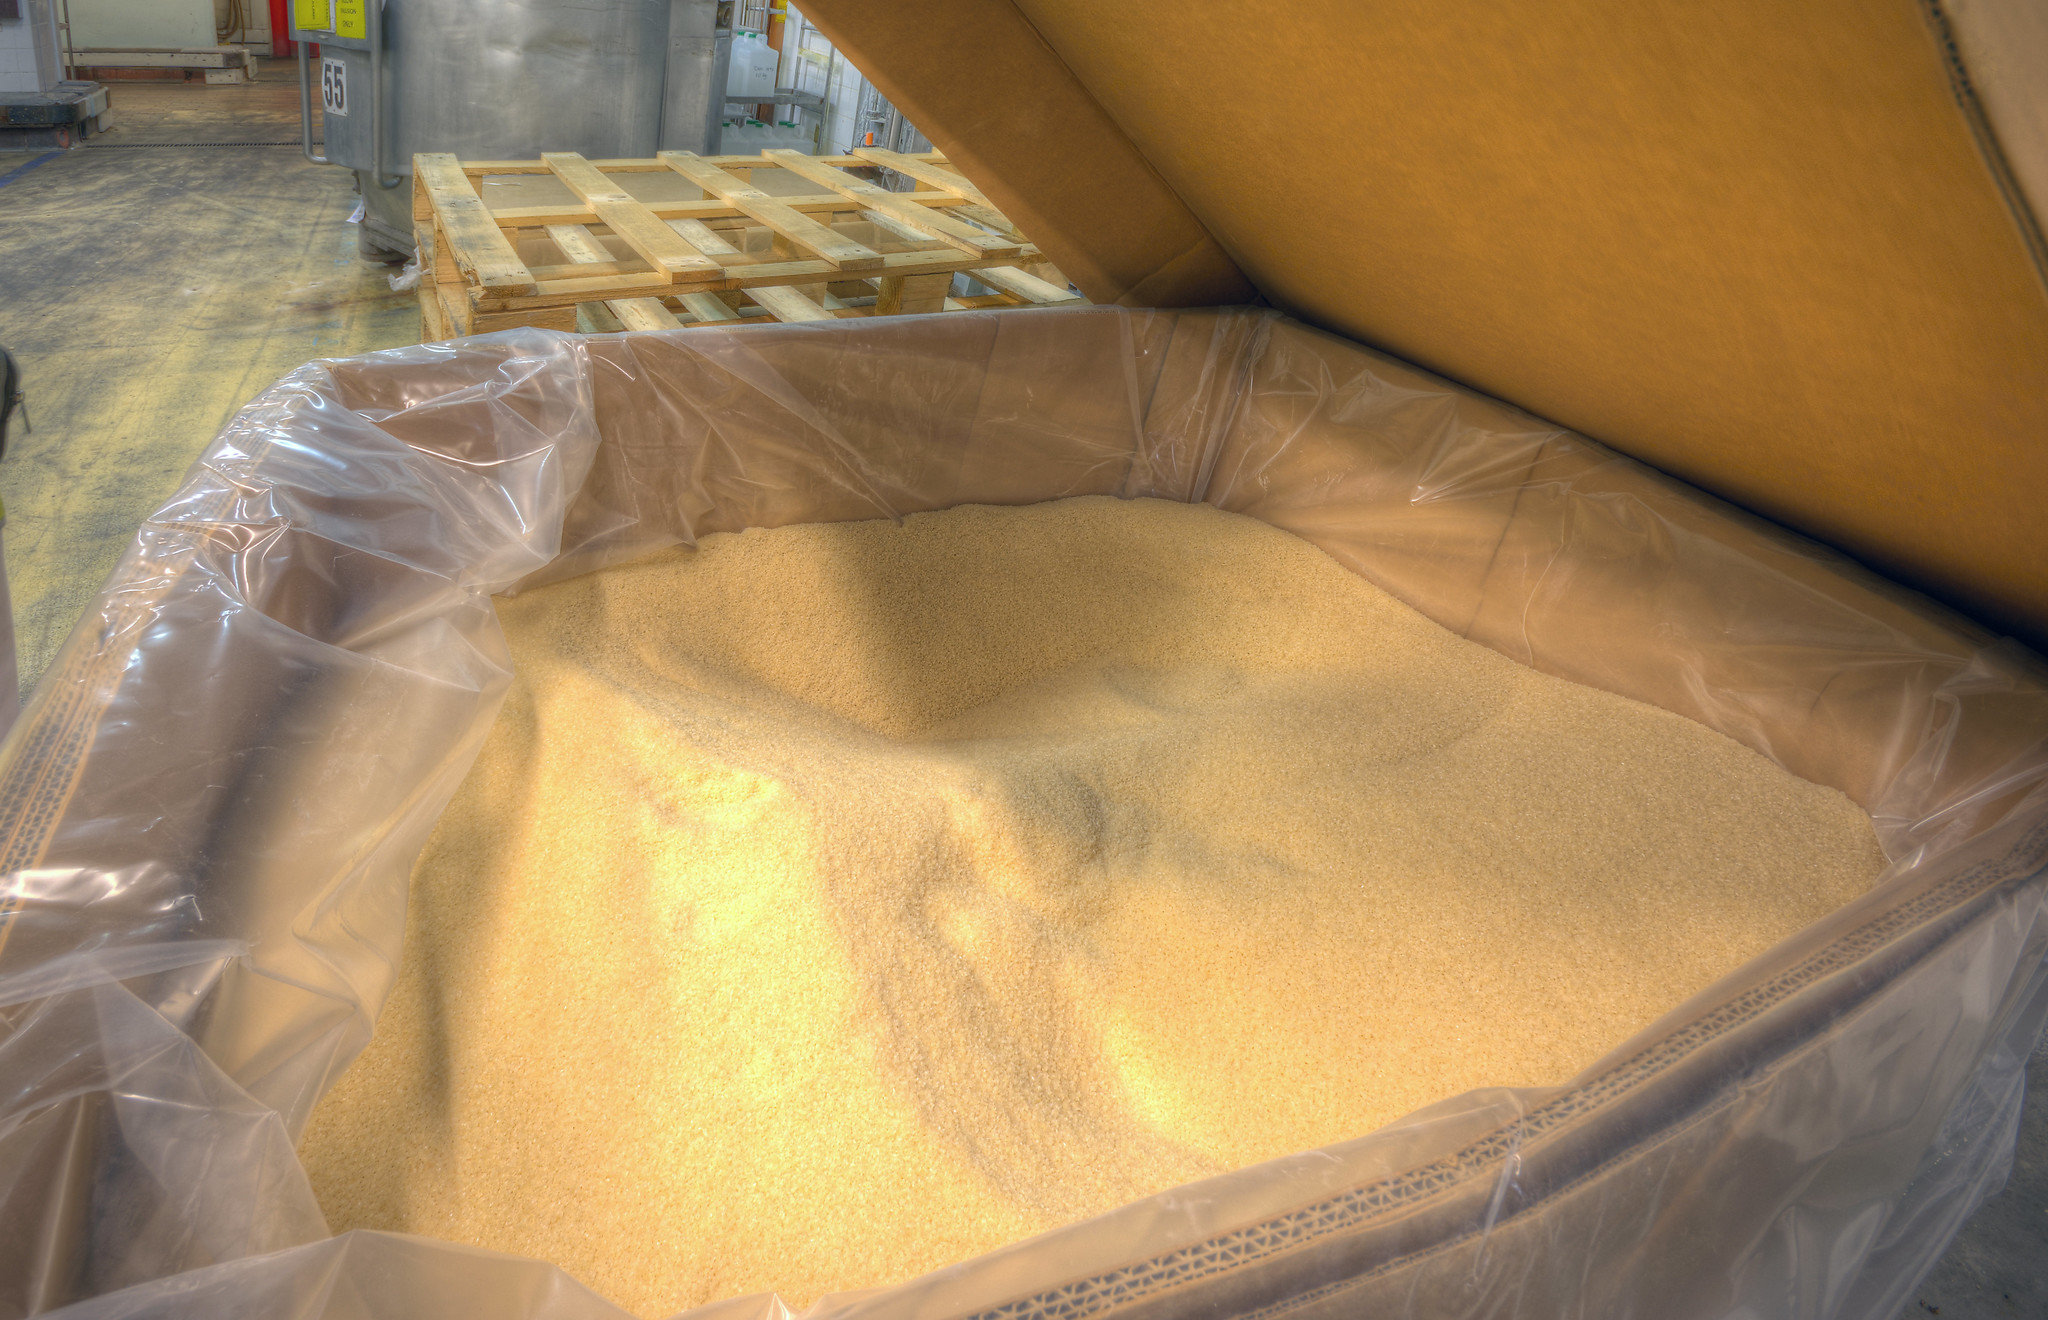
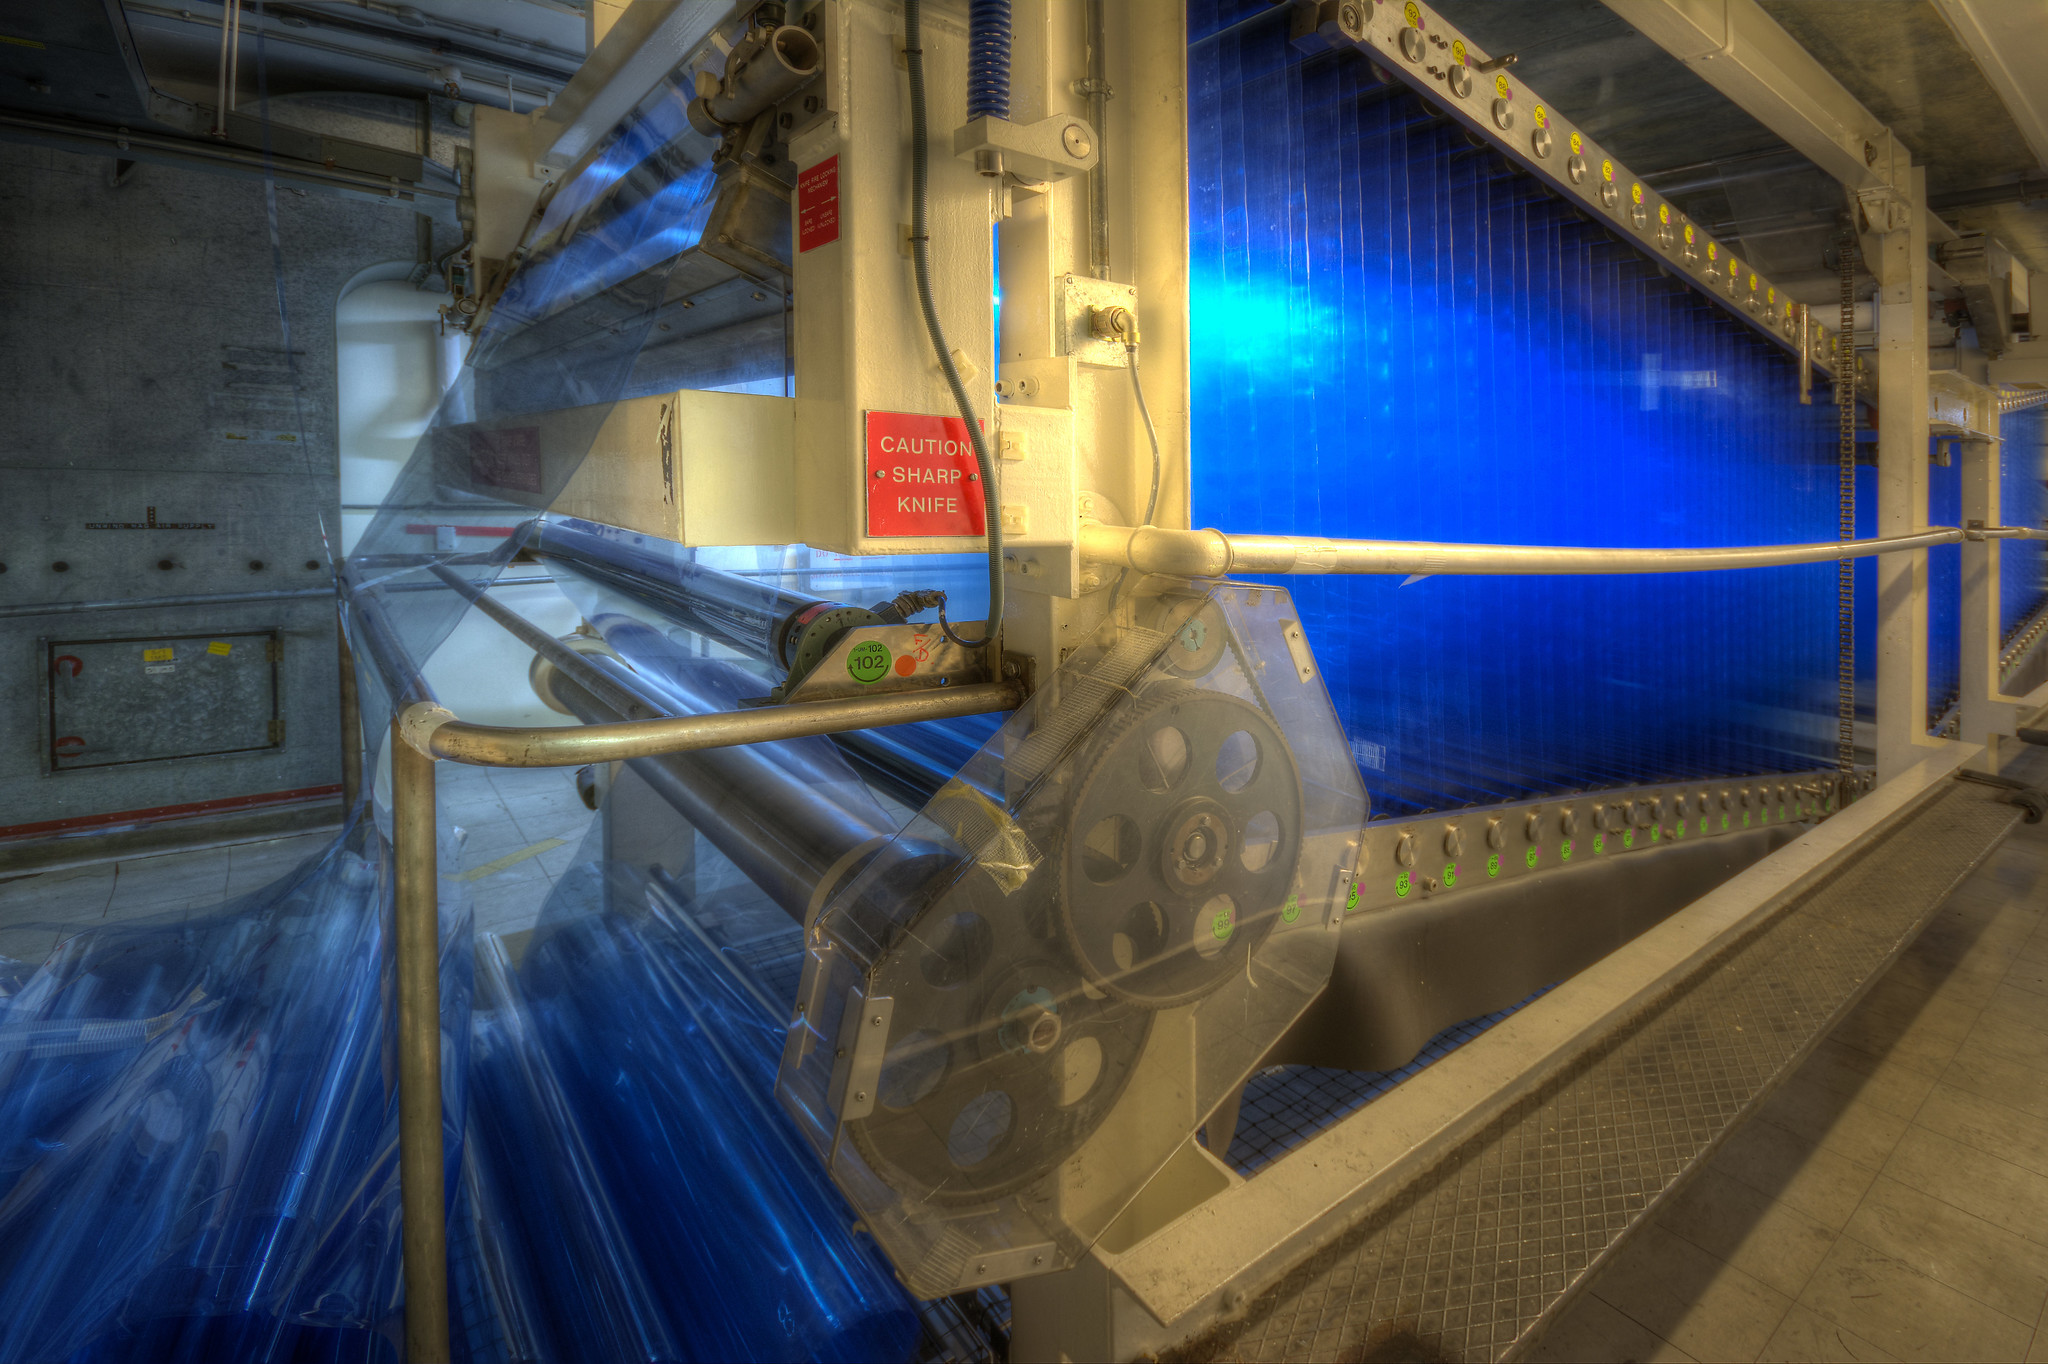
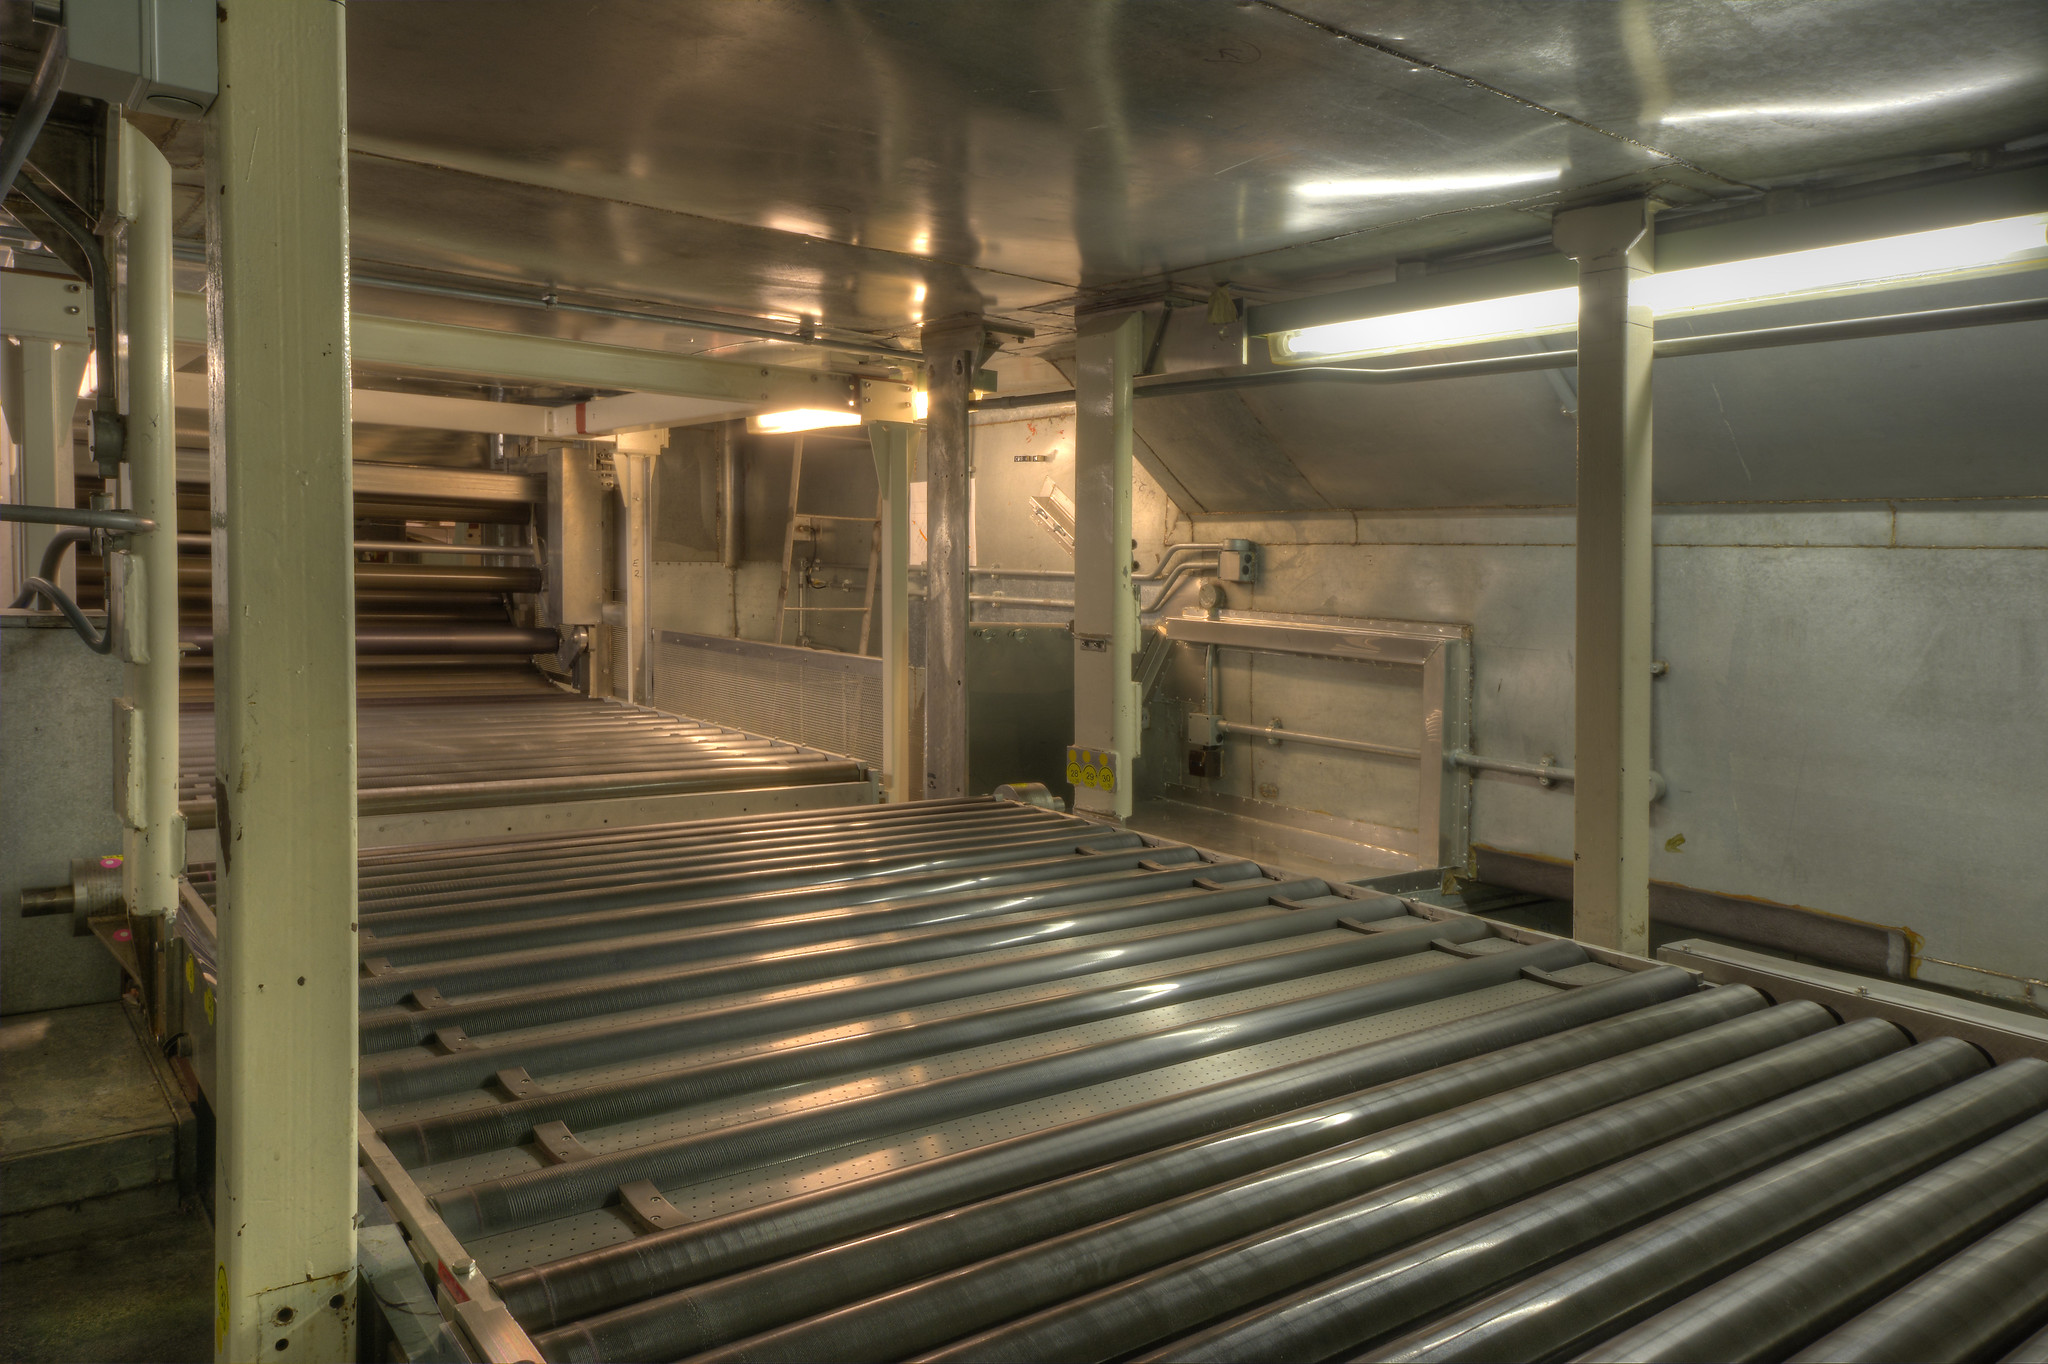
After the emulsion is coated onto the paper, the next vitally important step is to ensure that it stays there. Remember that the paper is moving at about 5 meters per second through the track with seven or eight layers of warm liquid wobbling about on its surface. This web runs straight from the coater into a chiller room which takes the temperature right down to almost zero degrees Celsius. The paper runs horizontally over a series of ribbed rollers until the emulsion has solidified sufficiently. Until this happens, needless to say, nothing can touch the emulsion side of the paper otherwise it would leave an impression.
After the chiller rooms, the paper passes underneath a series of pipes which blow air over the surface of the emulsion to start the drying process (unfortunately I did not get a good photo of this stage). By now the emulsion has solidified enough to be able to be routed concertina fashion through the dryer. Actually the drying equipment seemed to account for a big part of the 900 meter long coating track.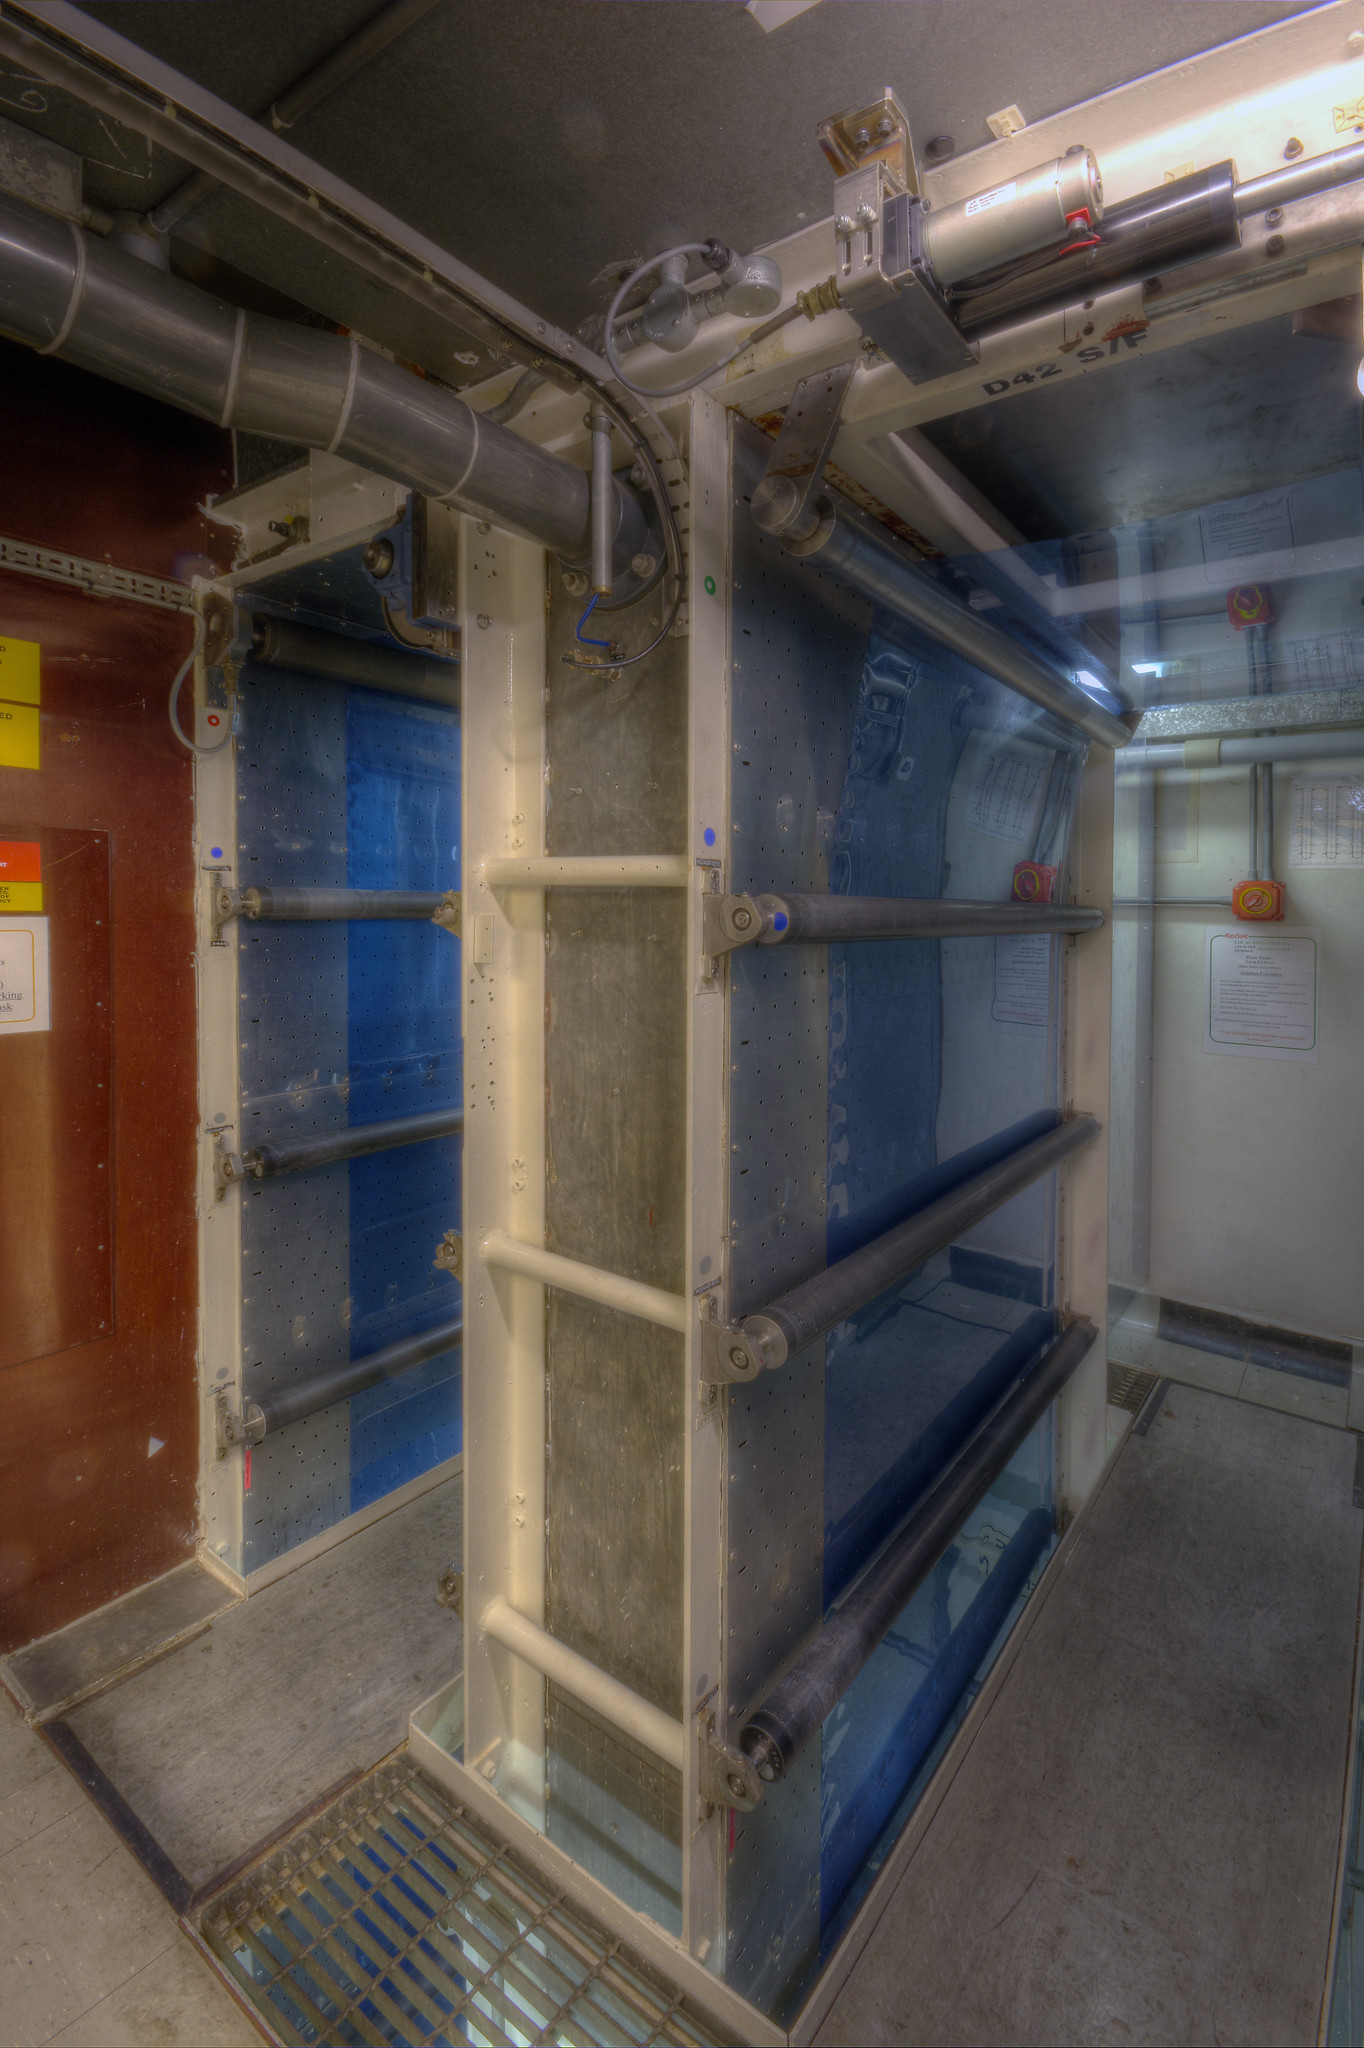
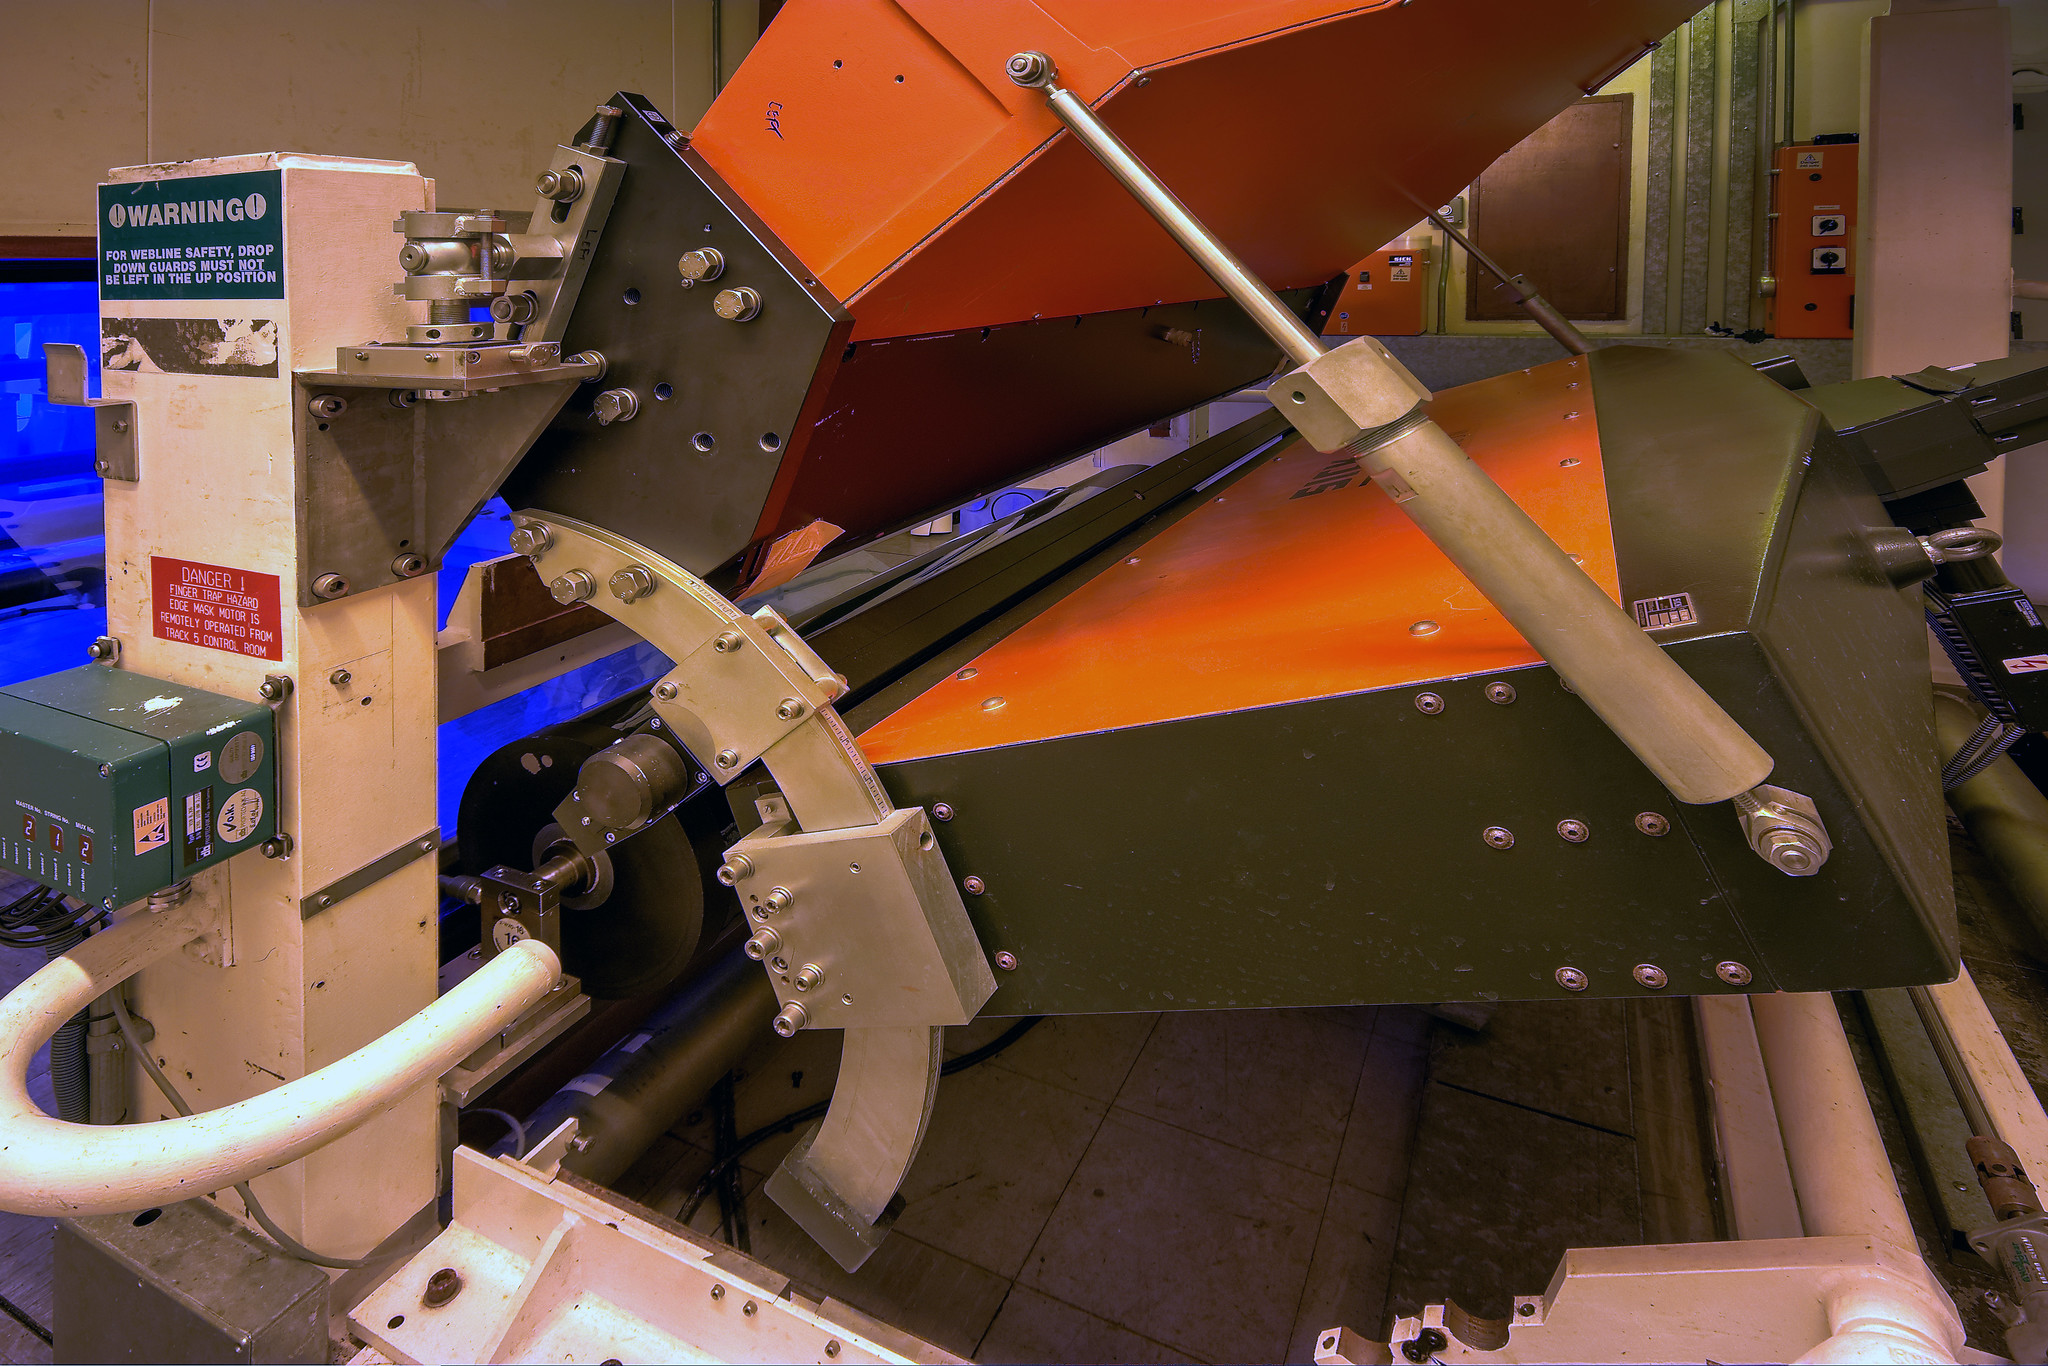
Not long before the end of the track, the paper passes through a laser scanner which examines the surface of the paper for physical defects such as scratches or bubbles. Any defects are logged so that affected portions of the parent roll can be discarded at the finishing stage. One of the many interesting things that I learned during the tour is that the rollers that guide the paper through the coating track, have varying circumferences. This is a massive help in finding the source of cyclical defects because once you have measured the distance between the marks, you can easily work out which roller is the culprit!
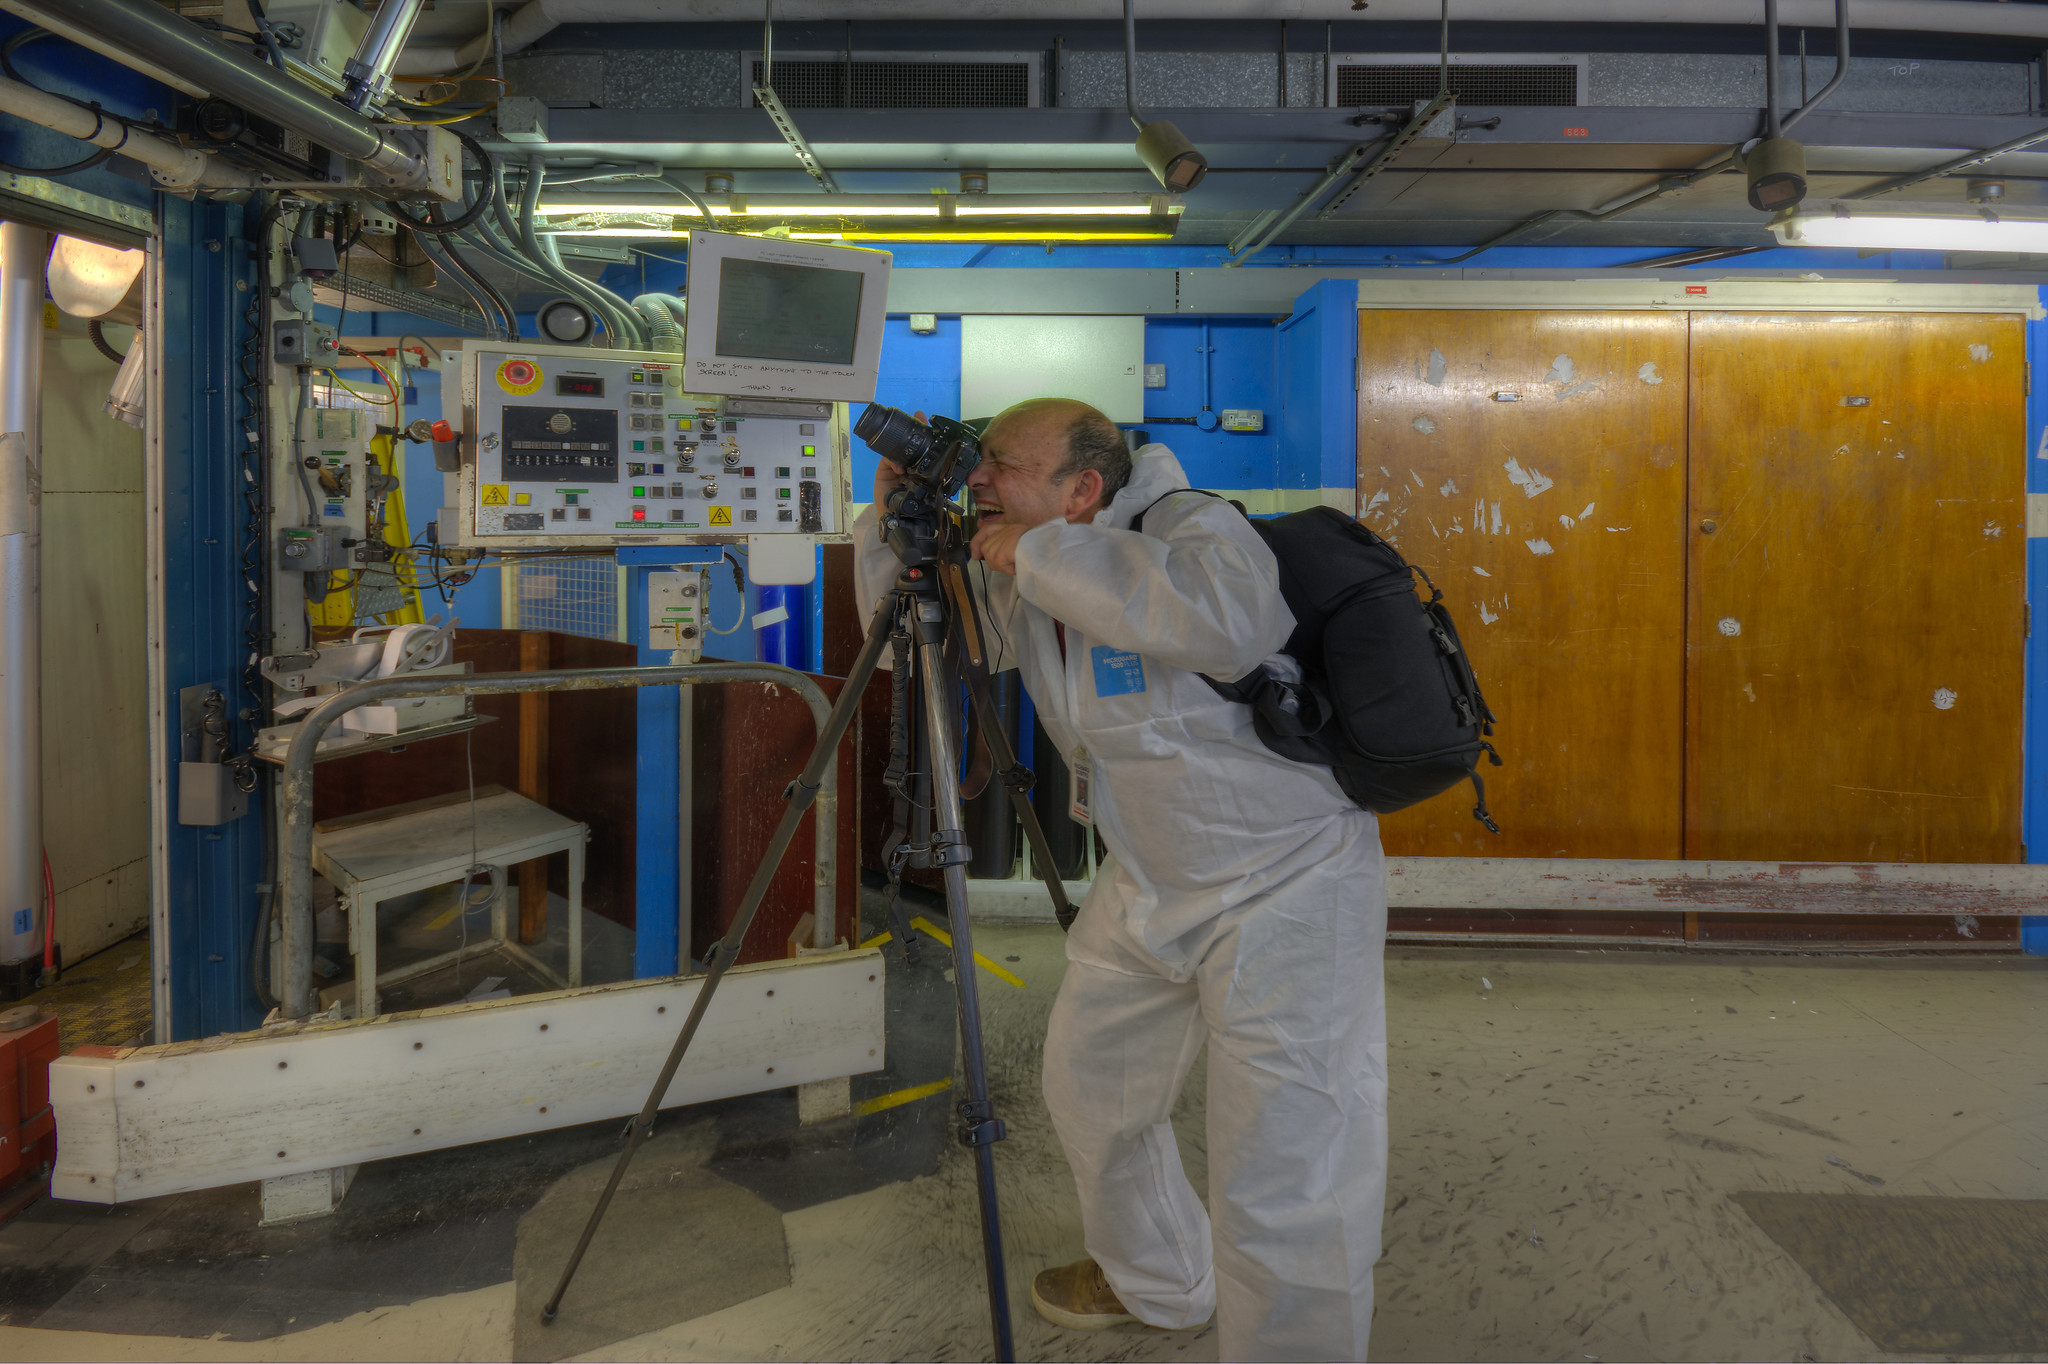
Now, at the end of the coating process we have reached the “Reeler”. Think of this as the unwinder in reverse. Here the finished sensitized material is wound back onto a core before being wrapped in lightproof black plastic and taken out through the trucking tunnel to the finished goods store in building W173.
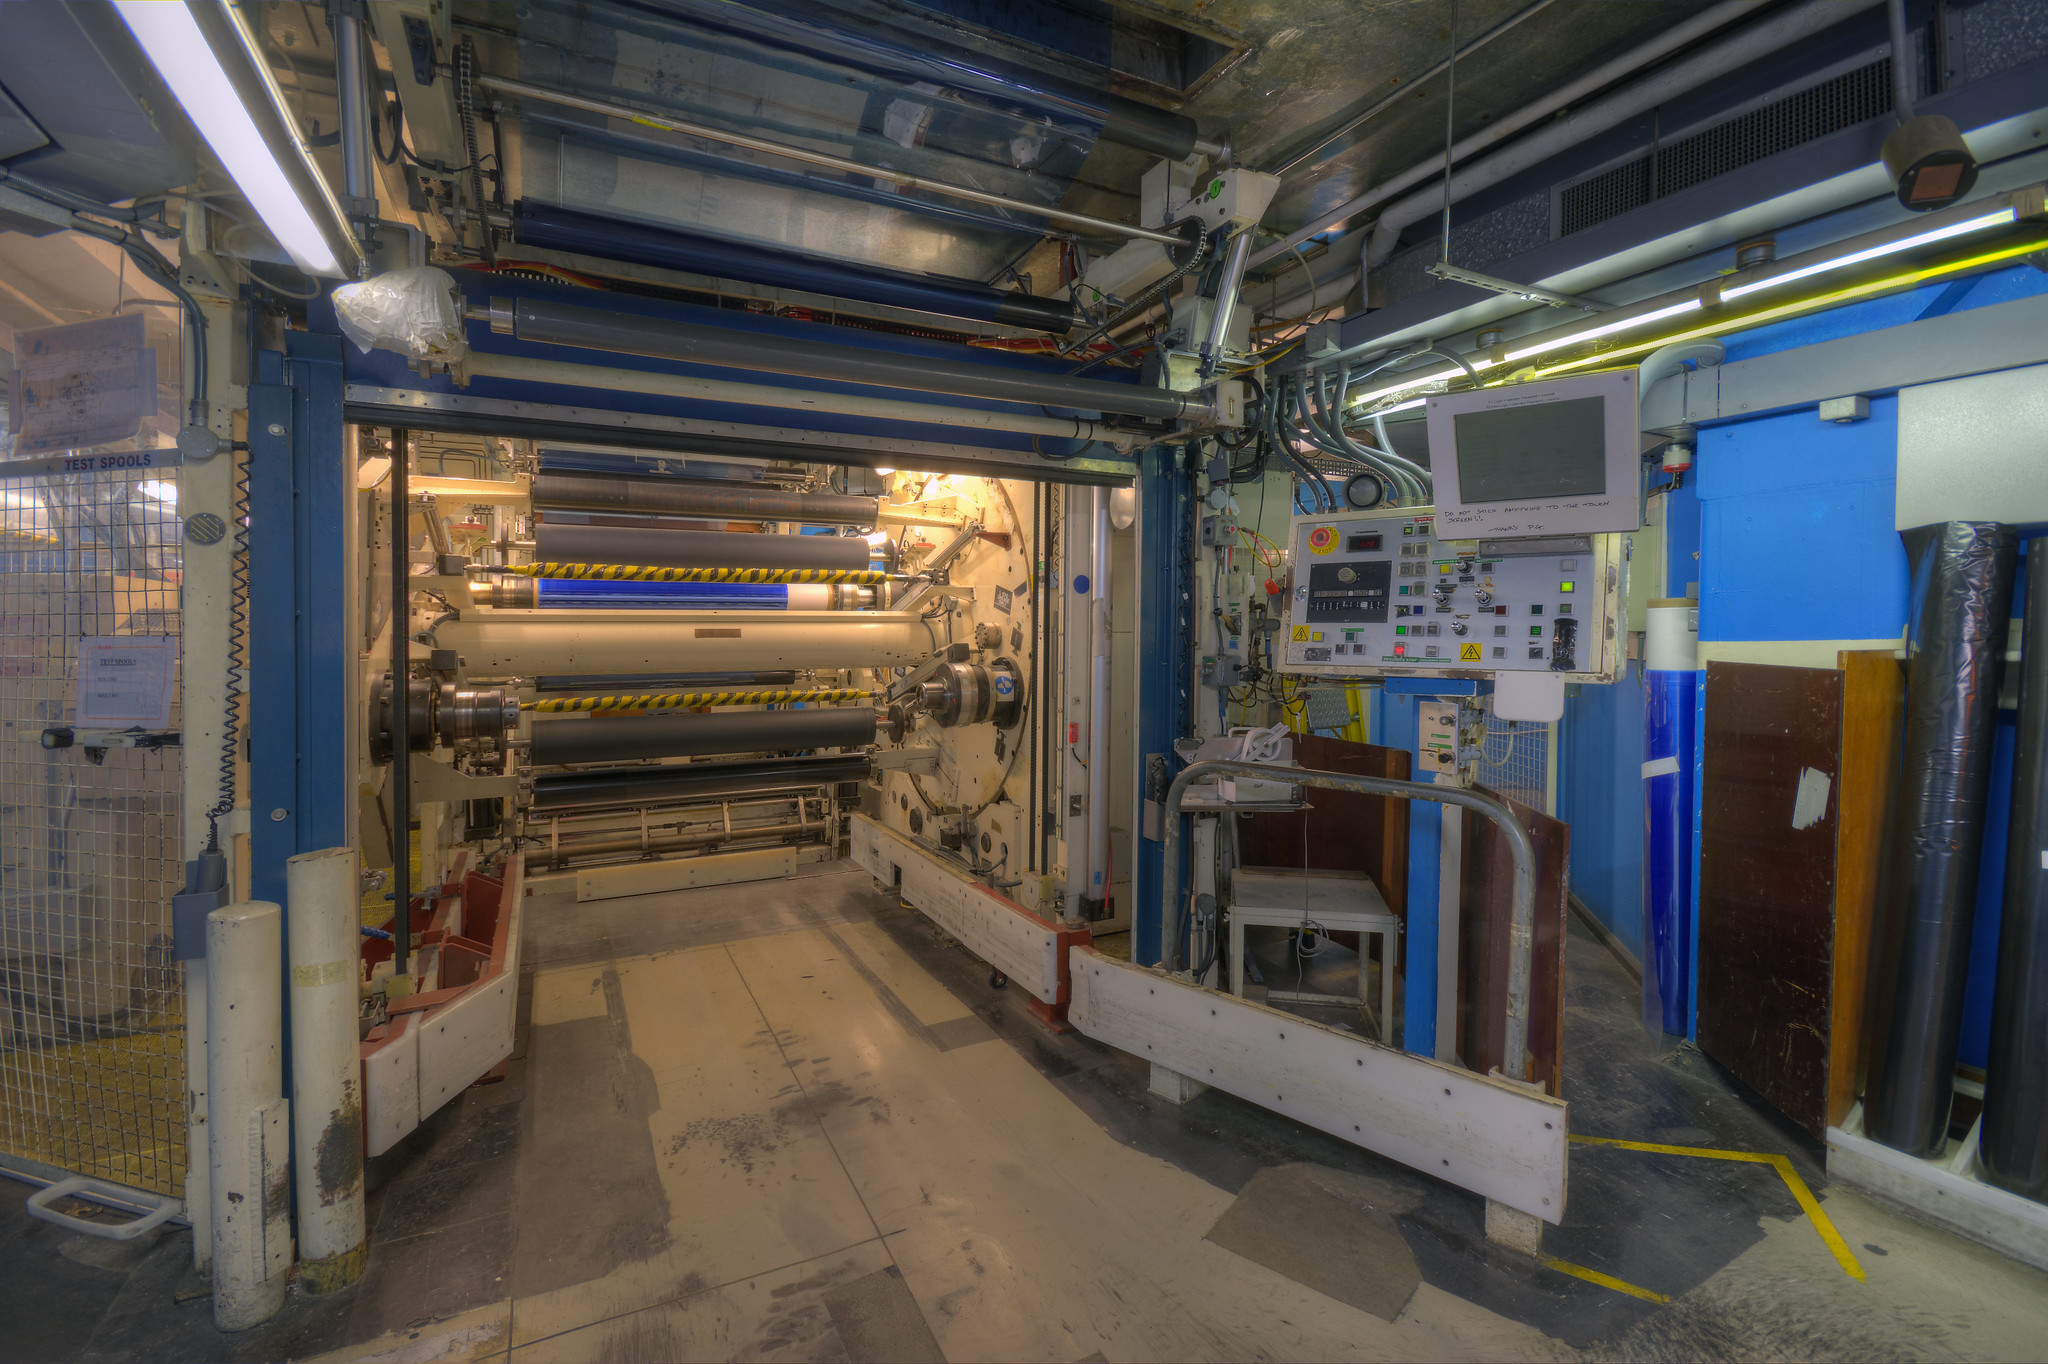
From here, the rolls are sent out to three continents for finishing into the smaller rolls that can be loaded into minilabs and photographic printers in colour laboratories.

I have mentioned a couple of times that the coating track we toured was Track 5. Tracks 1 & 2 used to be on the west side of the site but production stopped there some years ago and they were demolished. I am not sure what happened to Track 3 (I don’t even know if there ever was a Track 3) but, Track 4 certainly did exist and was used for making photographic film until 2005.
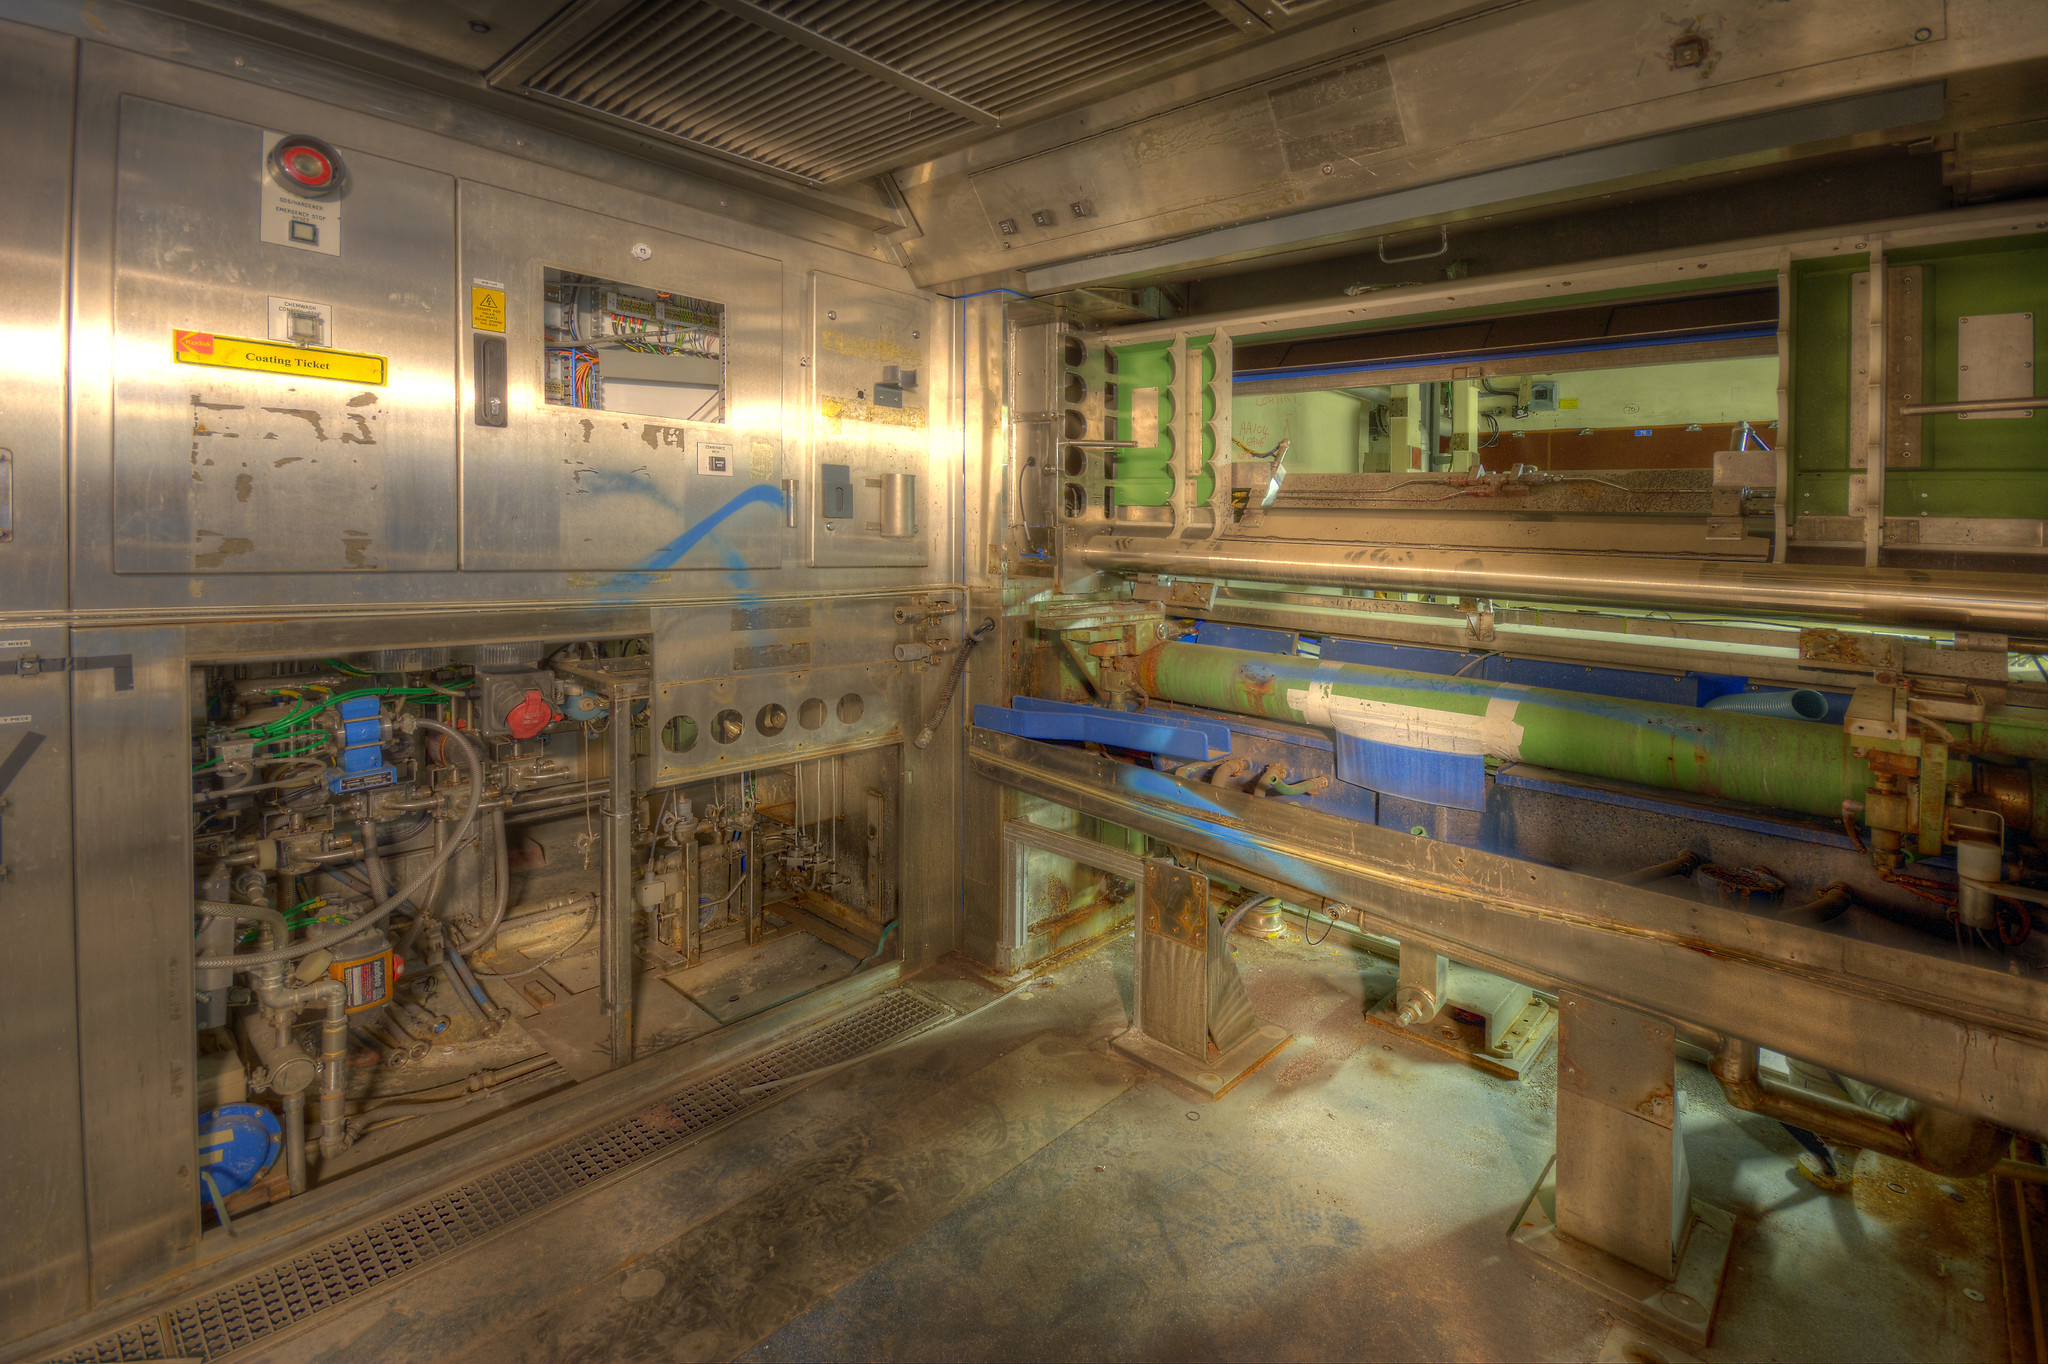
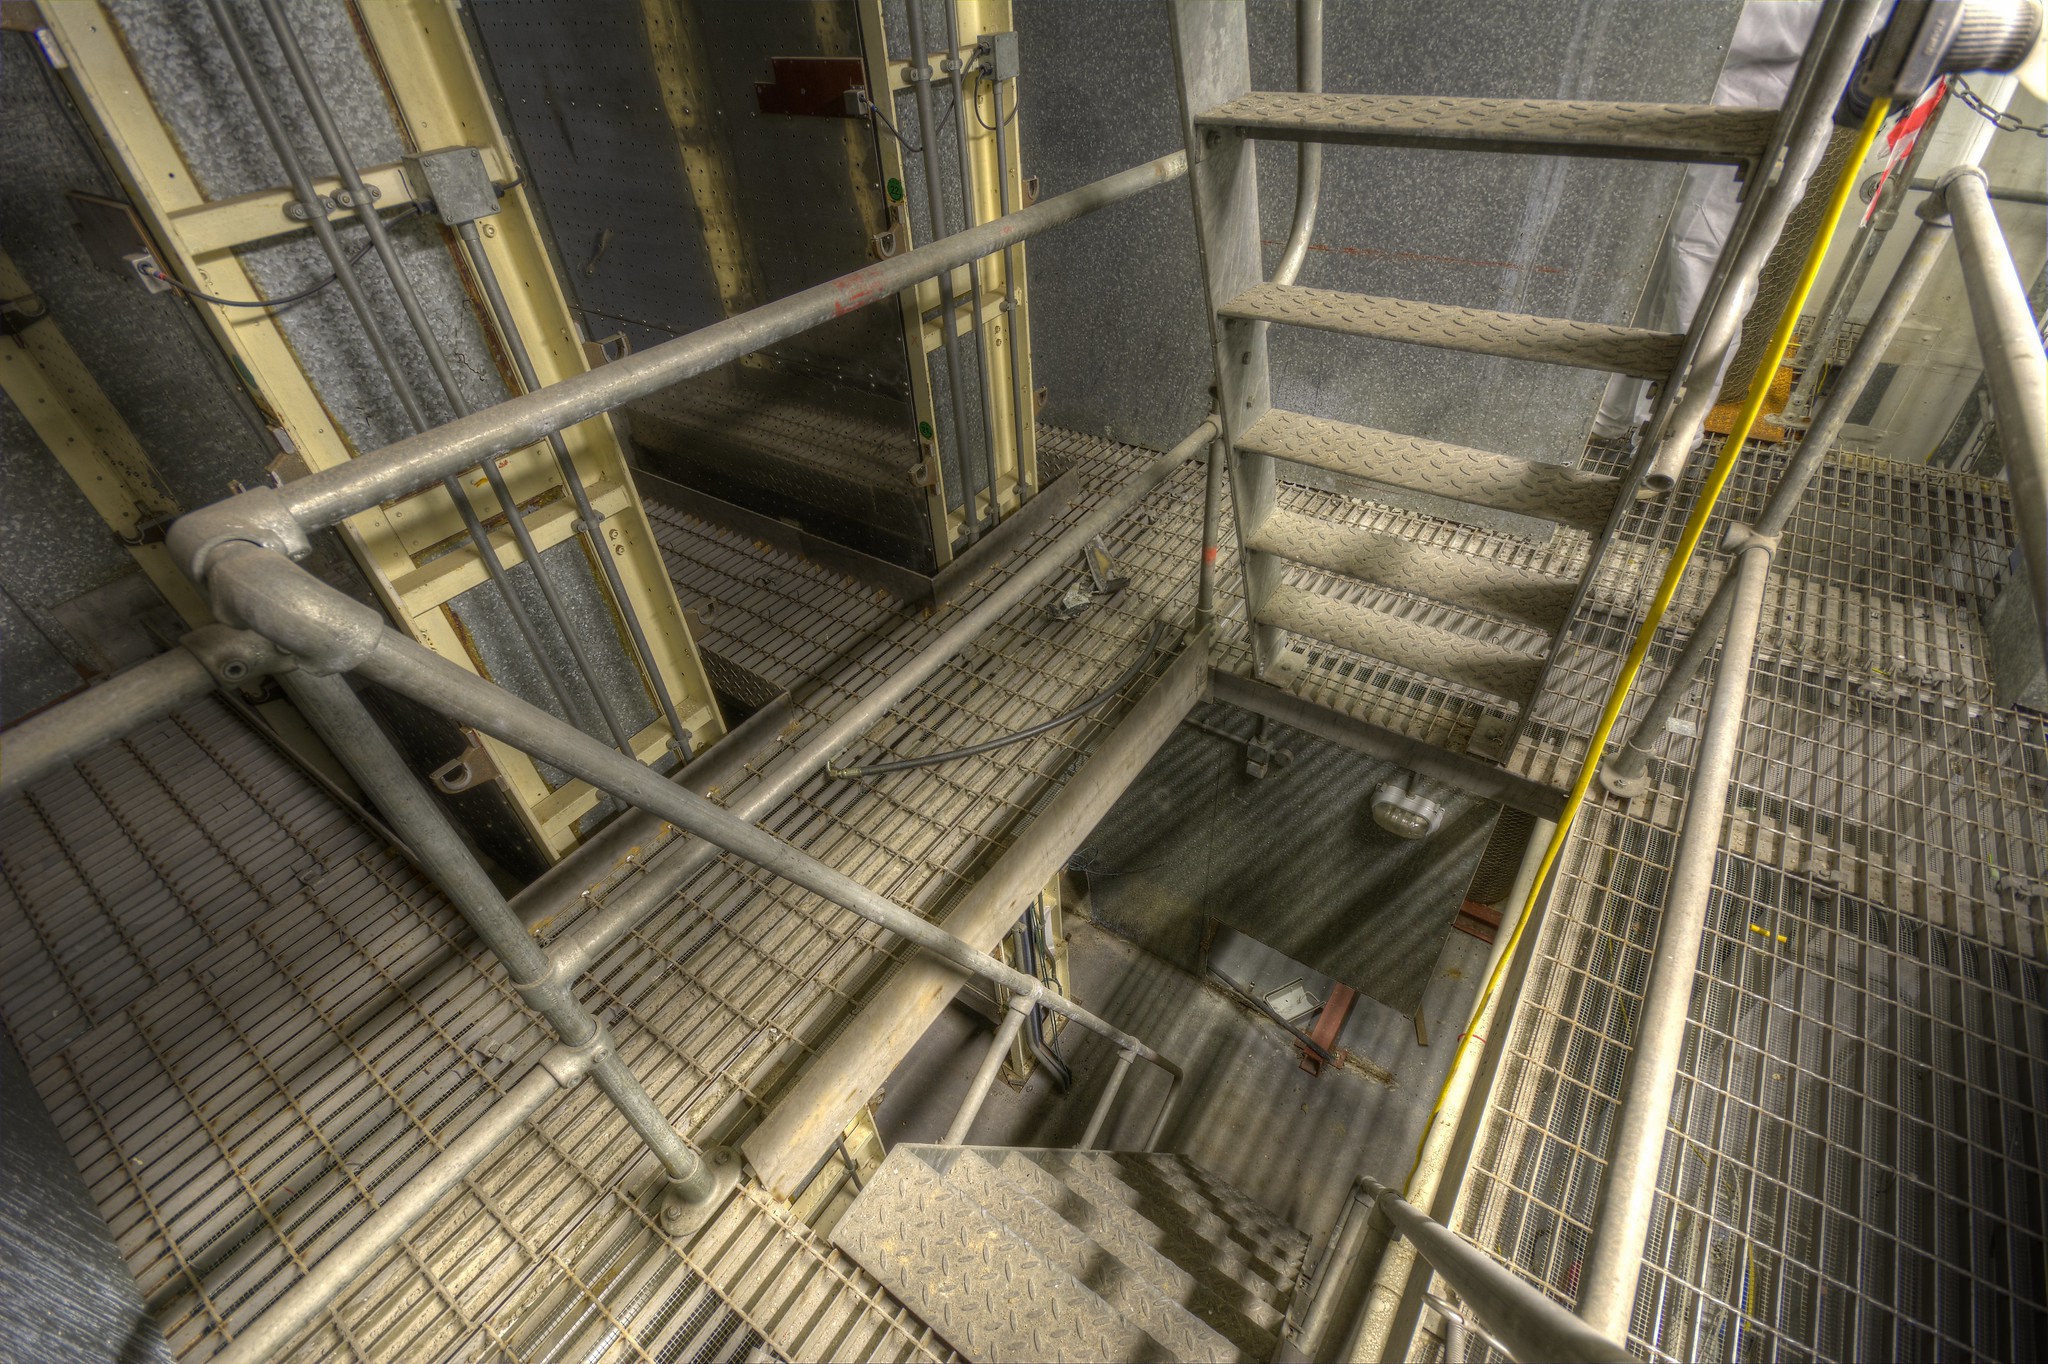
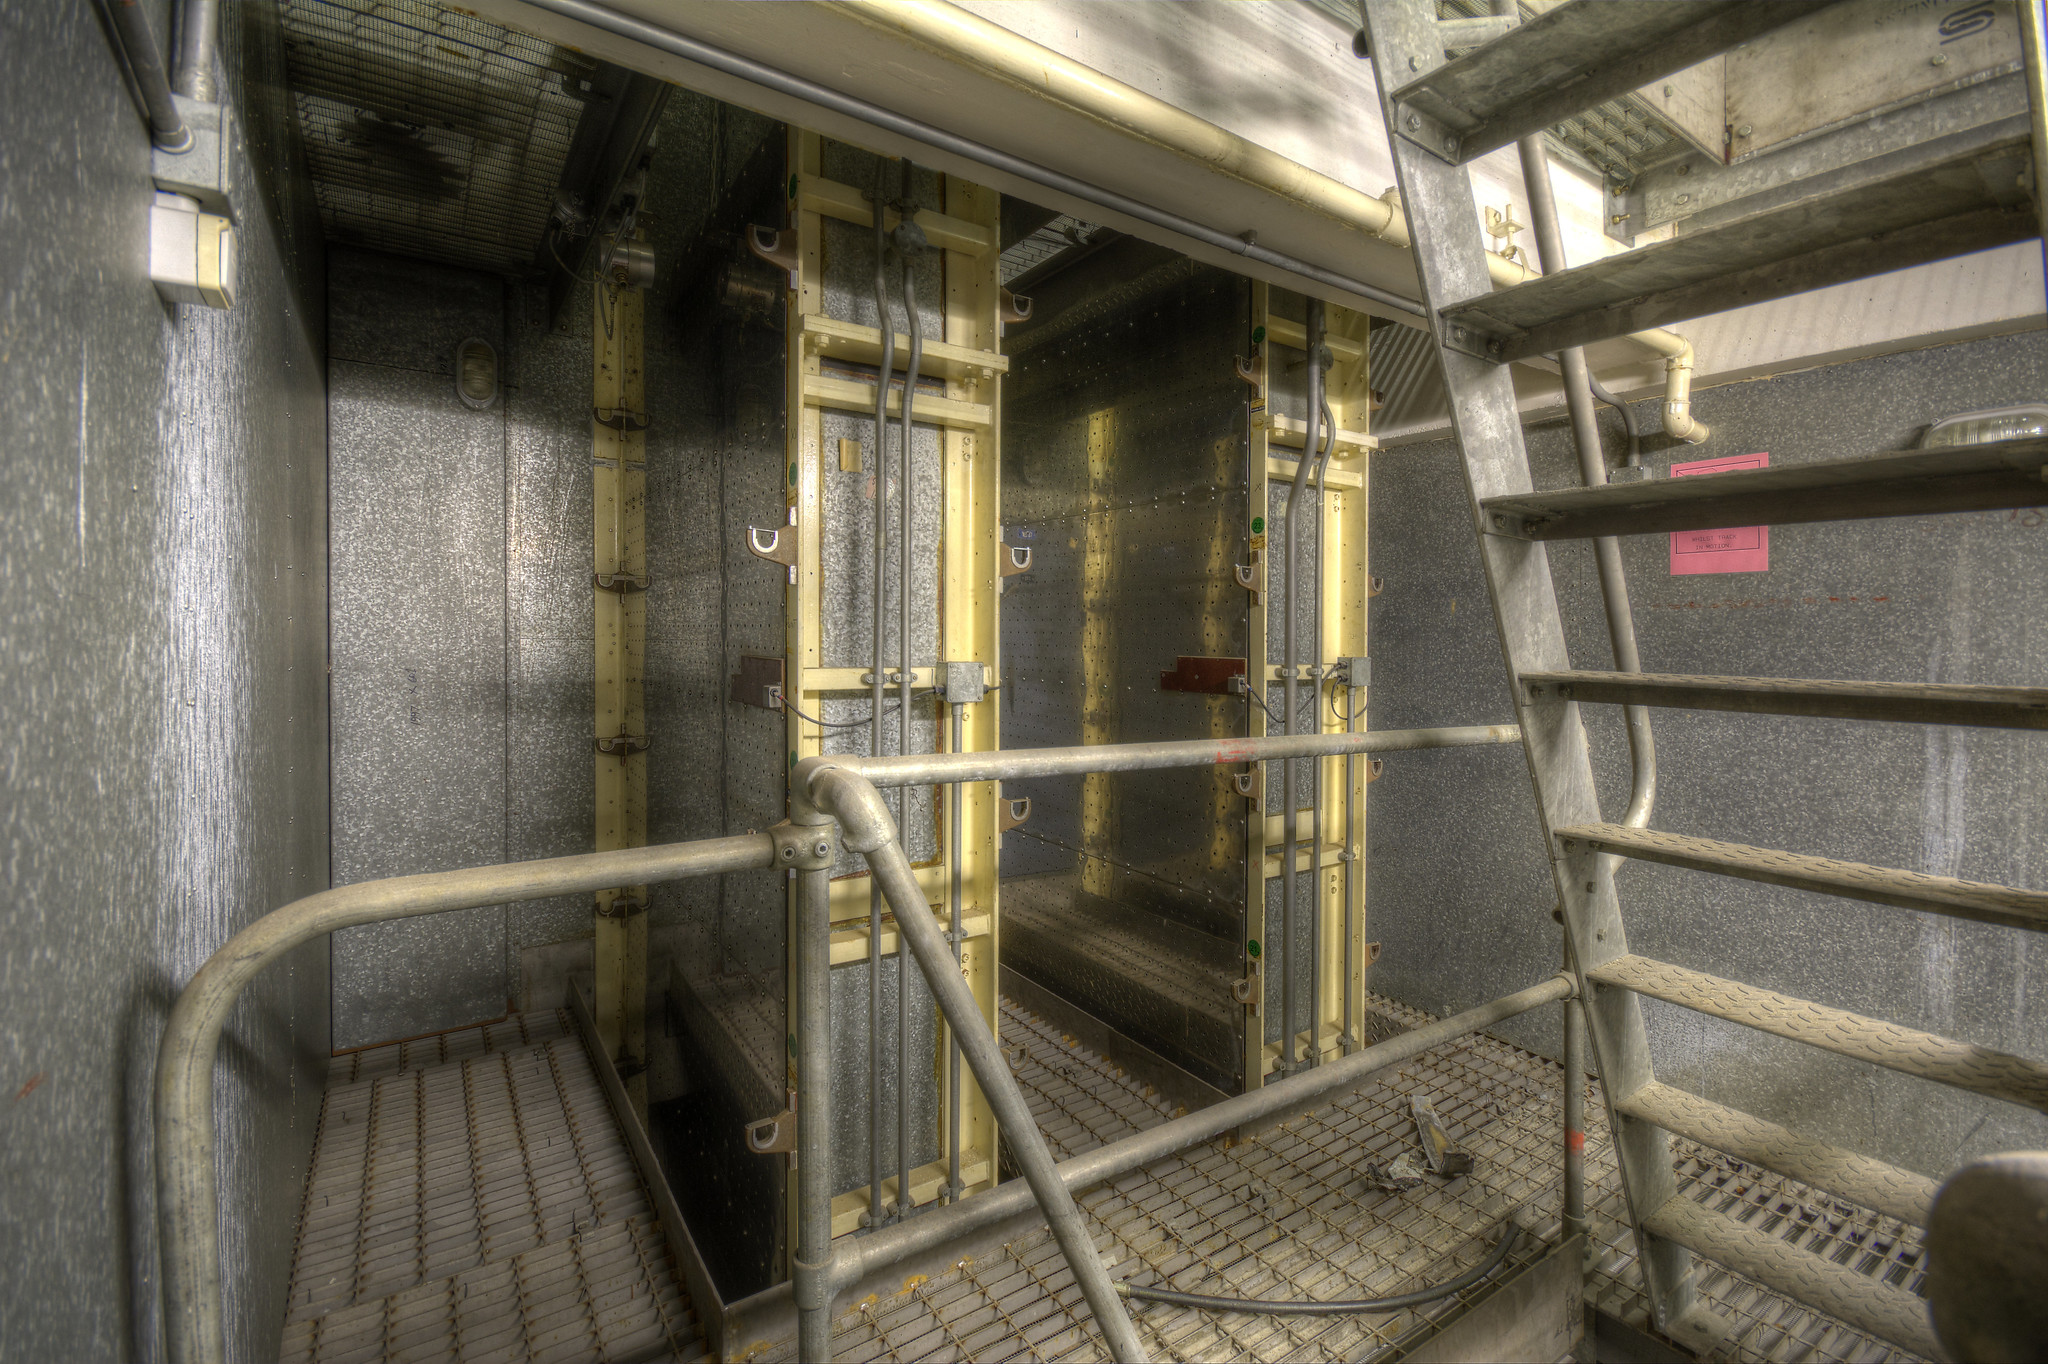
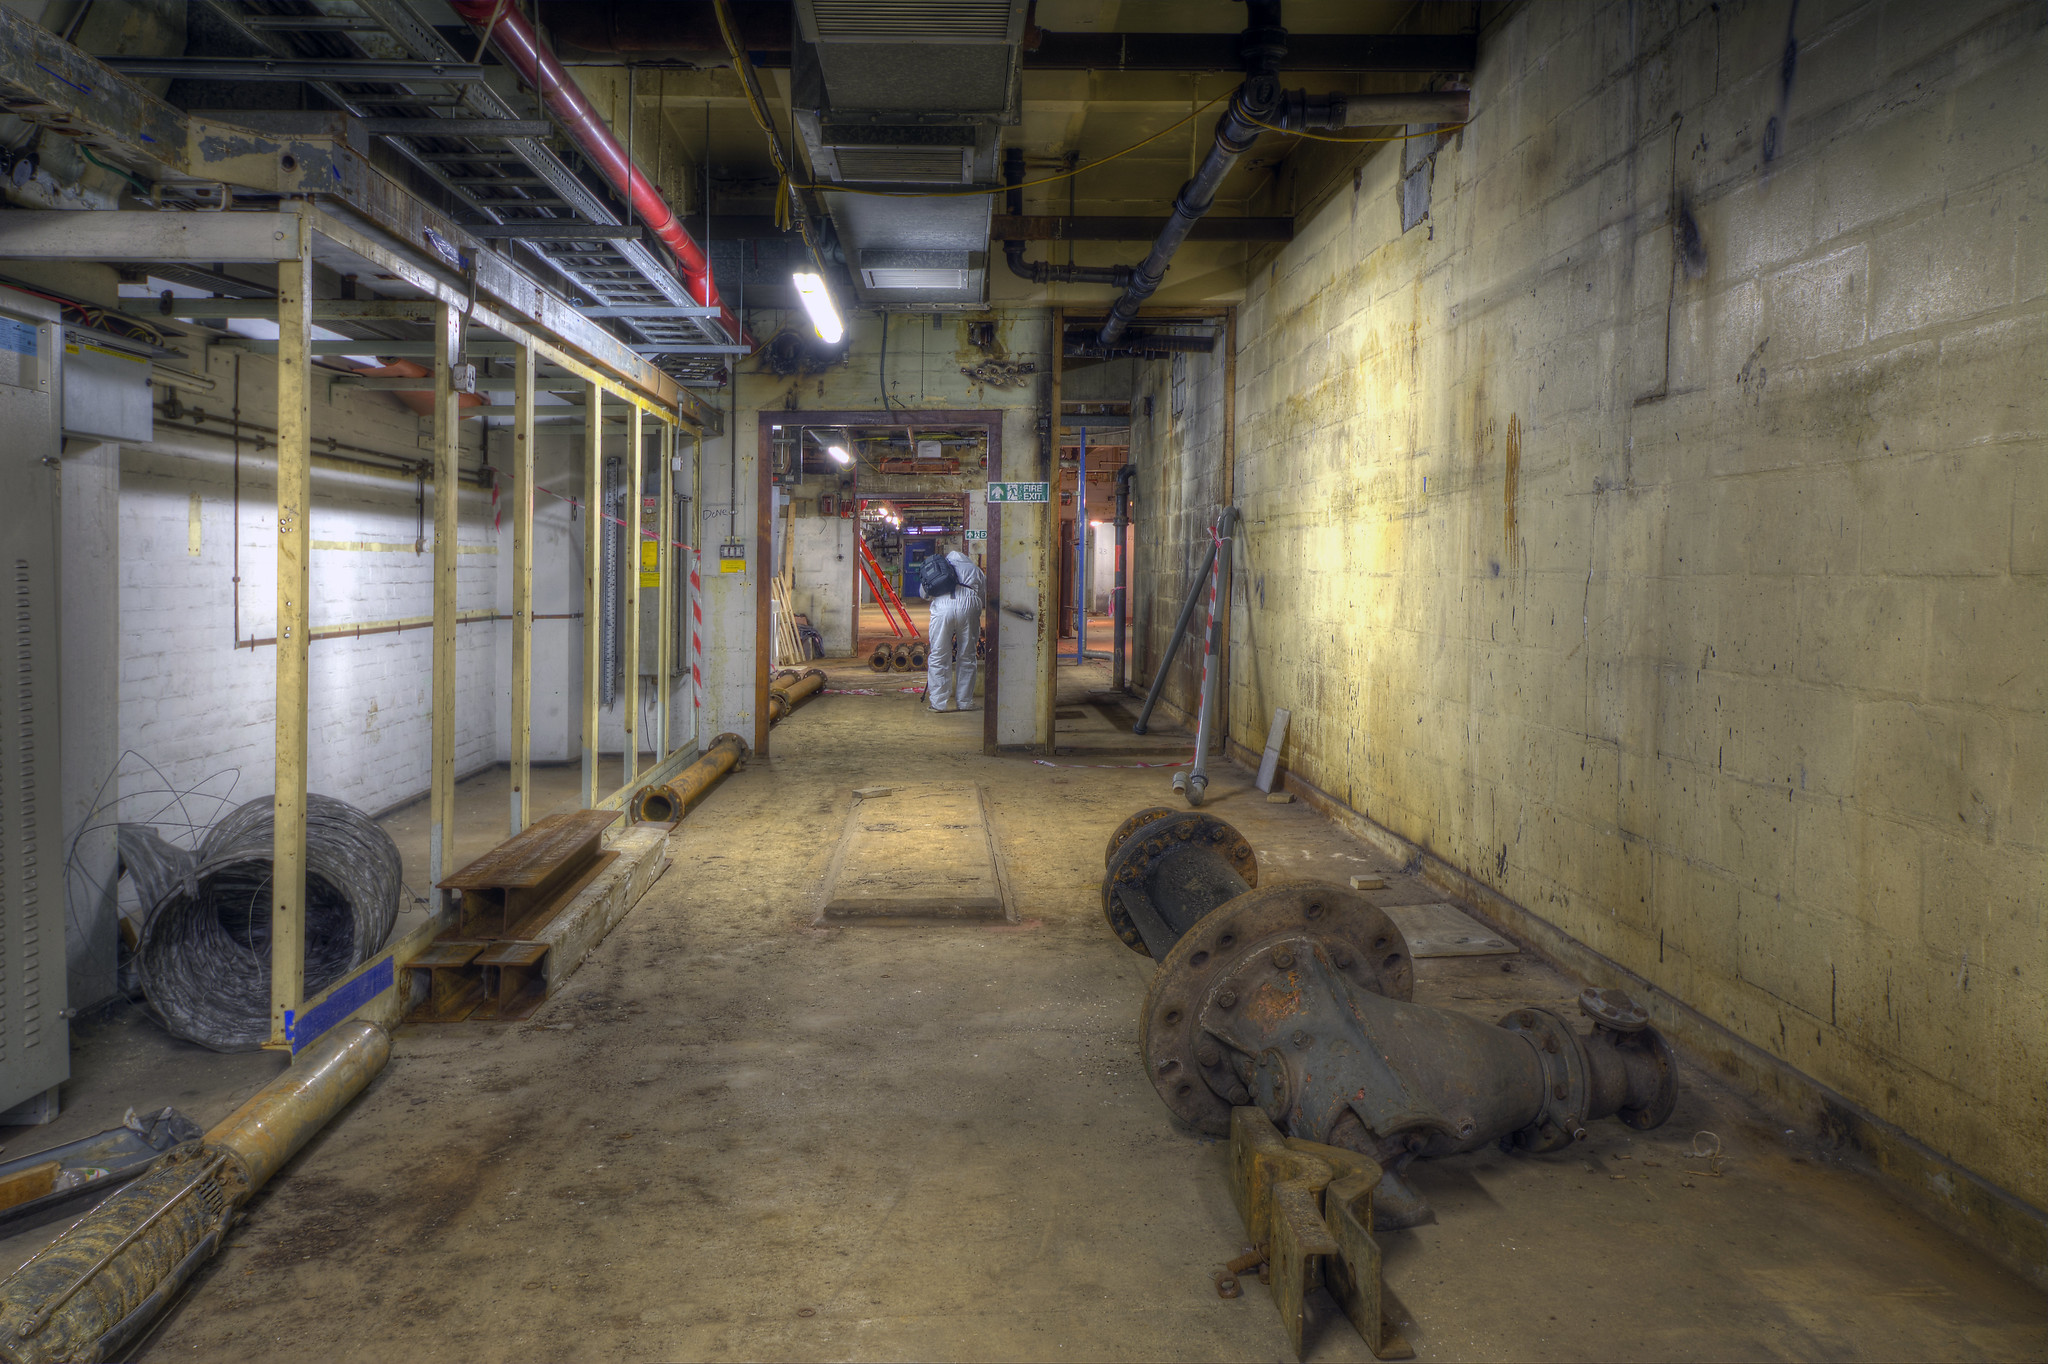
Much of the track has been dismantled but some portions still remain. Dick had a set of keys and was kind enough to take us inside.
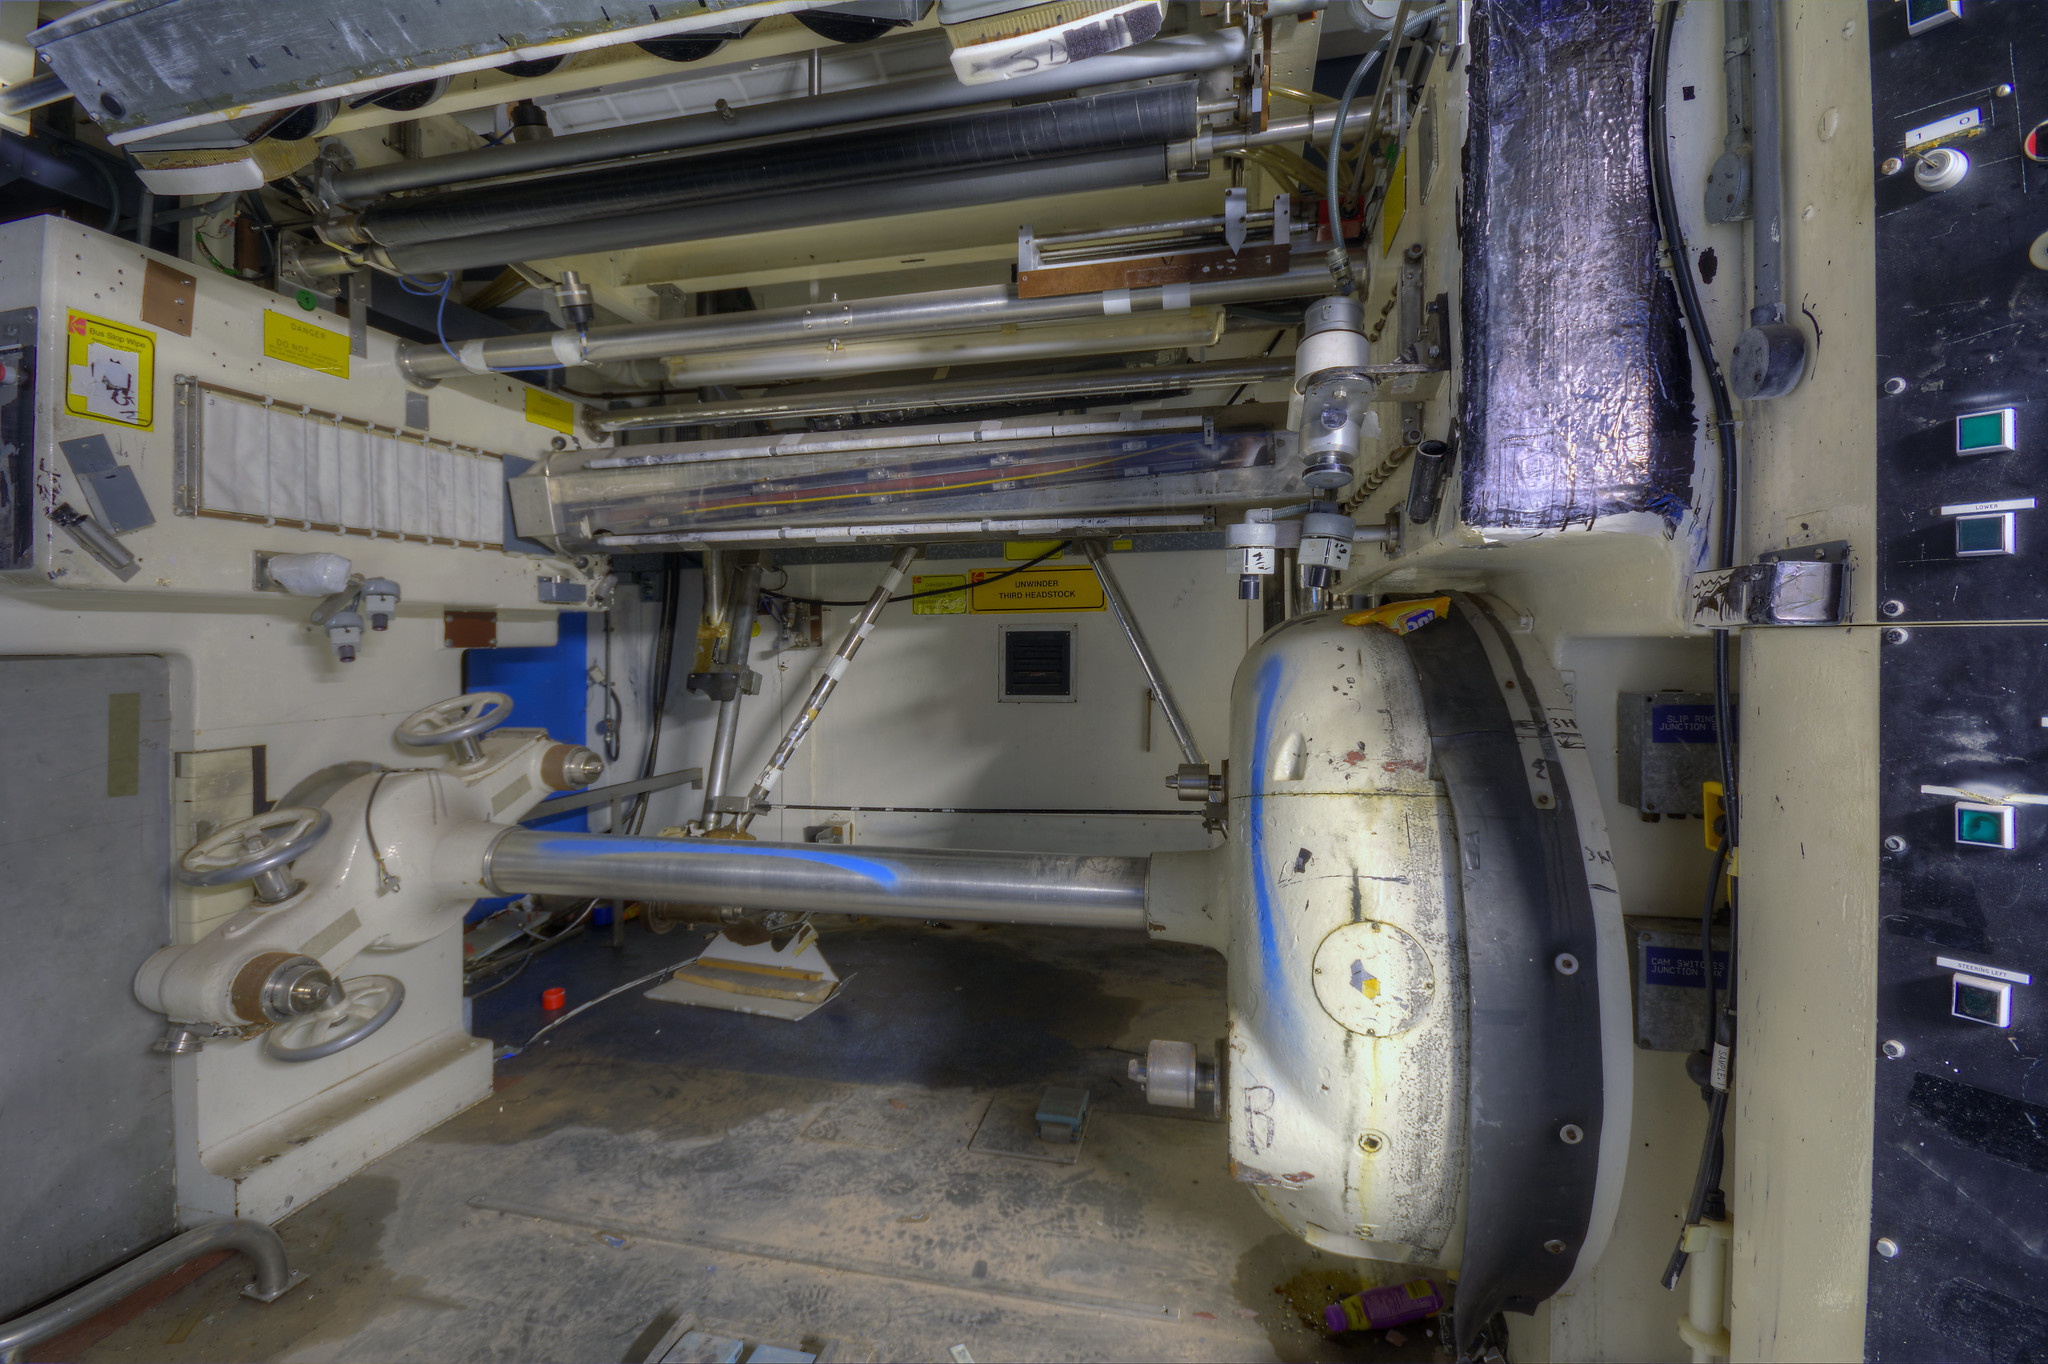
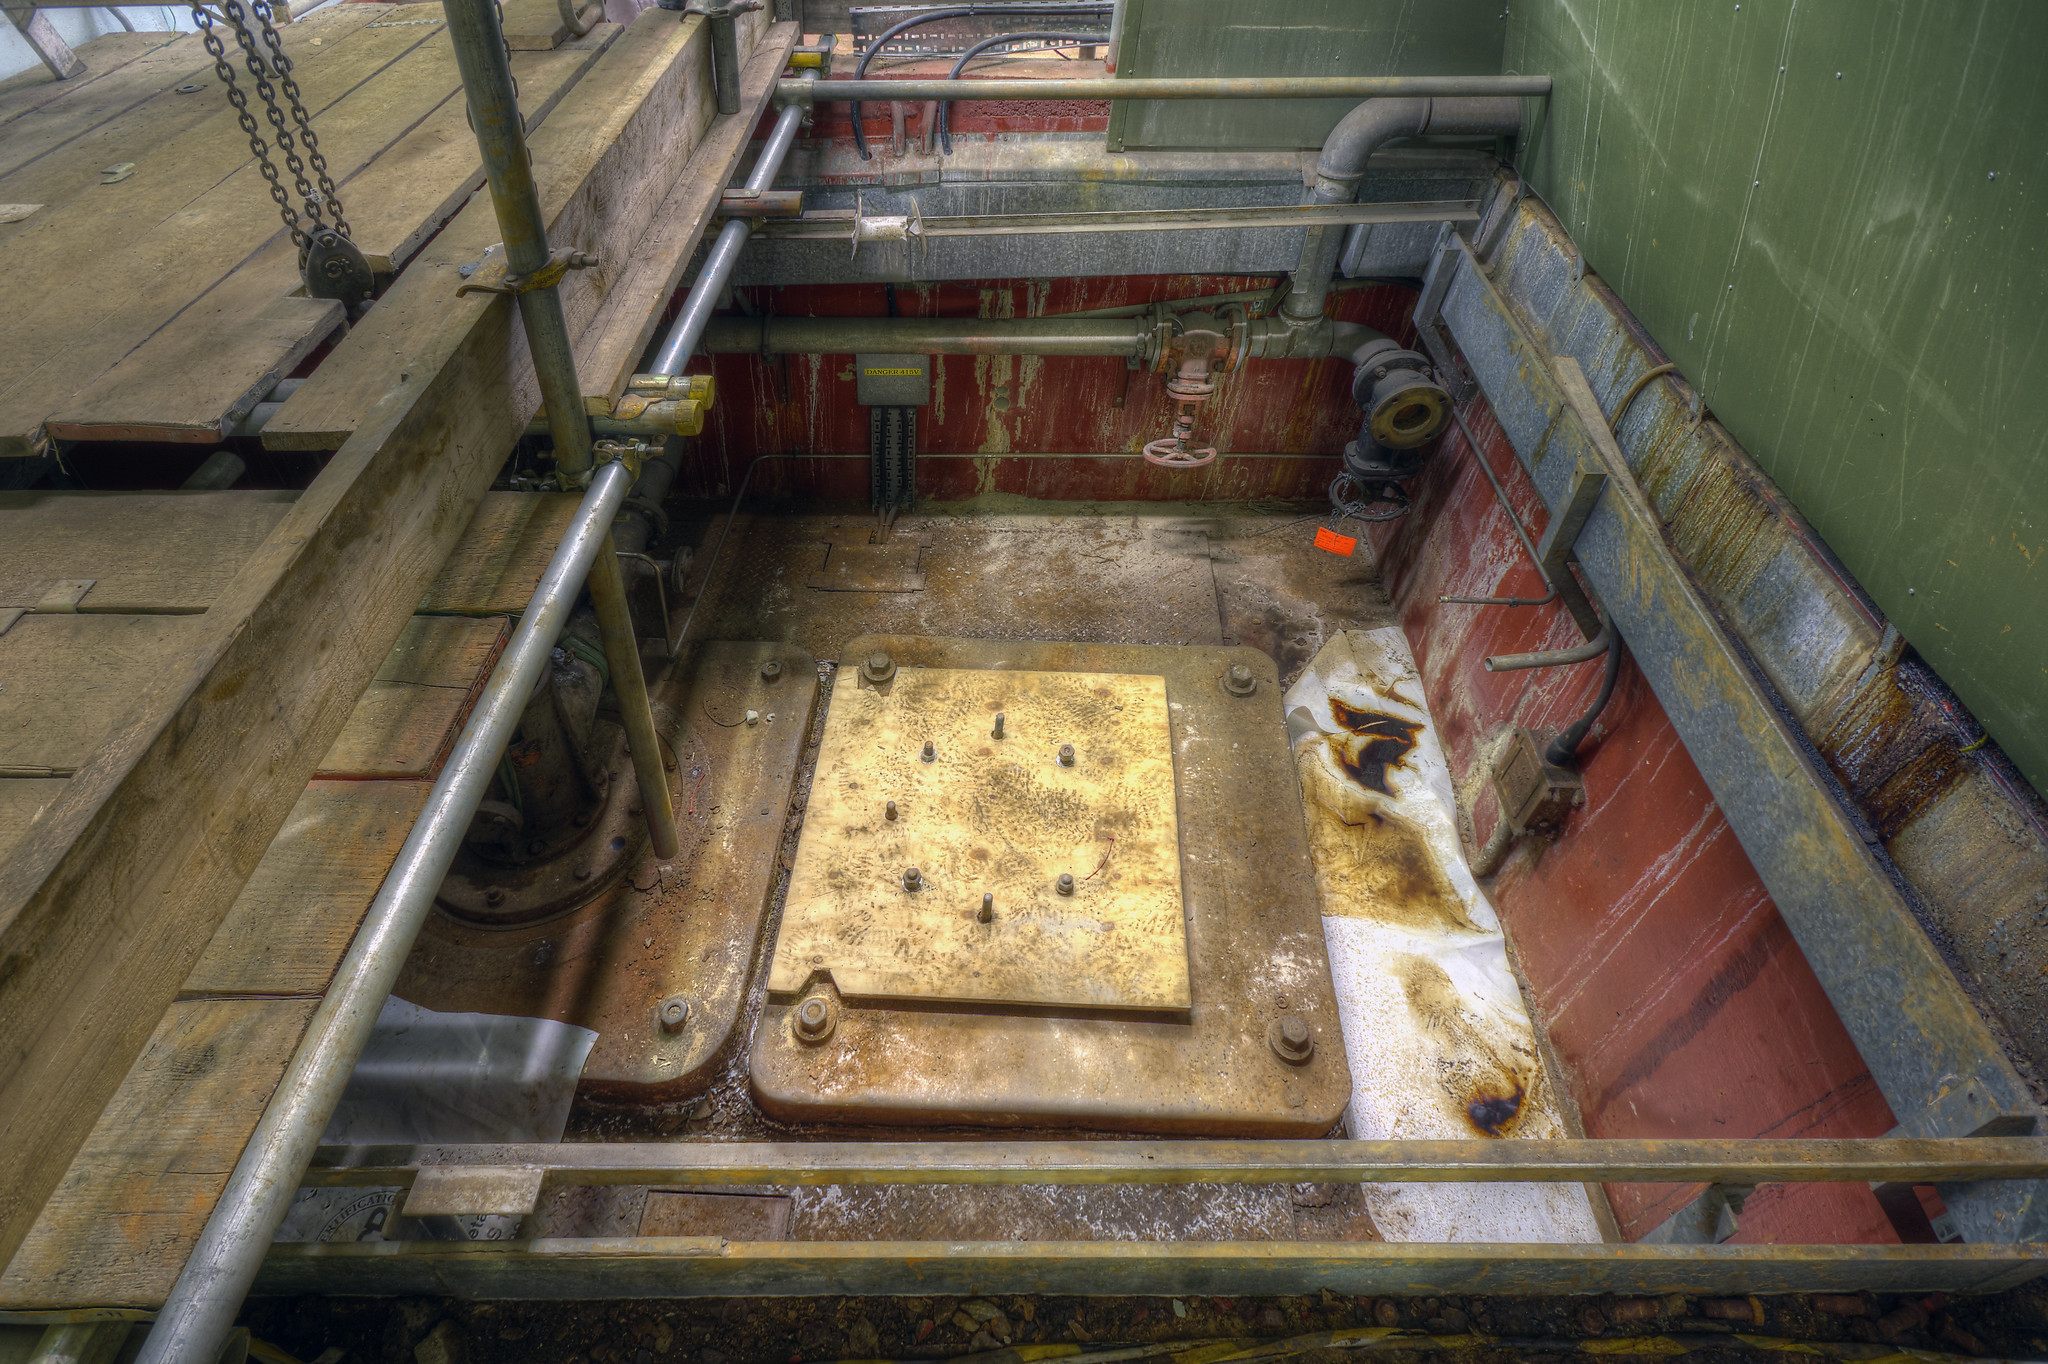
When George Eastman chose Harrow to build his first factory outside the USA, he was looking for a site with excellent road and rail access, plenty of room for expansion and an abundant supply of good quality water. There are five wells on the site and Kodak has licenses to withdraw water for use in the manufacturing process. This is one of the five wells – now sealed.
We rounded off our tour of the factory with a visit to the power station and to the engineering workshops where many of the moveable items were labelled with lot numbers for forthcoming auctions. We could have spent days wandering around with our cameras and still not have covered everything. In some ways I wish I had had the presence of mind to start this project 15 years ago. There certainly would have been a lot more to photograph.
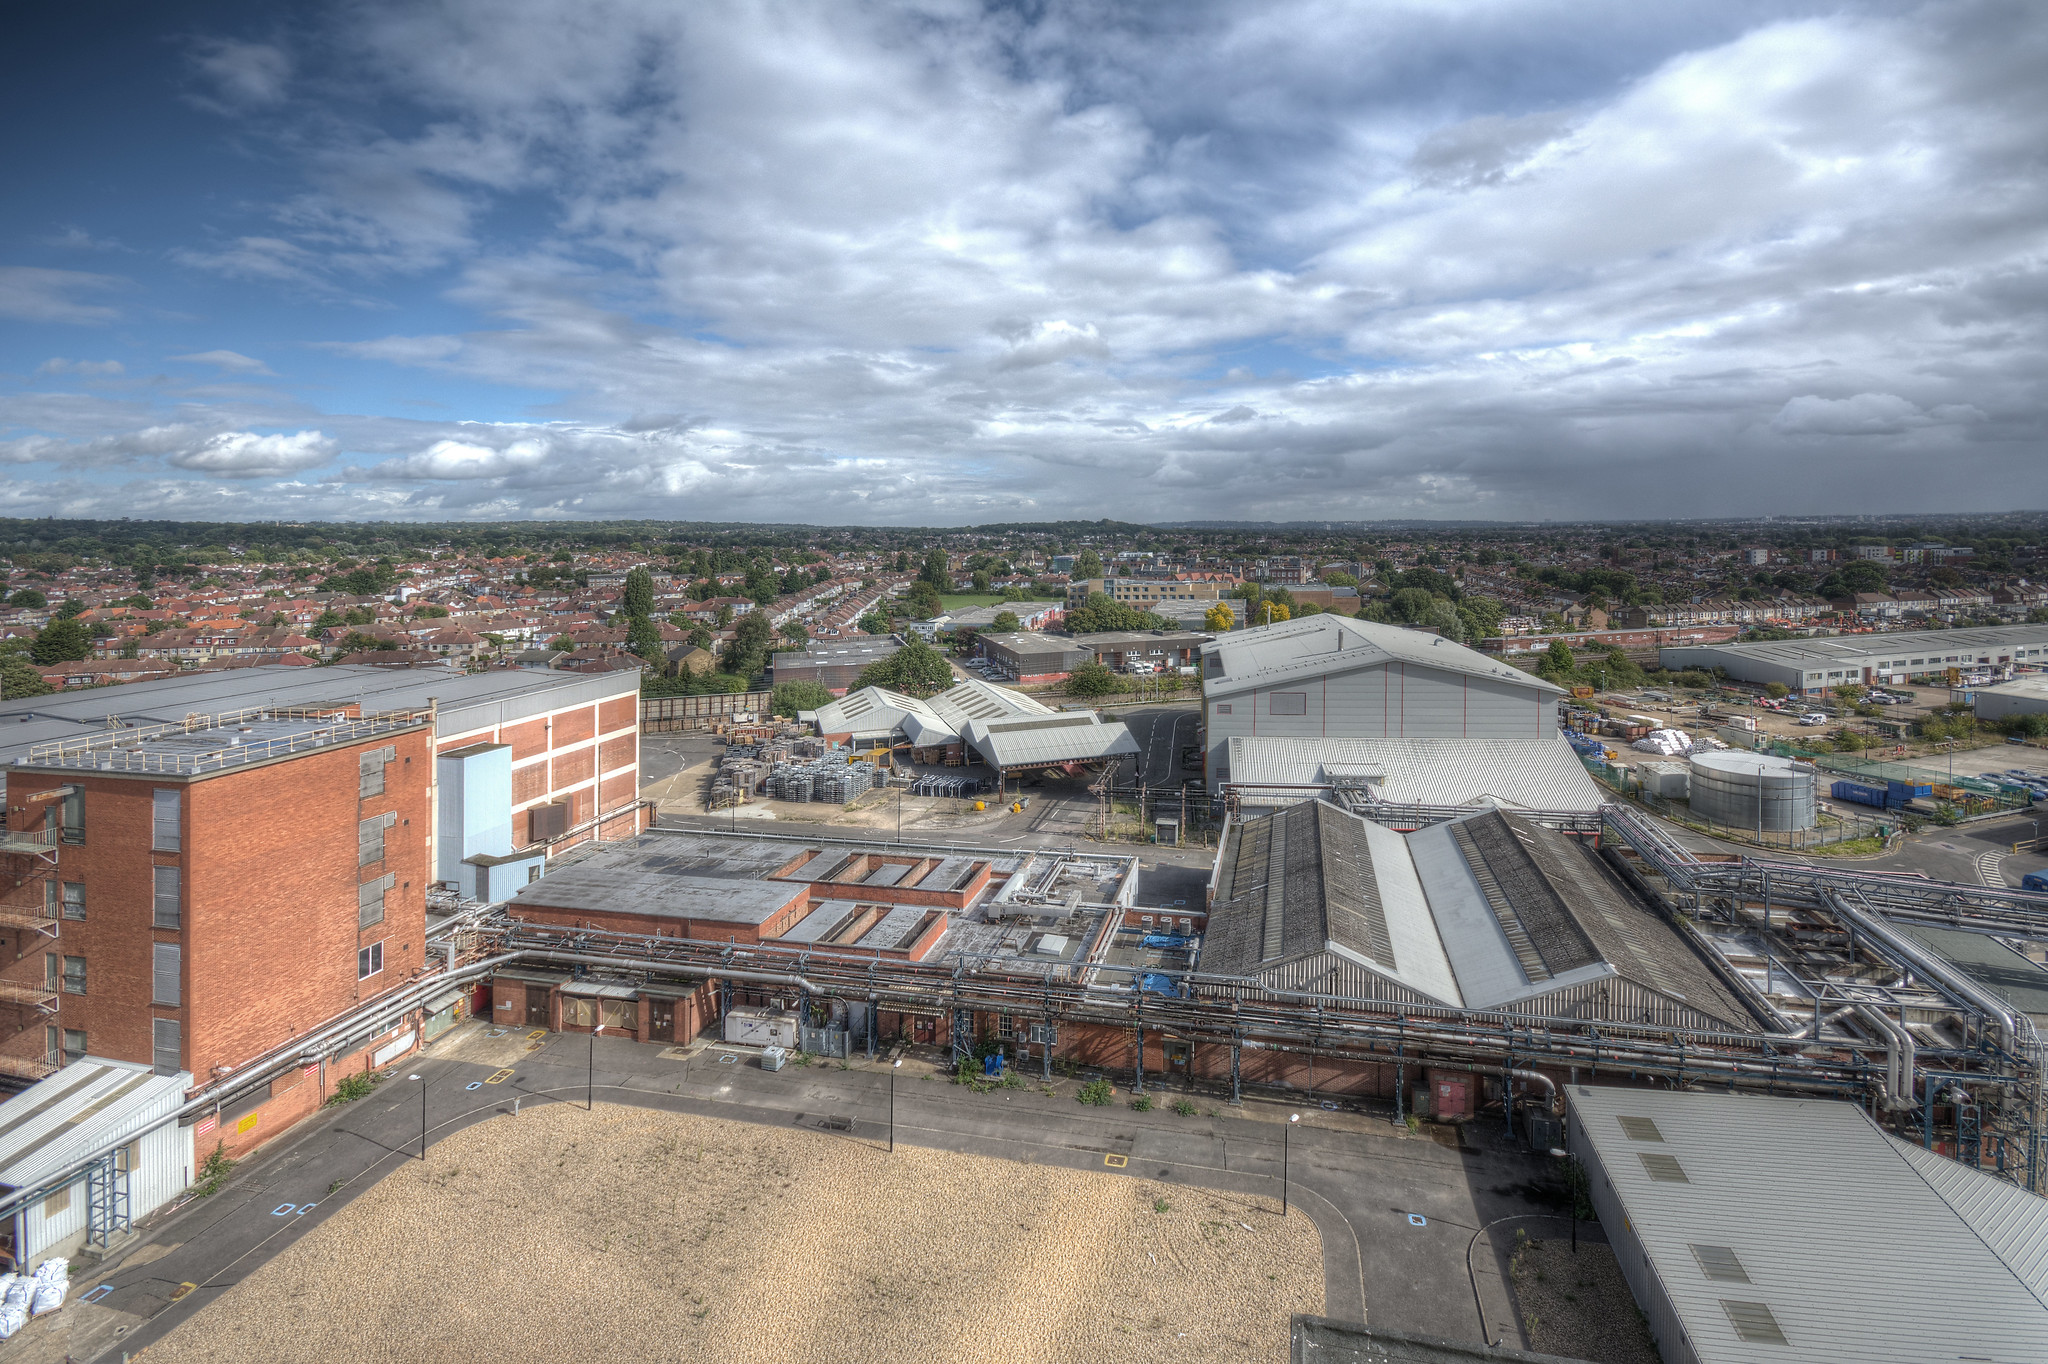
Back outside again, this is the view from the roof of Track 5, looking eastwards.
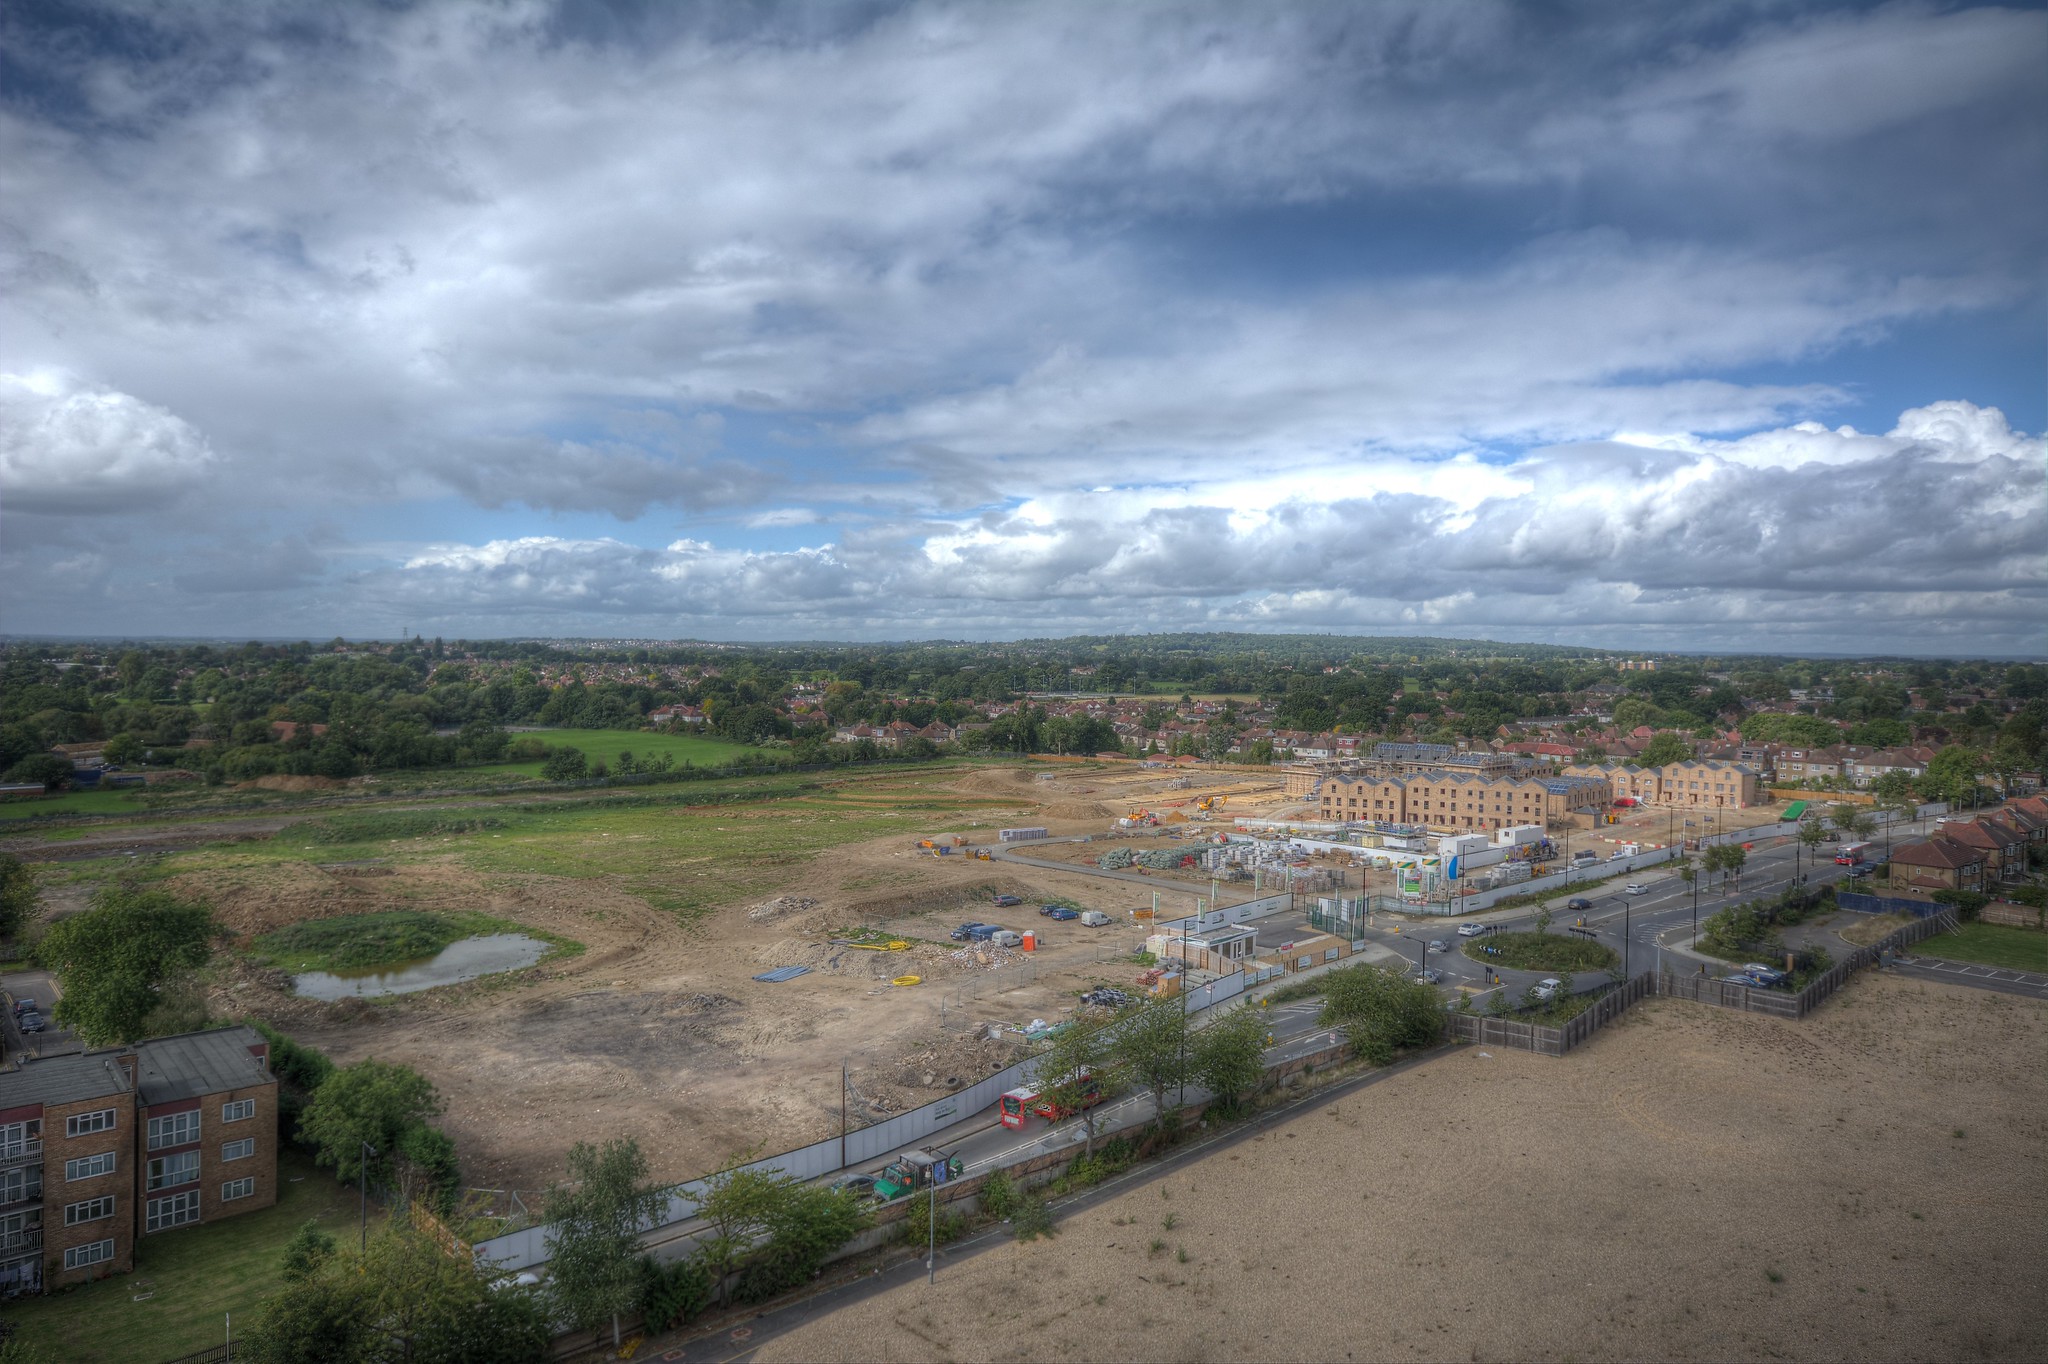
Looking in the opposite direction. The flattened area in the foreground is where Tracks 1 & 2 used to be. Across the road (Harrow View), houses are being built on the site of the old Kodak Recreation Grounds
Although I have never been permanently based at the Harrow site, I have spent quite a lot of time there during various stages of my employment with Kodak. I used to be a regular visitor to the Color Photo Technology building when I worked as a product specialist on high speed printers. Much later I worked with colleagues in the European Graphic Technology Center, and was there when the building was inaugurated by Prince Andrew in June 1991 (I got my picture in Kodak News showing him the Kodak Premier Image Retouching System). The area where these buildings used to stand is now scrubby grassland because it is cheaper to knock buildings down than to pay rates when they are standing empty.
I will not have another occasion to visit the factory before it is decommissioned. If I find myself close to Harrow in years to come, I will probably be unable to avoid the temptation to drive past and see what has happened to the place. It will look very different when the factory buildings are replaced by houses, schools and shops.
James Casha
October 2016
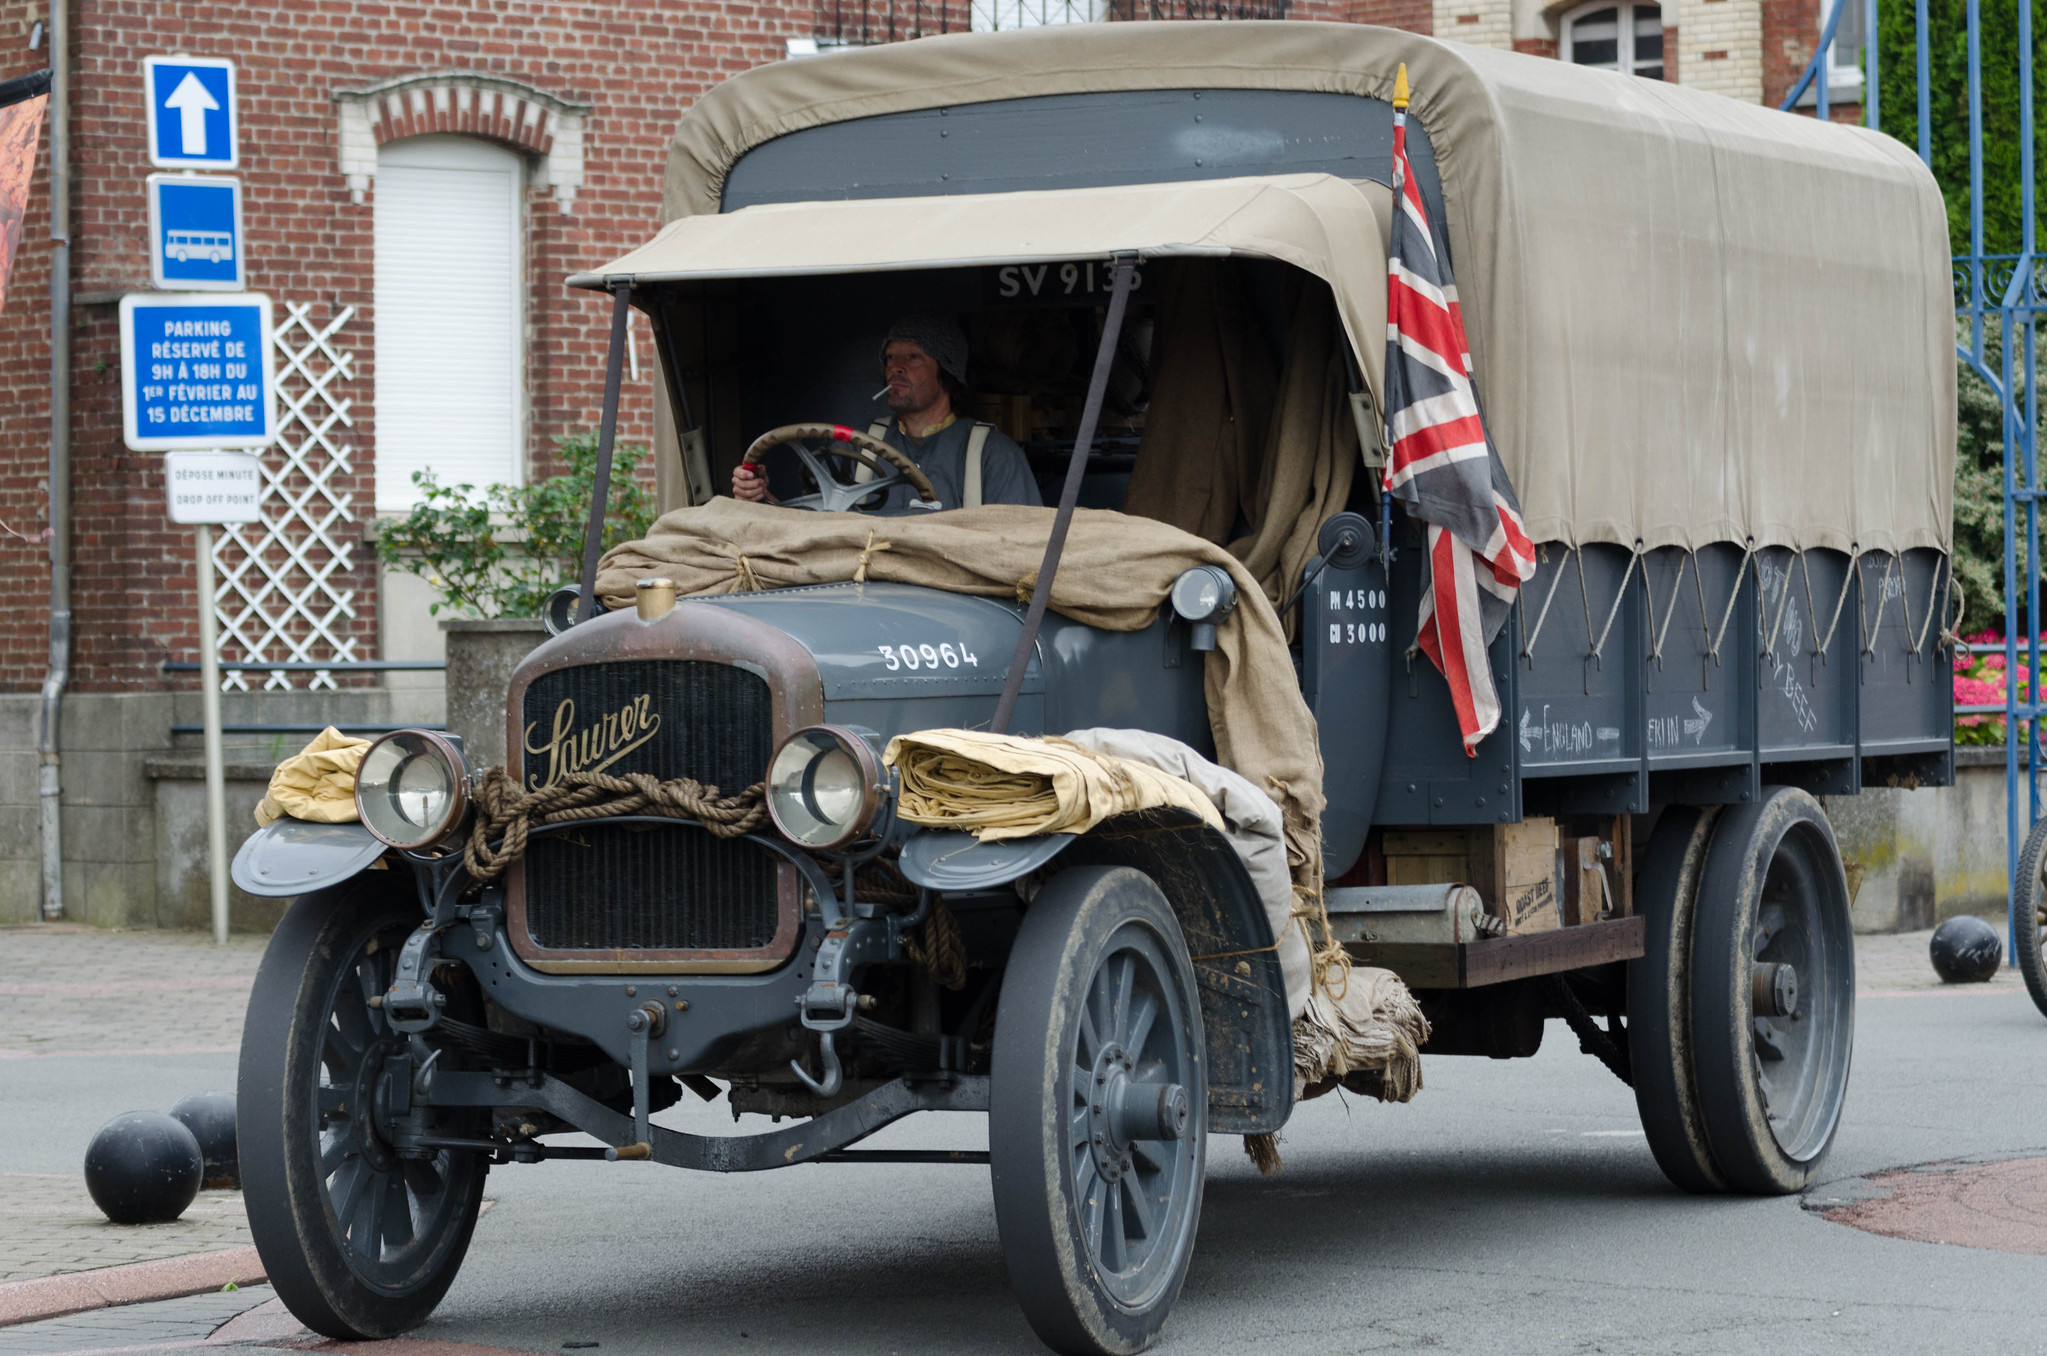
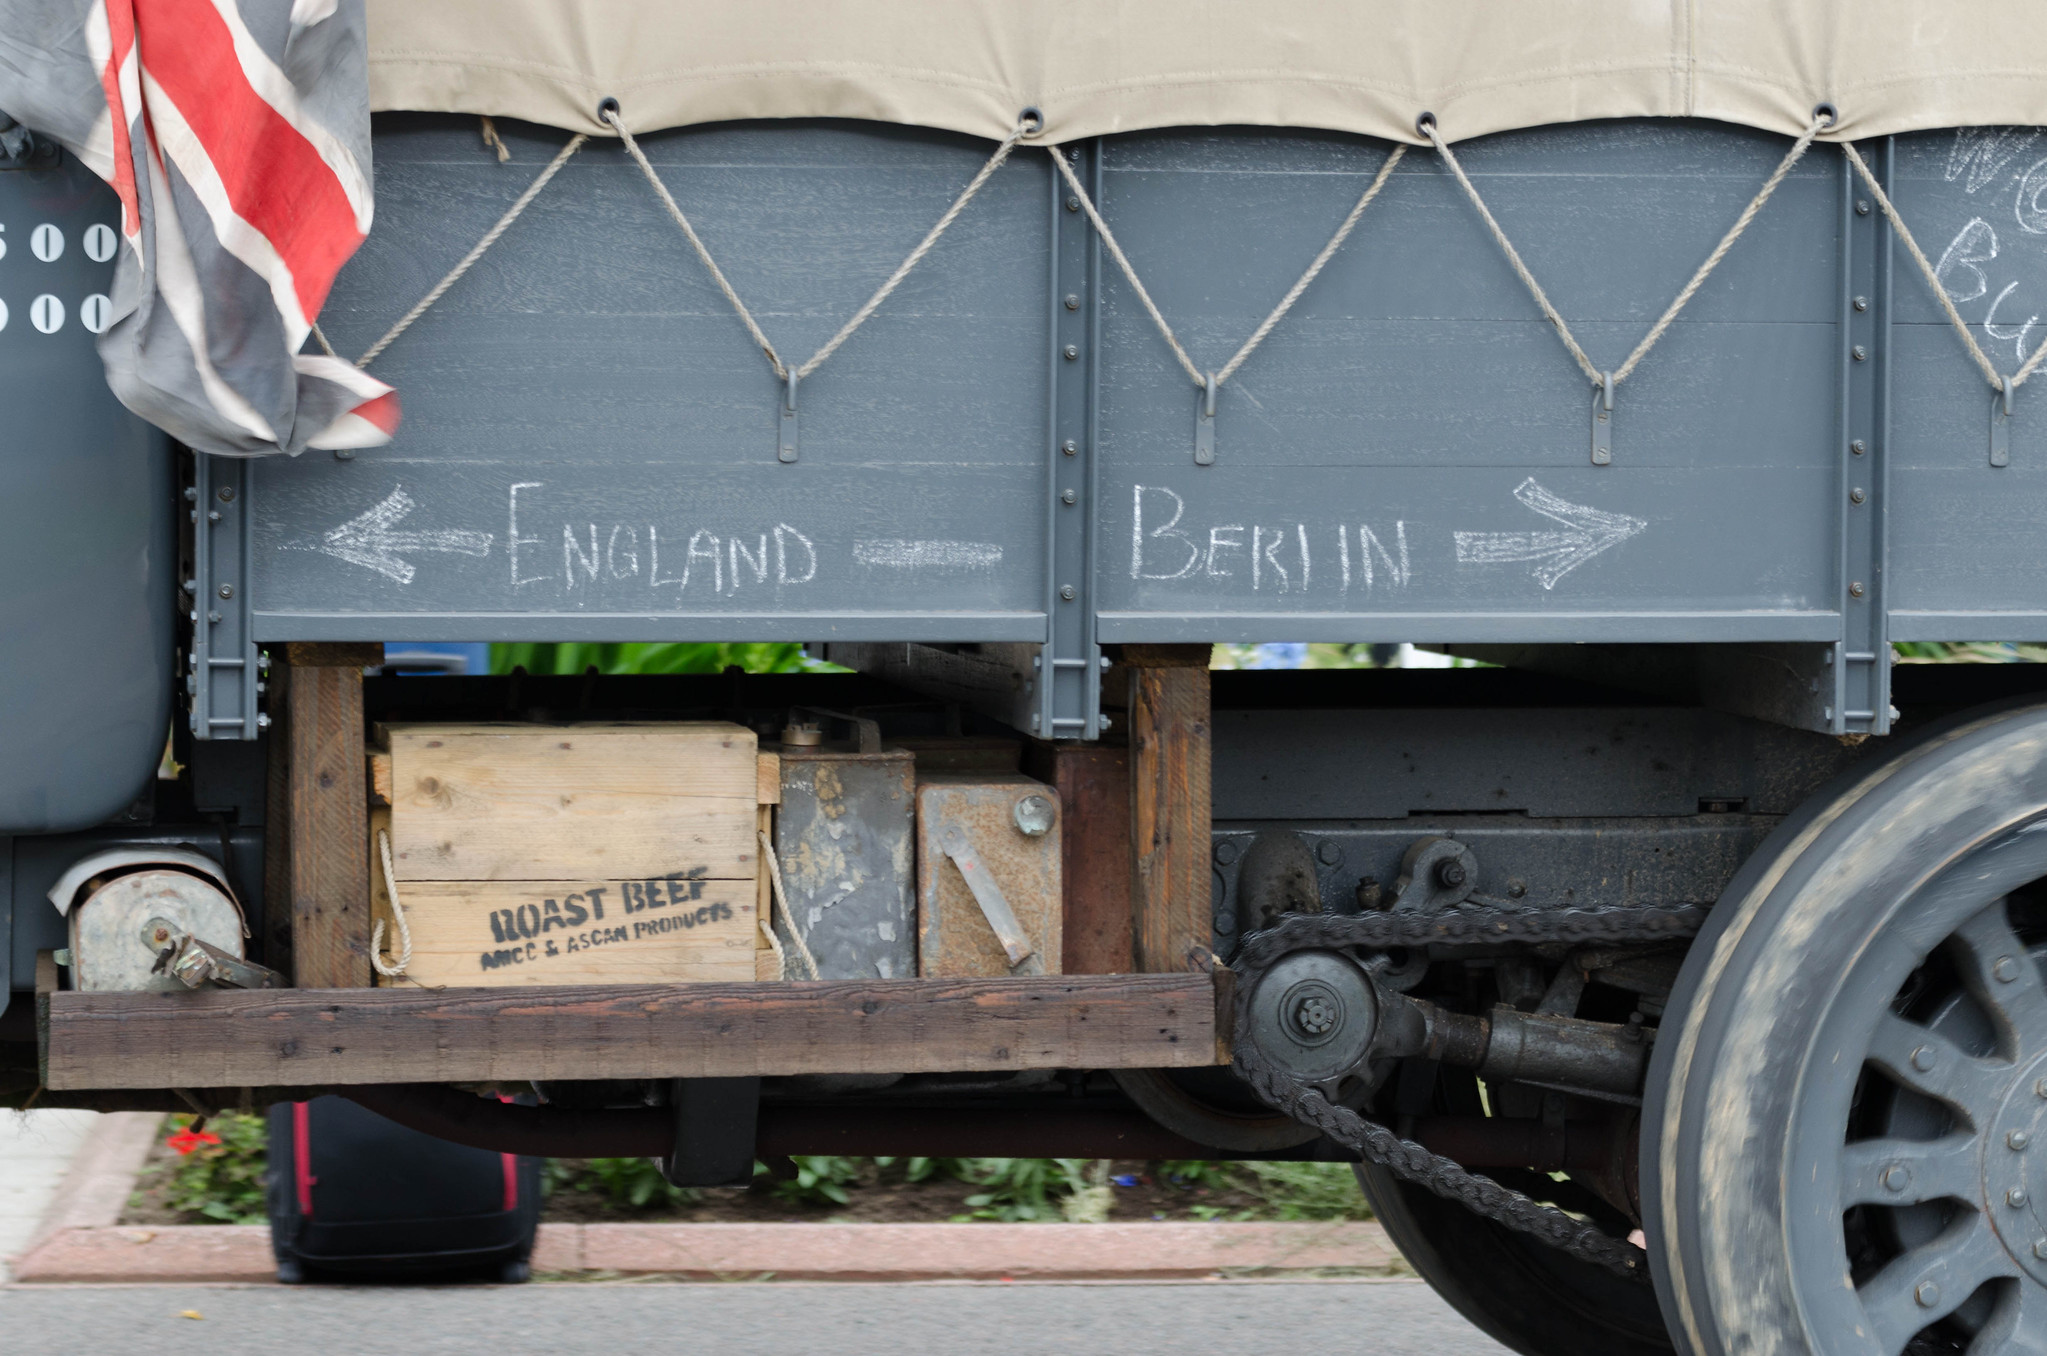
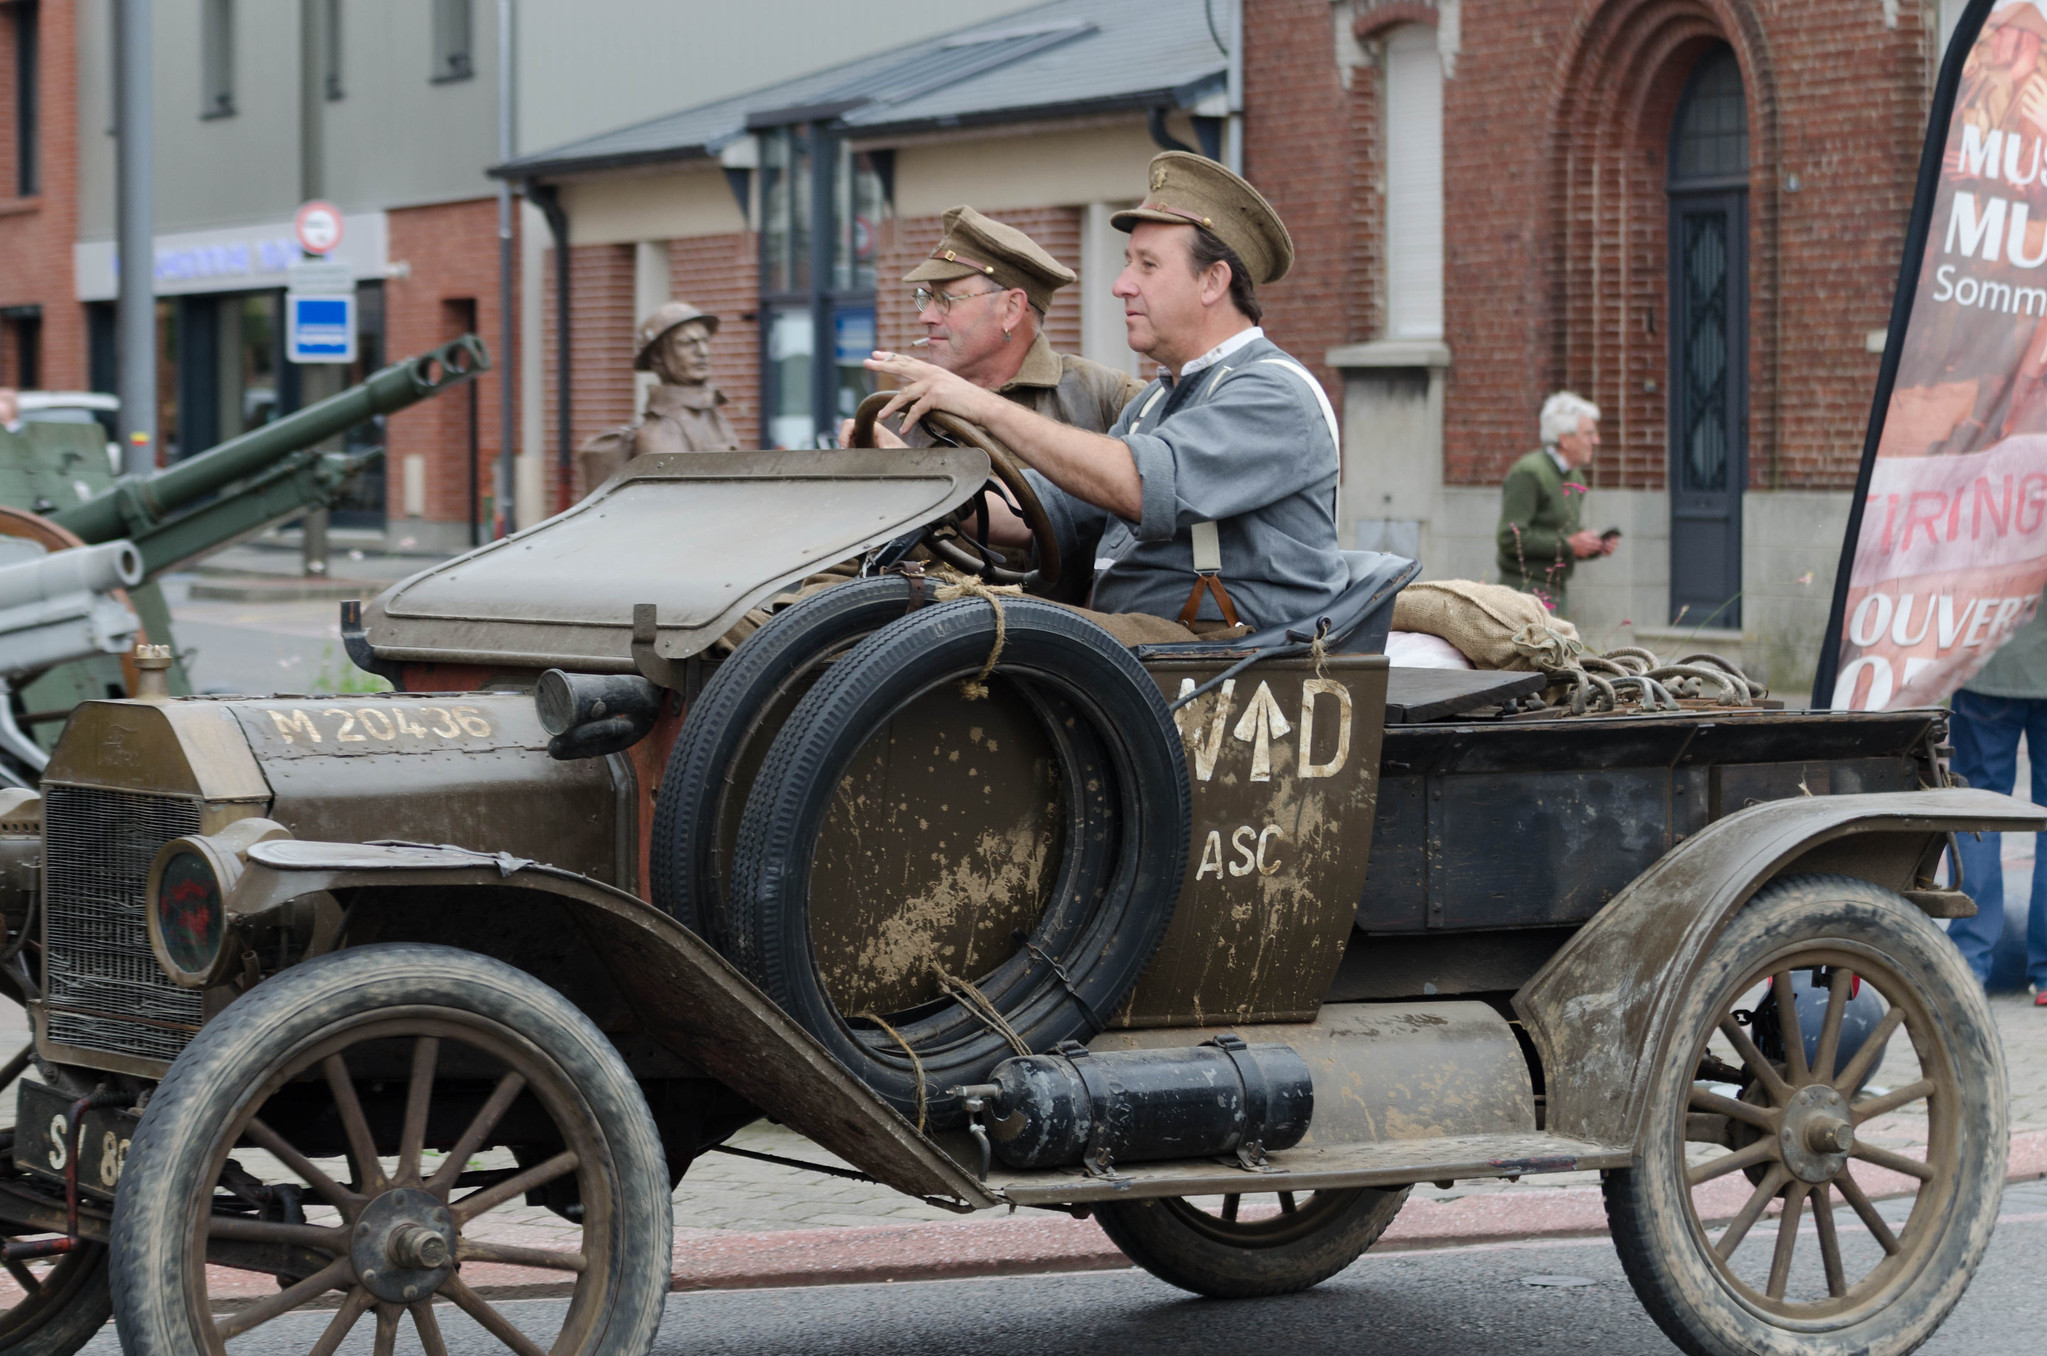
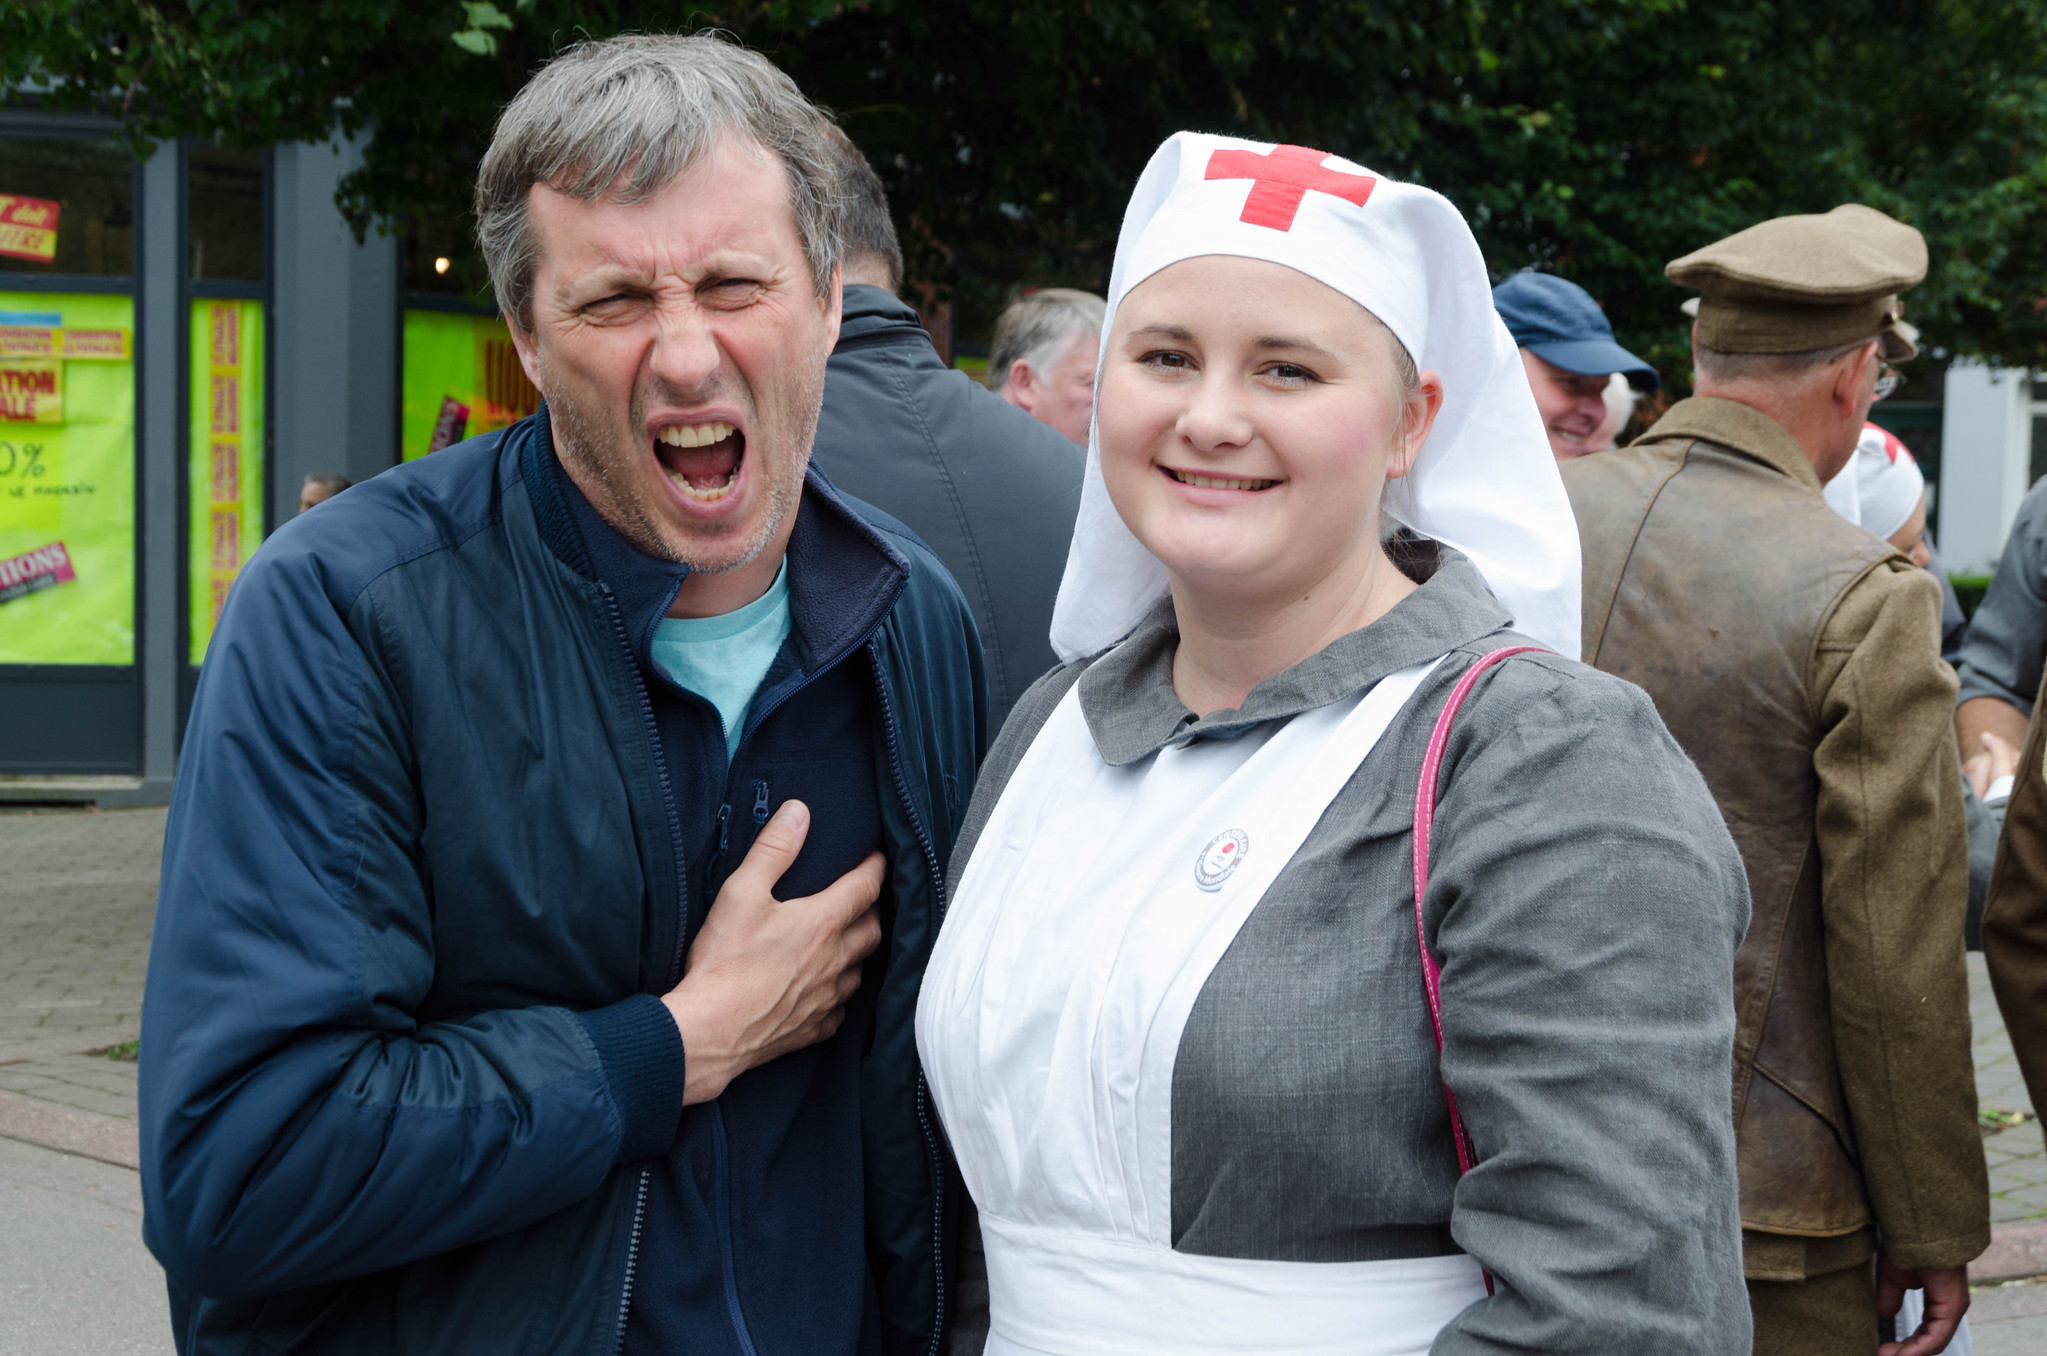 As well as nurses and soldiers, there were representatives of London Transport, whose double decker buses had been used to carry troops to the front in 1916. There were also a couple of guys who had come with an ancient lorry and an equally ancient Ford car.
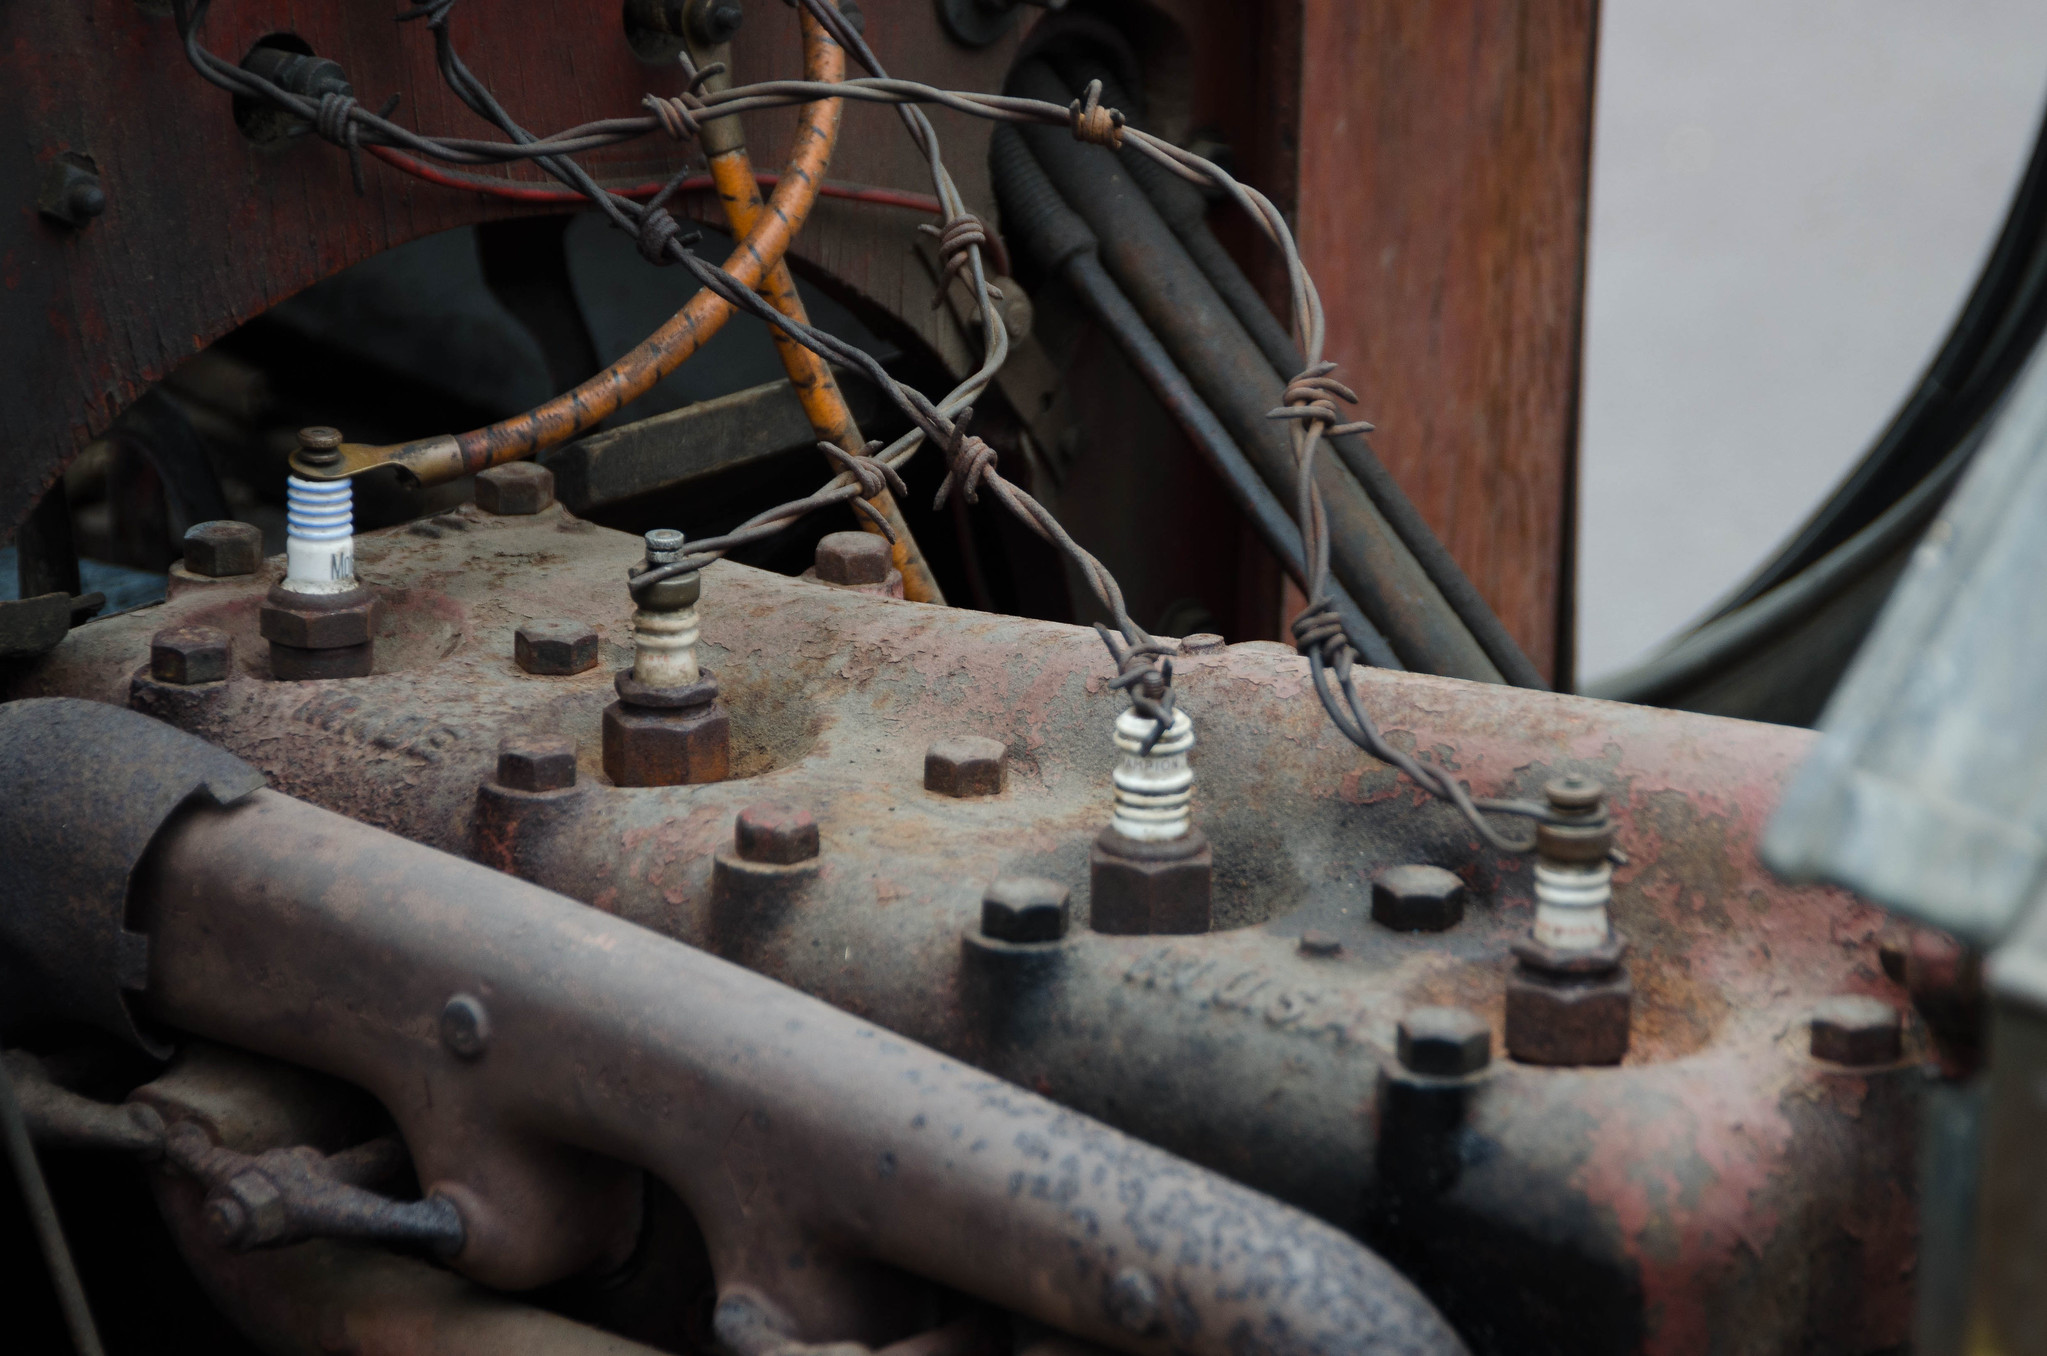
 Check out the improvised HT leads!
 We spent a big part of our time in Albert looking through the exhibits in the excellent “Musée des Abris – Somme 1916”. It is located underneath the church of Notre Dame de Brèbieres. The exit to the museum is in the nearby public arboretum which had been taken over for the day and turned into a public viewing area for the TV broadcasts from the Thiepval Monument. Here politicians, lots of schoolchildren, and quite a few members of the British Royal family were remembering what can happen when neighbors quarrel. Prince Charles was there of course. Our paths had almost crossed the previous year in Gallipoli and I was beginning to wonder whether he was following me. If he shows up next year in Passchendaele I am going to be really suspicious!
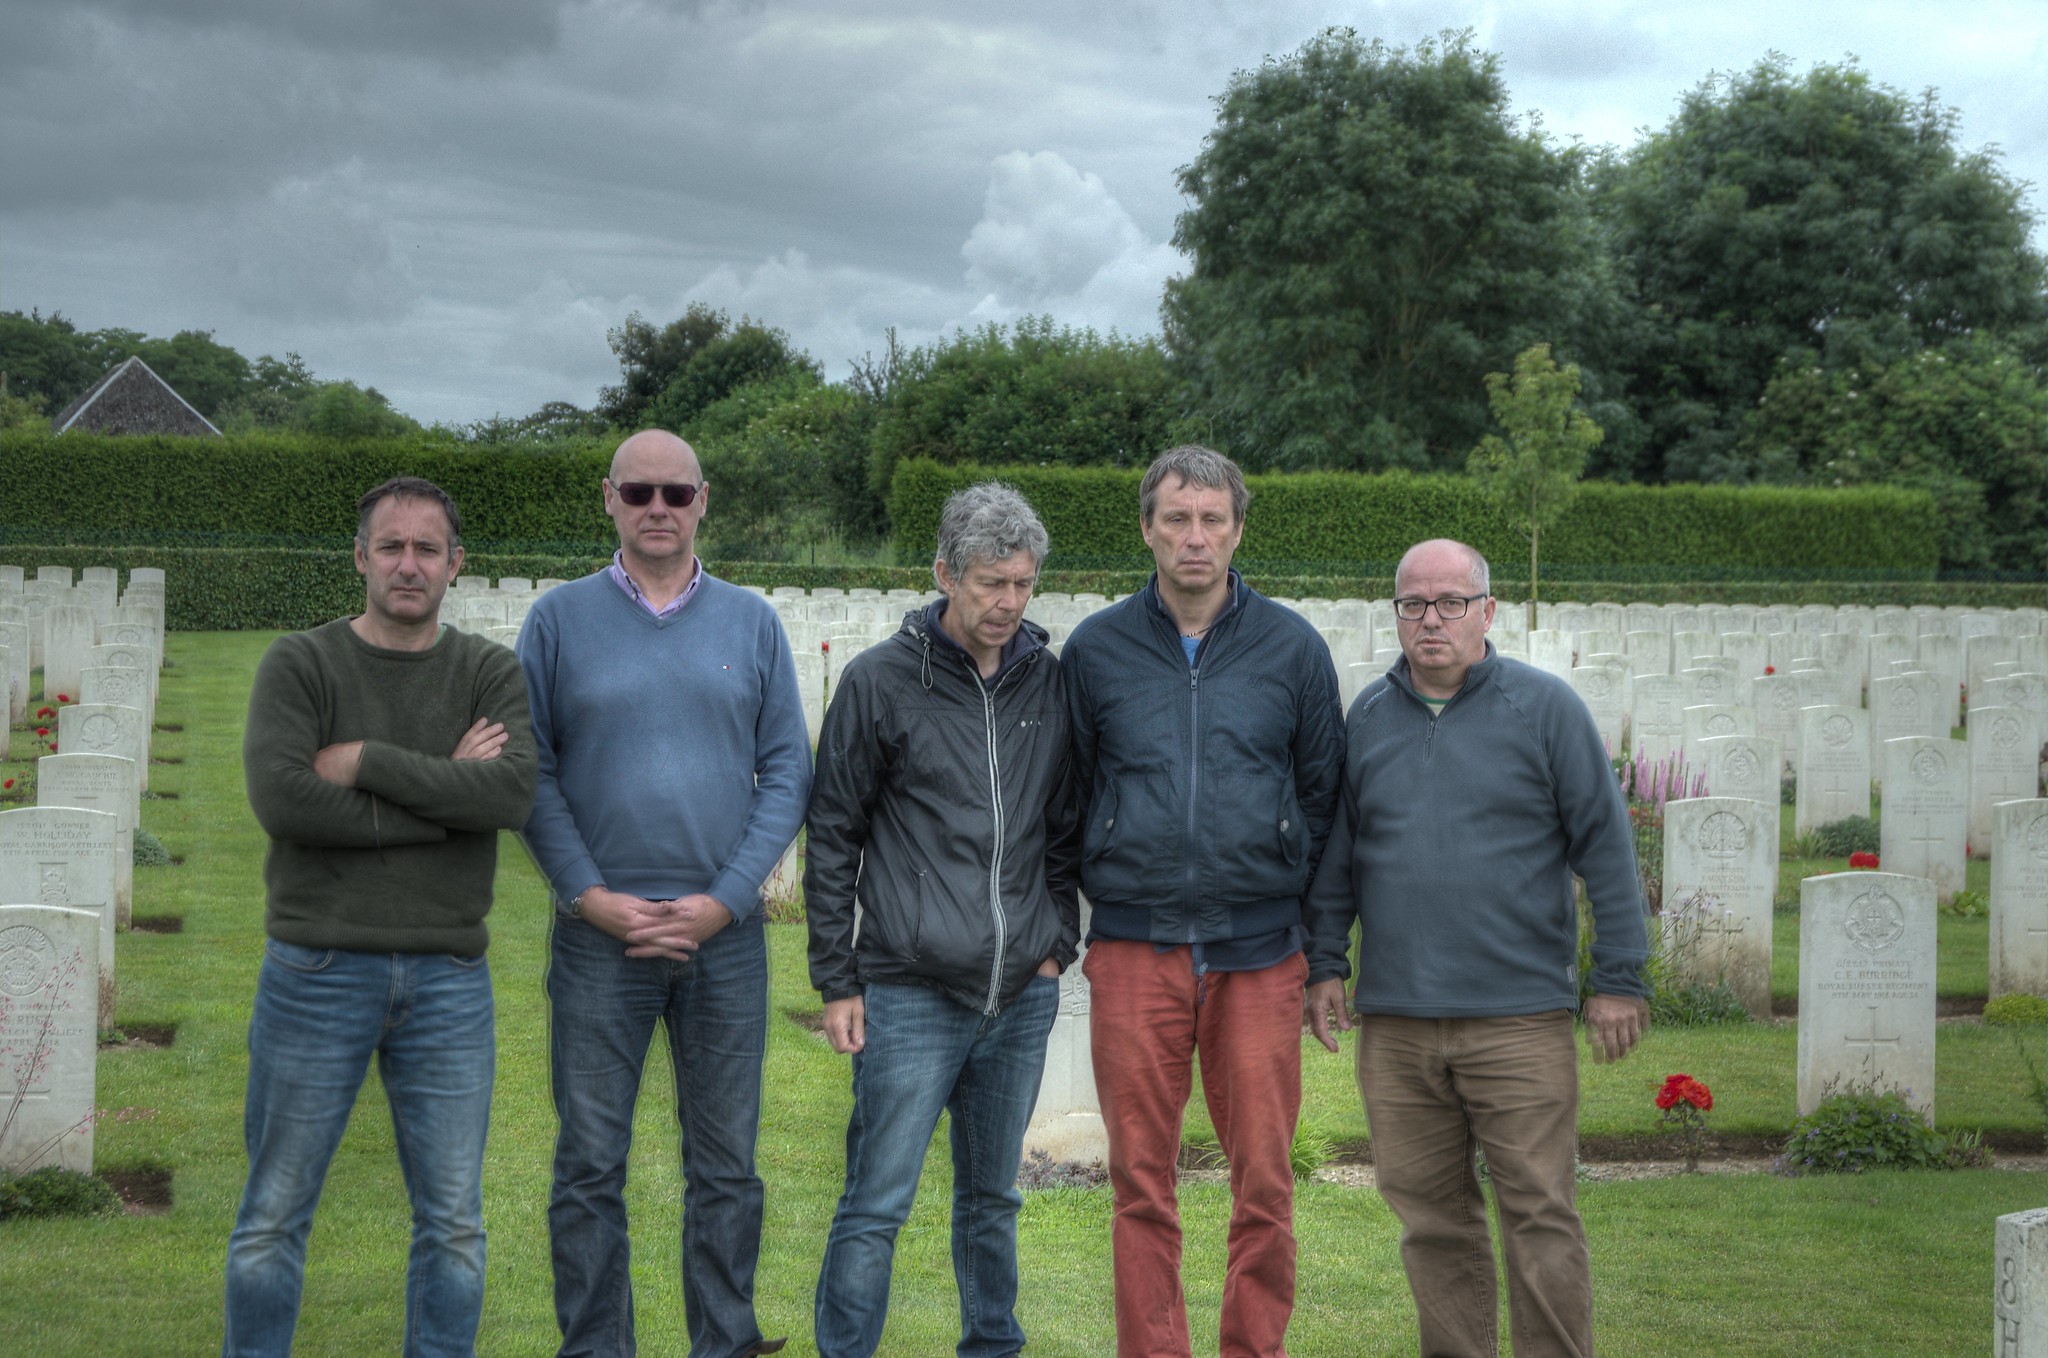
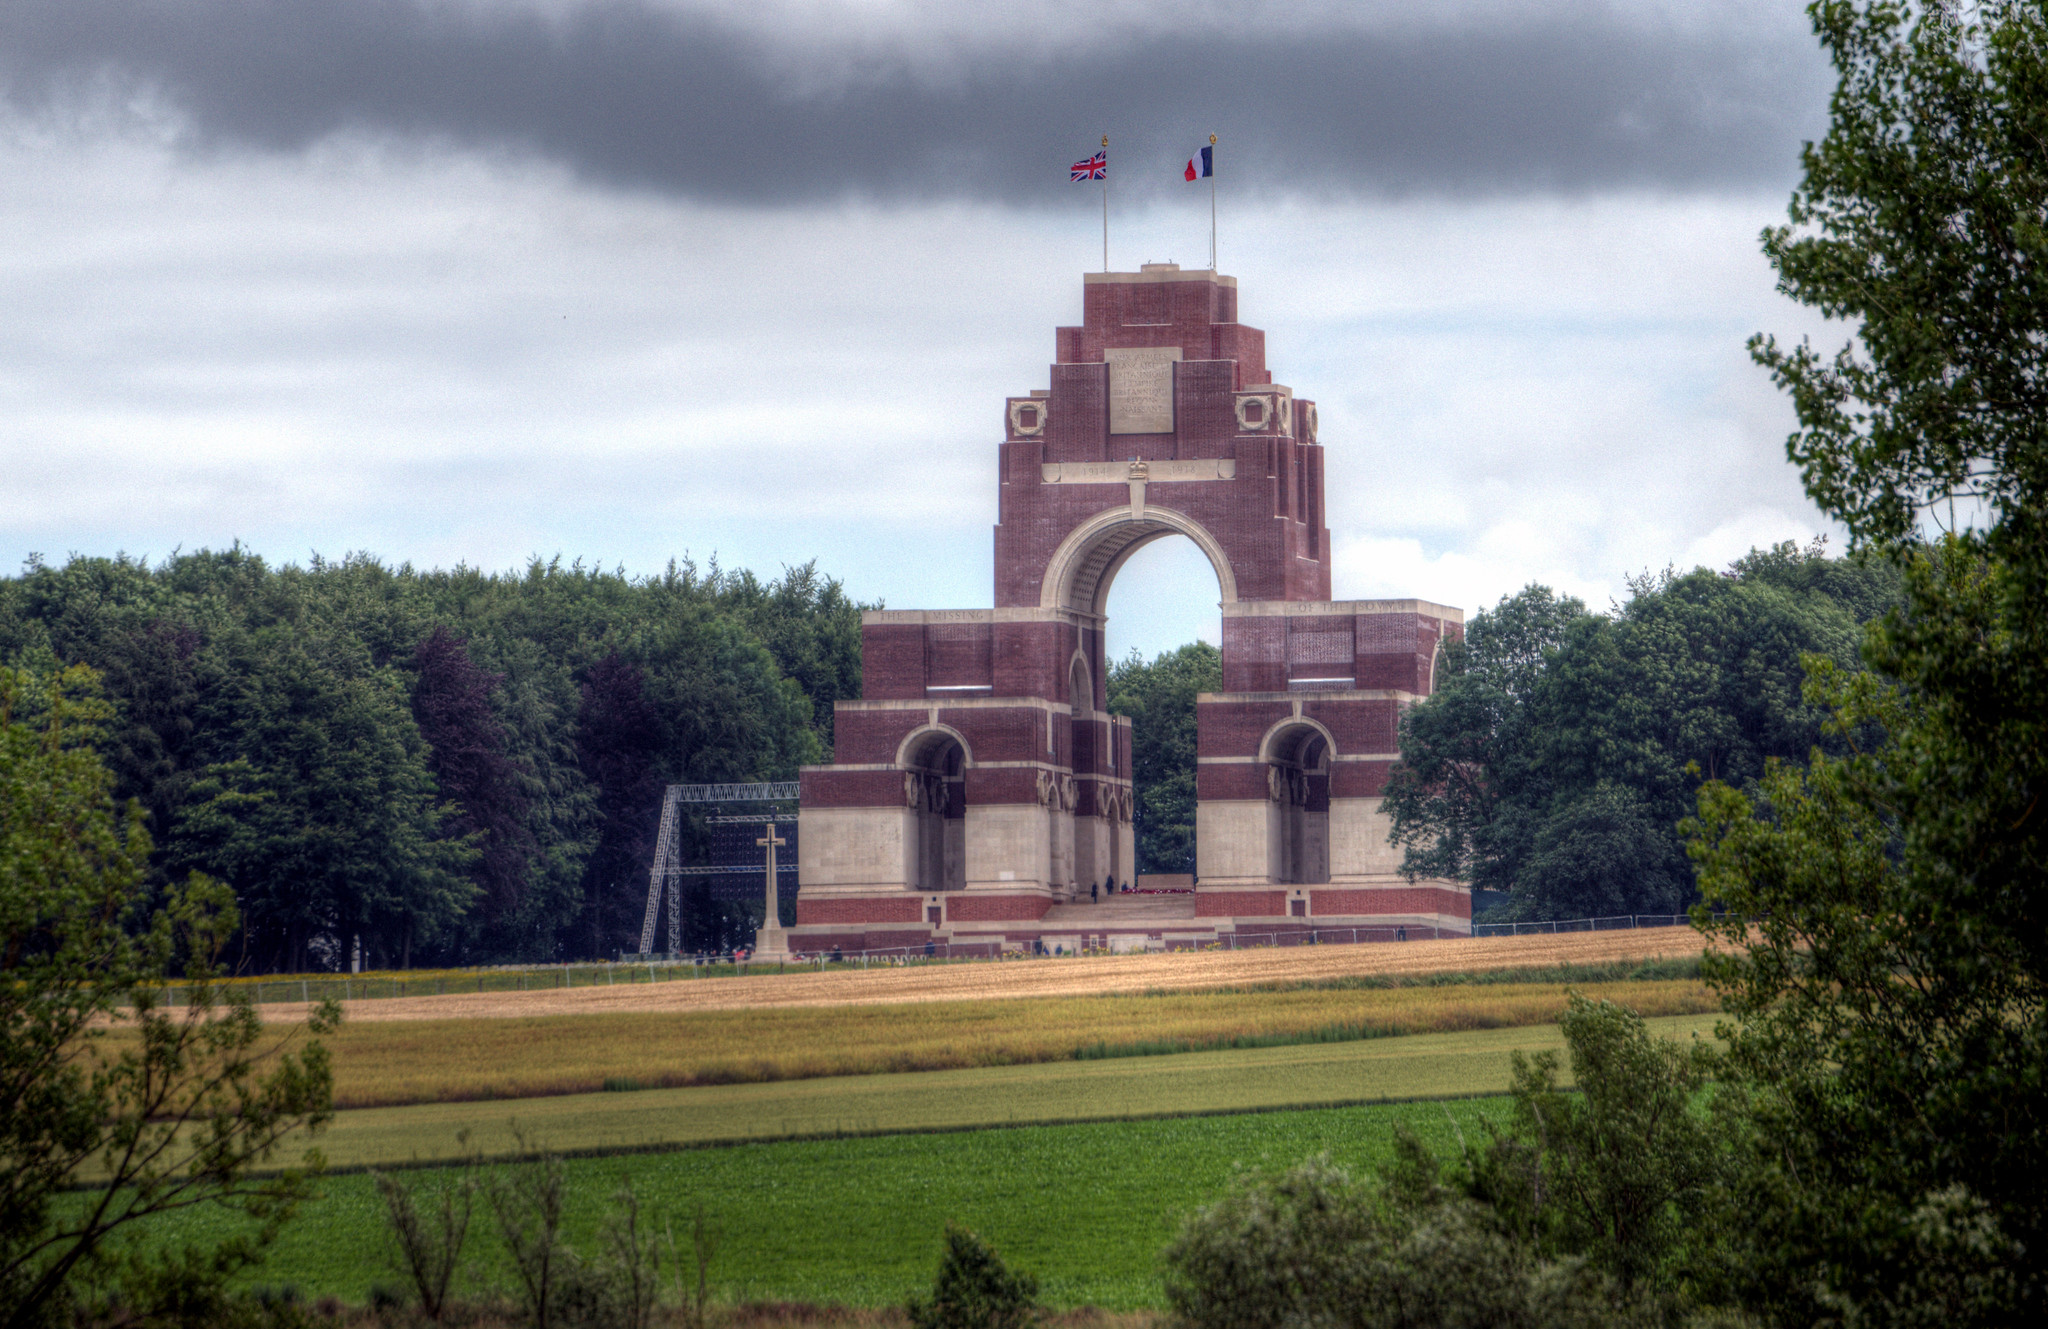
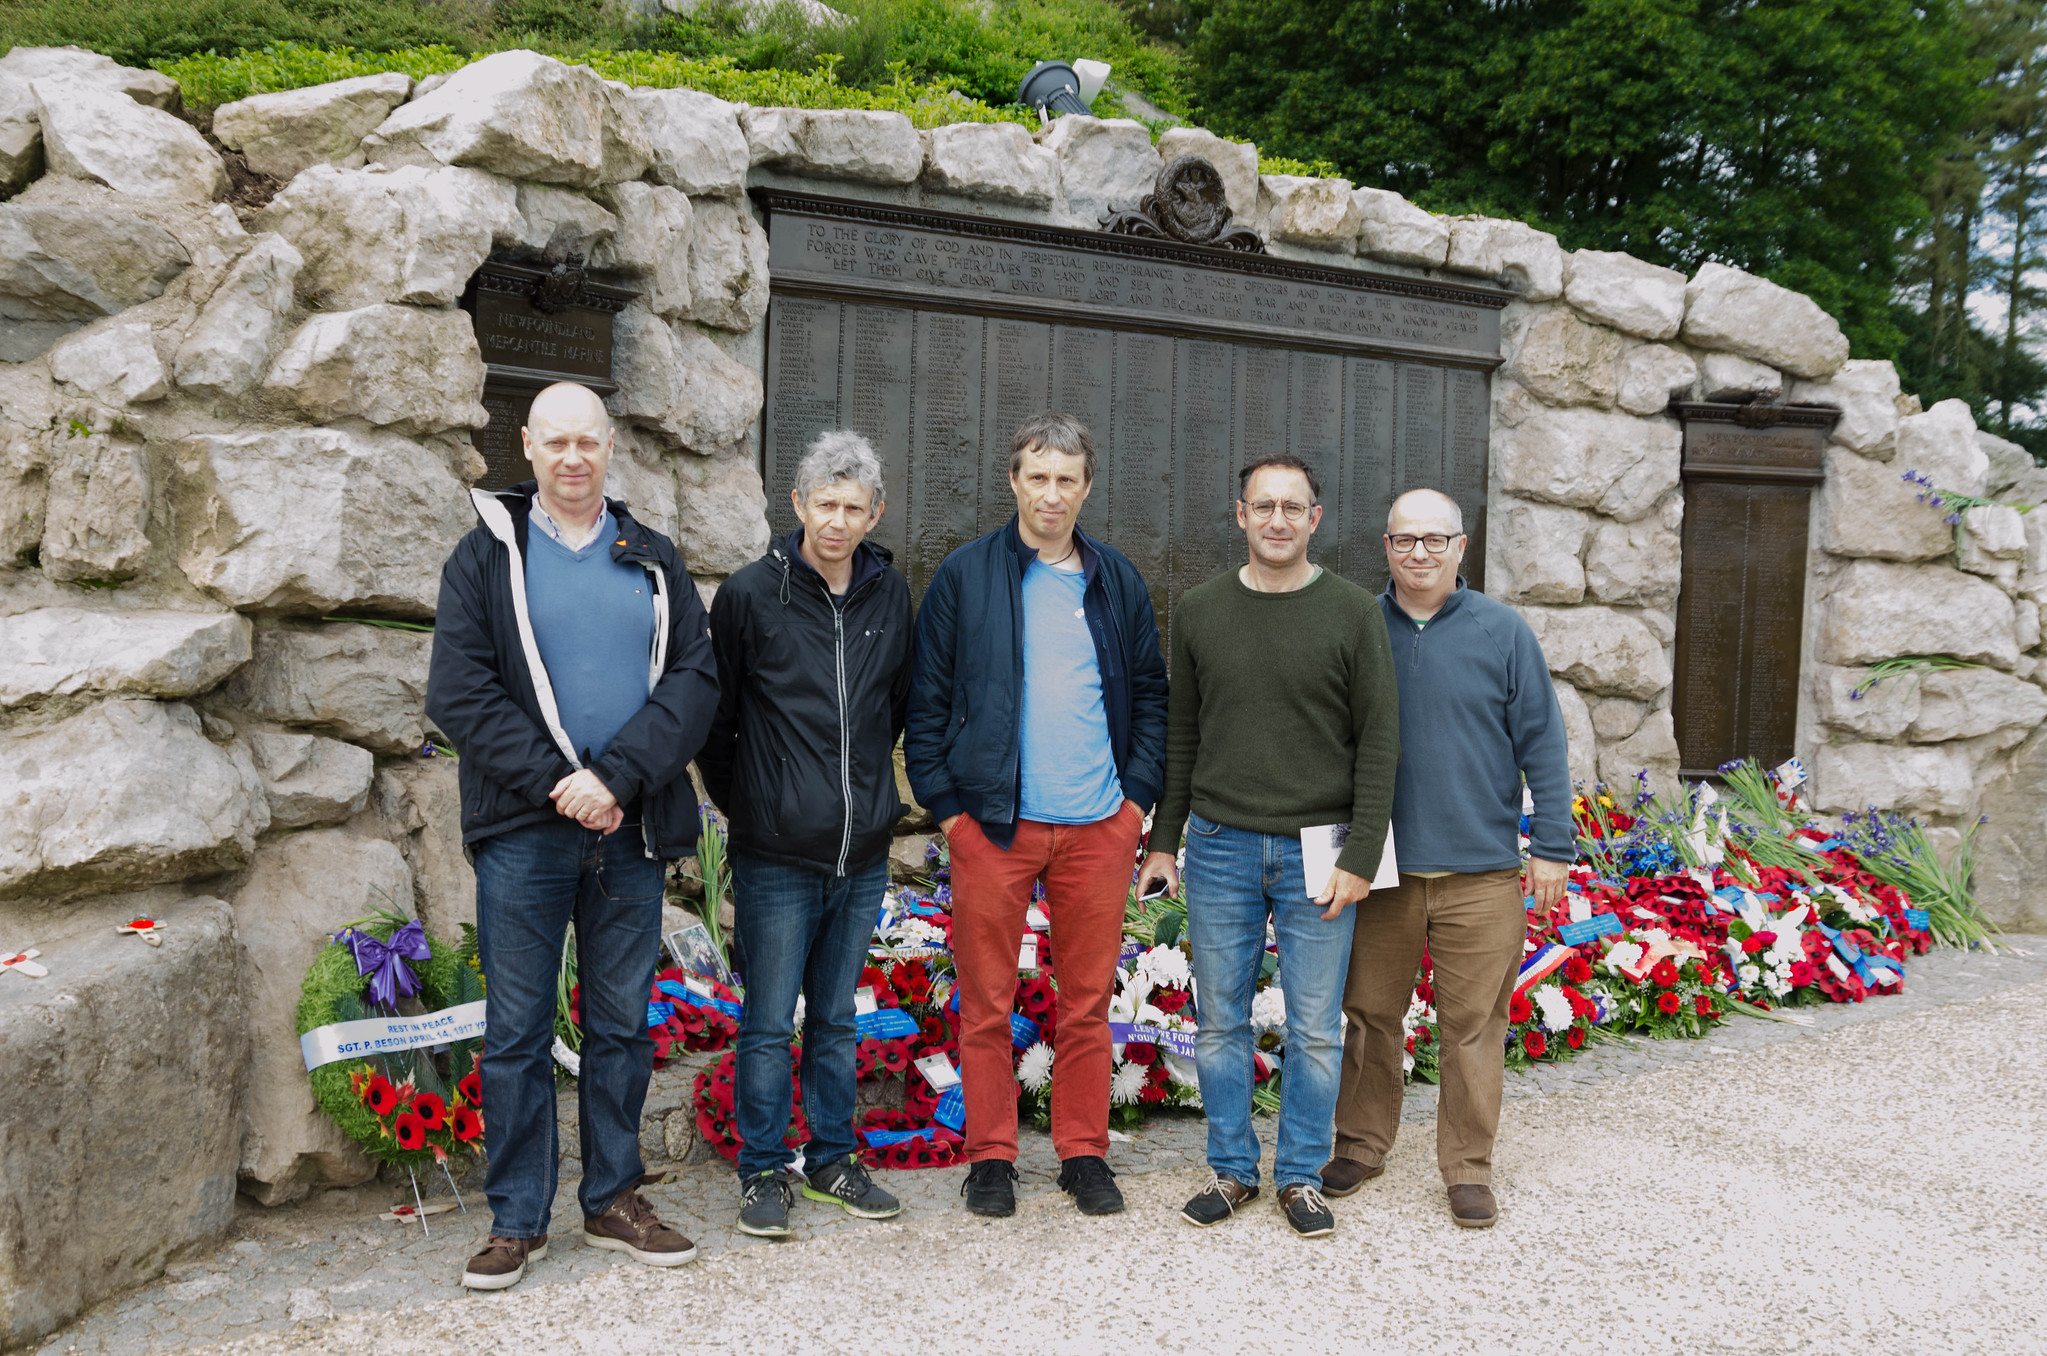 Stopping for one last thoughtful looking group photo, we left Beaumont-Hamel and drove past the iconic Thiepval memorial. It looked empty now that the celebrities had left, but it was still closed to the general public. I am not sure that I like the design of the memorial. Perhaps it is better close up? I much prefer the Menin Gate in Ypres.
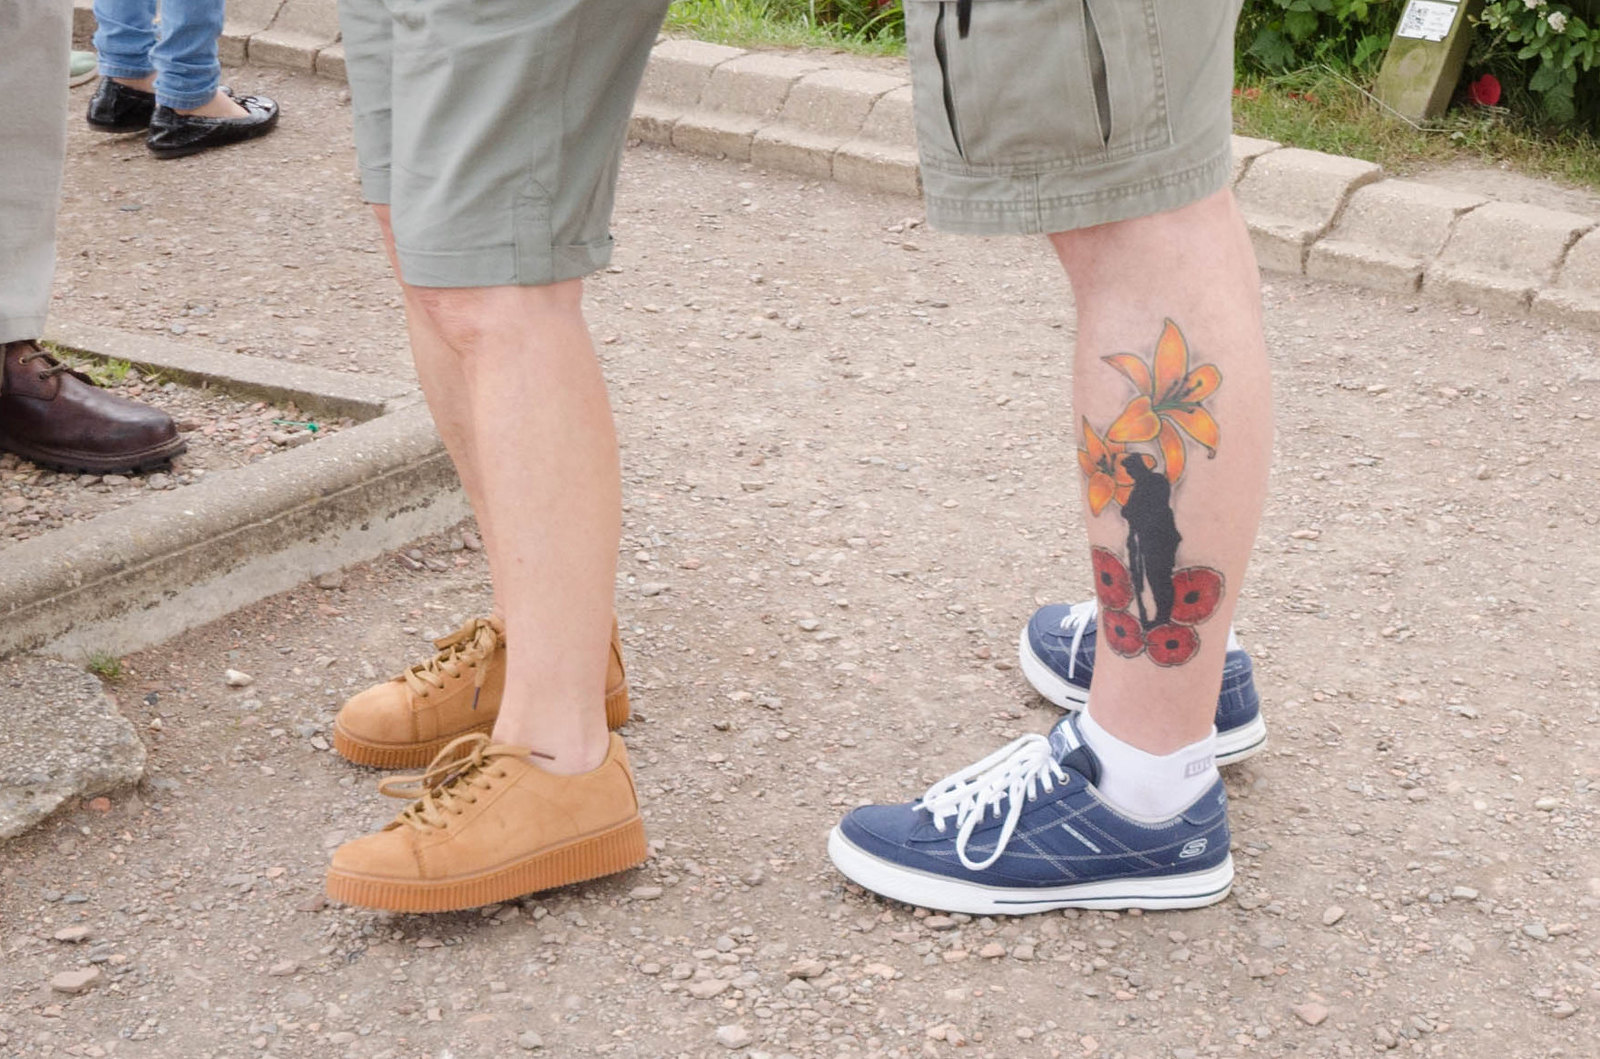
 As we were leaving the site, I couldn’t help noticing this WW1 enthusiast’s legs! Now I enjoy a discreet tattoo as much as the next man but this is really something…
